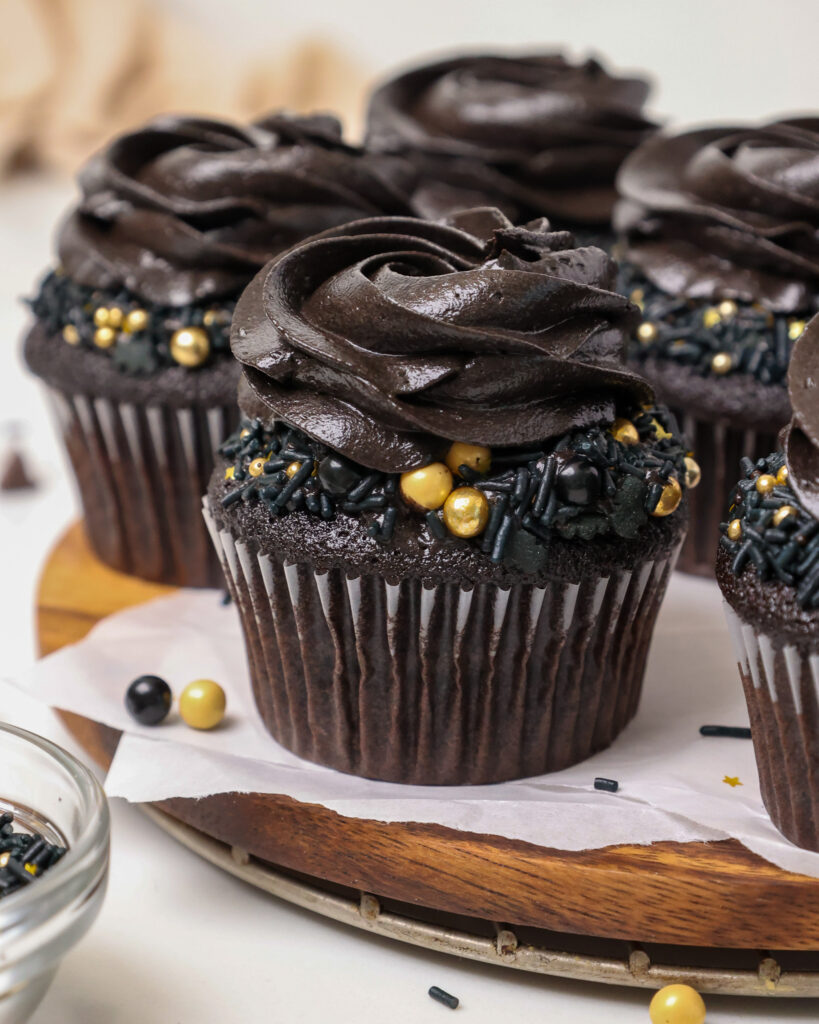
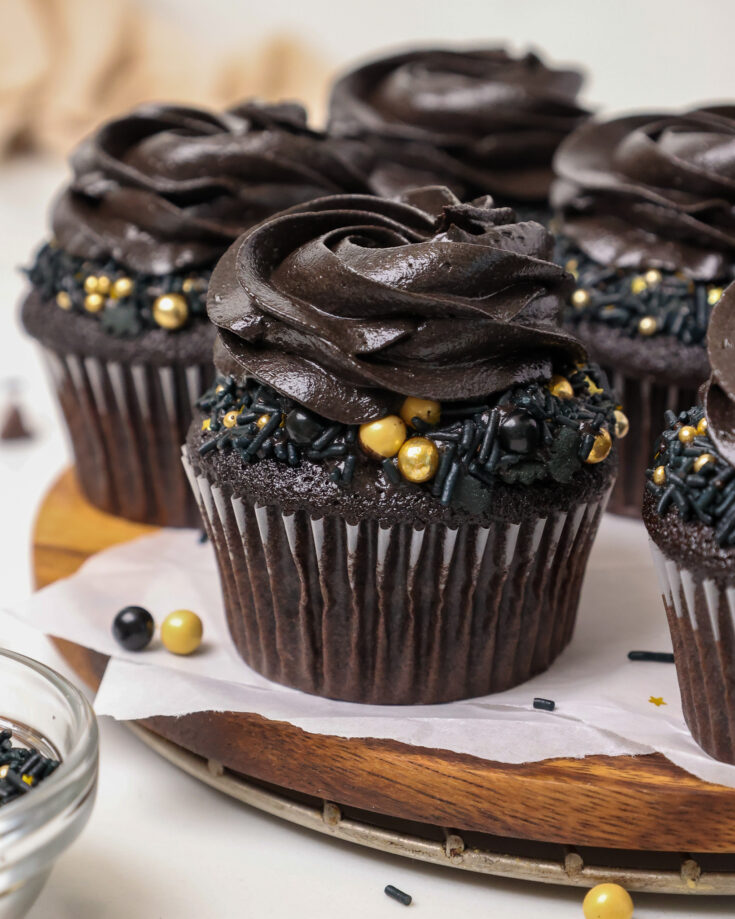
These black velvet cupcakes are naturally colored with black cocoa powder and taste absolutely delicious! They’re rich, chocolaty, and taste like an Oreo cookie!
My Secret Ingredient: Black Cocoa
Black cocoa has a beautiful, dark color. I love this because it naturally colors the cupcake batter and frosting in this recipe!
The best comparison of how it tastes is to think of the bittersweet, chocolaty taste of an Oreo cookie!
Black cocoa has a slightly higher pH than Dutch-processed cocoa (8 vs. 7) and is much less acidic than natural baking cocoa powder (5-6).
Sadly, it’s not the most common ingredient and it’s hard to find in grocery stores.
I like to order big tubs of black cocoa powder on Amazon. My go-to brand in Wincrest, and I’ve been using it for years (not sponsored, just love the stuff!).
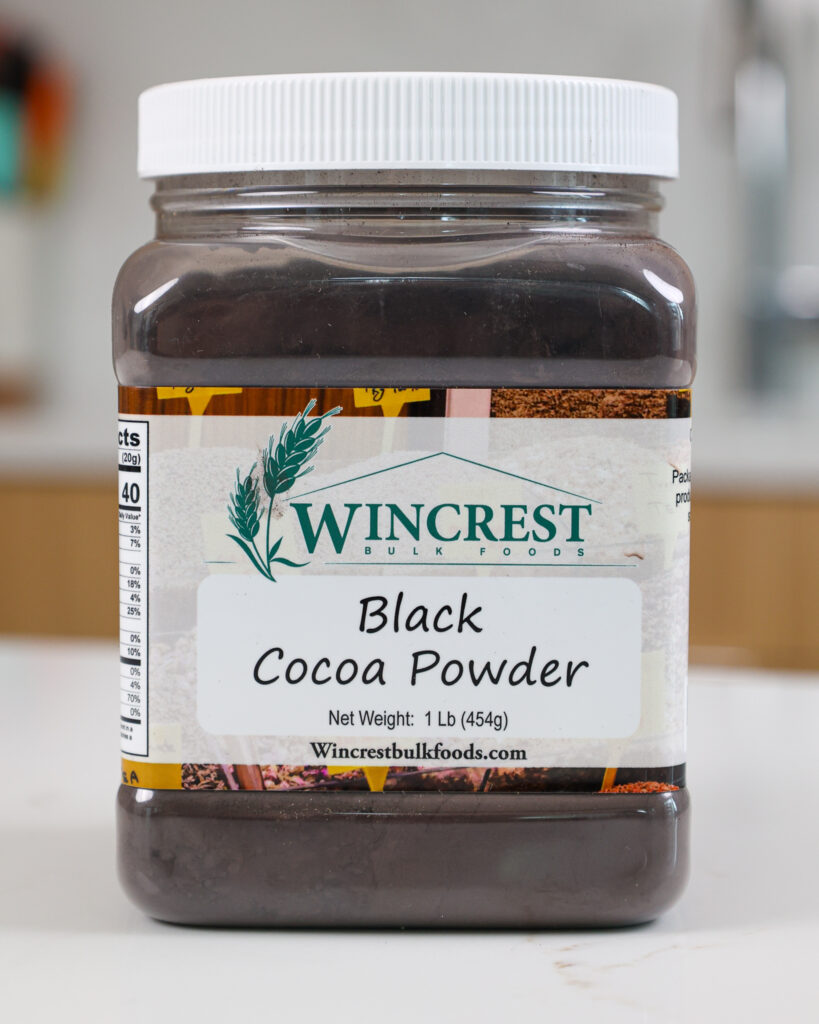
If you’re in a pinch or don’t like ordering things online, you can always use dark cocoa powder in its place. Hershey makes a dark cocoa powder that you can find at most grocery stores!
It tastes slightly different but will still give these cupcakes a delicious chocolate flavor and a deep color.
Black Gel Food Coloring
This cupcake batter gets so dark from the black cocoa powder it really doesn’t need any artificial food coloring.
However, if you use dark cocoa powder instead of black cocoa you may want to add a squirt of black gel food coloring to make sure the cupcakes are black.
Picking the Right Frosting
If you’re making black velvet cupcake, you might want to frost it with cream cheese frosting to stay true to the classic combination. I fully support that decision, or really any excuse to use cream cheese frosting.
My cream cheese buttercream has the delicious tang of cream cheese but is sturdy like my classic American buttercream. This means you can easily use it to pipe onto cupcakes.
I made these cupcakes around New Year’s and wanted to match the frosting to the color of the cupcakes. I used my deep black frosting recipe to give these cupcake a cohesive look!
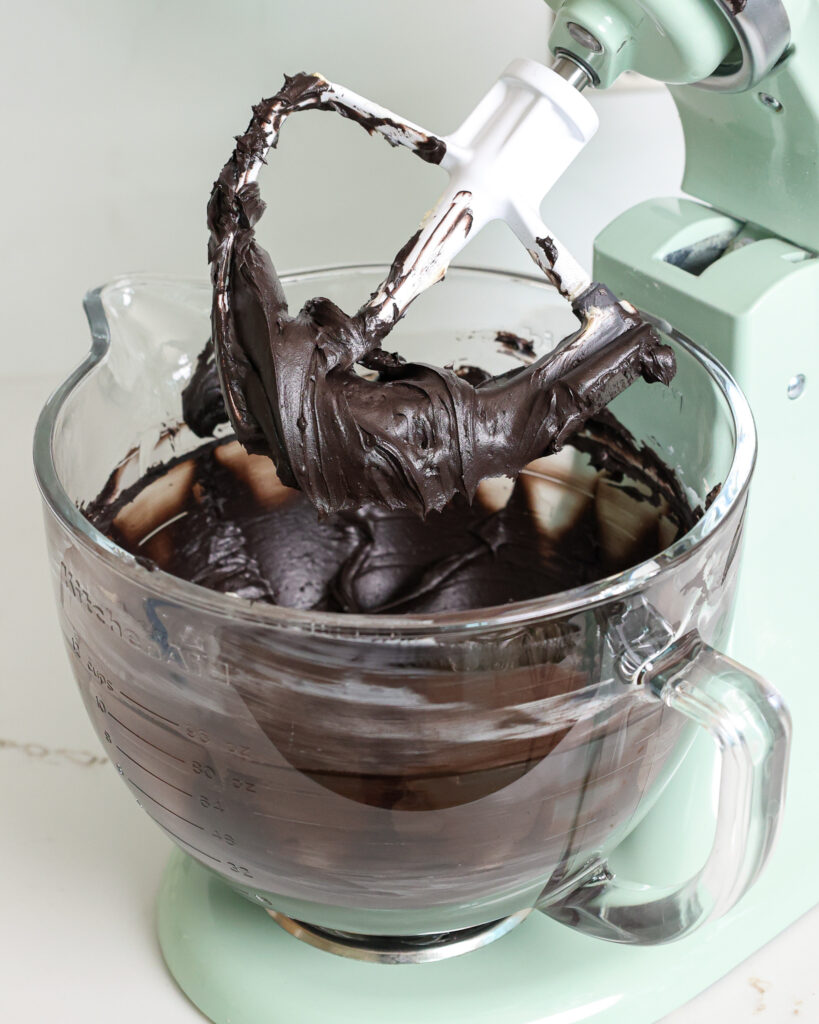
It can be difficult to make deep black frosting. If you’re struggled to get the color right, here are all of my tips for making super dark black frosting.
Let’s Make These Black Velvet Cupcakes Together!
Let’s walk through each step of this black velvet cupcake recipe to make sure it turns out as amazing as possible! I’ve also shared a video tutorial below.
Step 1: Make the Black Velvet Cupcake Batter
Begin by preheating the oven to 350°F/175°C and lining a muffin pan with 12 cupcake liners.
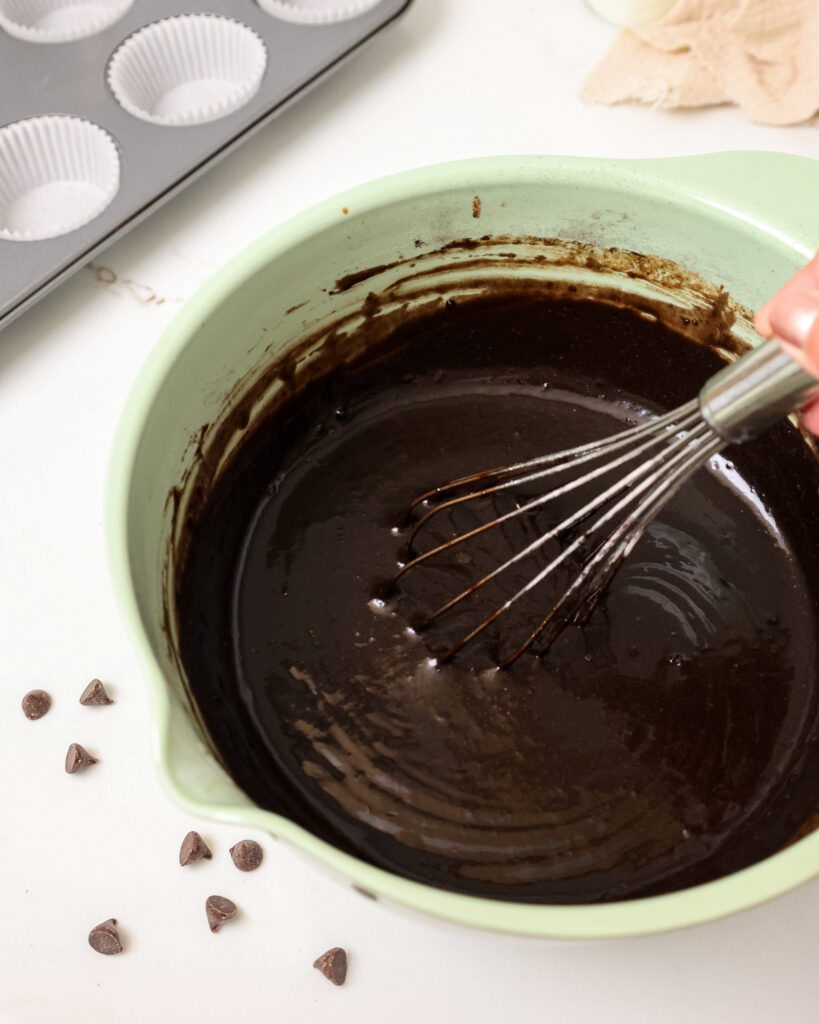
Combine the ingredients following the recipe card below. The batter should be on the thin side, but don’t worry! That’s how it’s supposed to be.
Step 2: Bake the Black Velvet Cupcakes
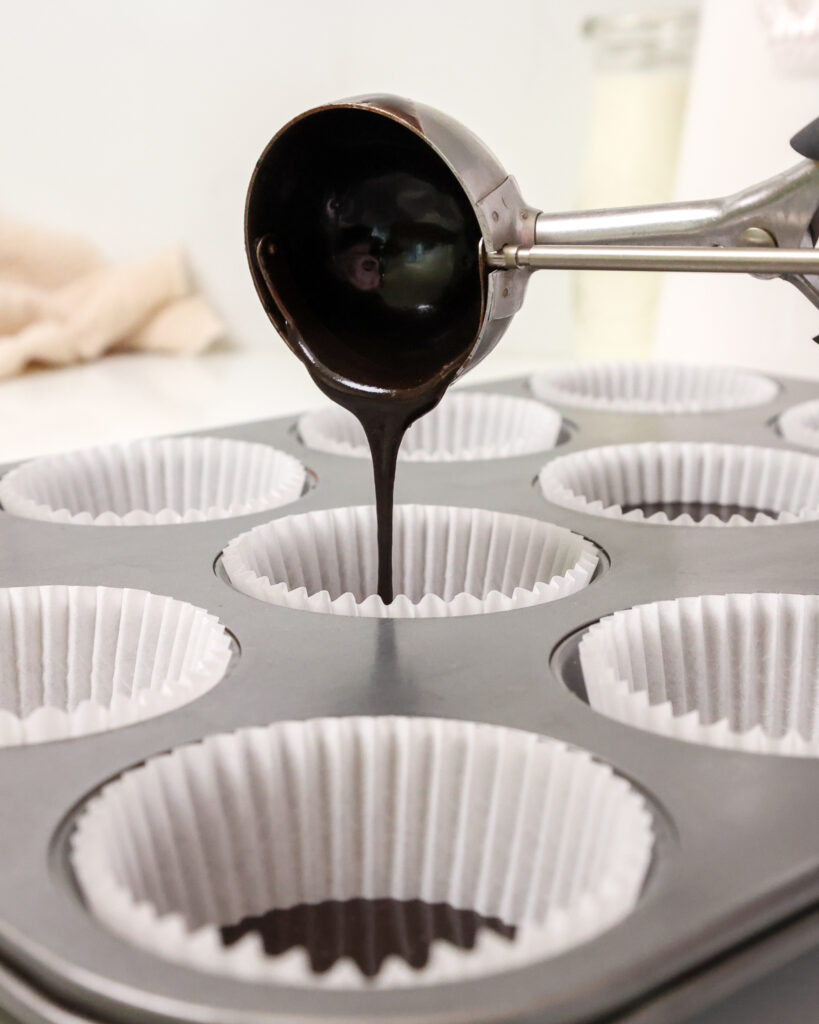
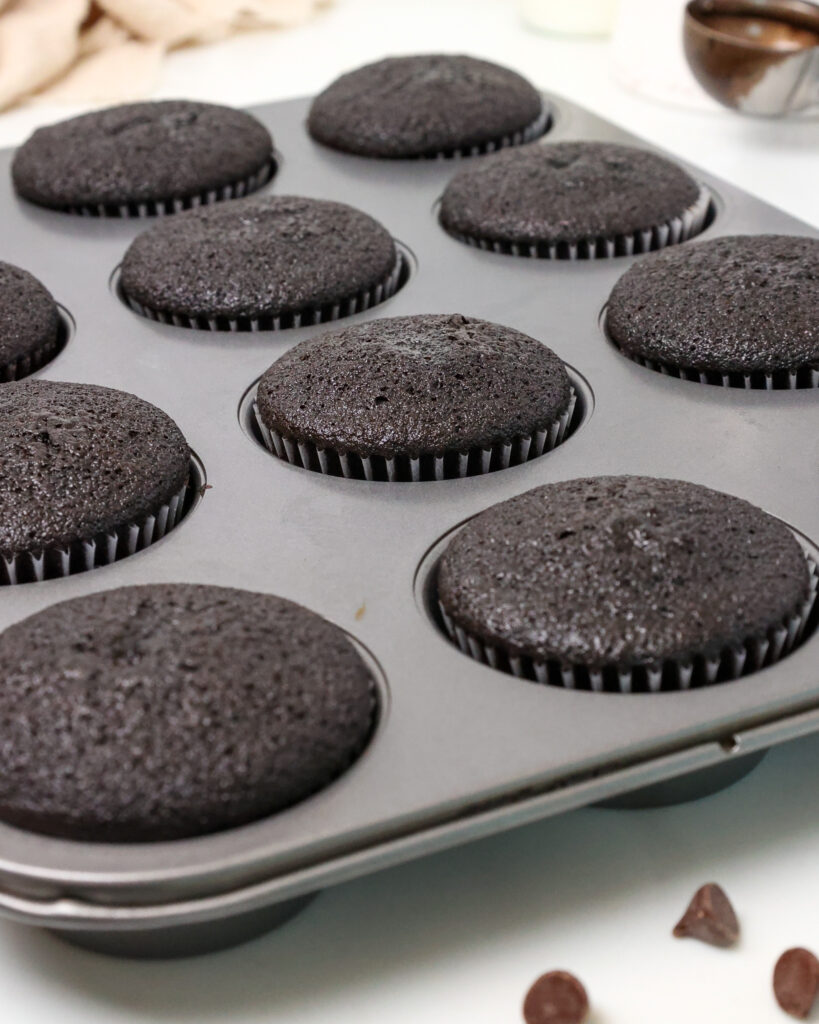
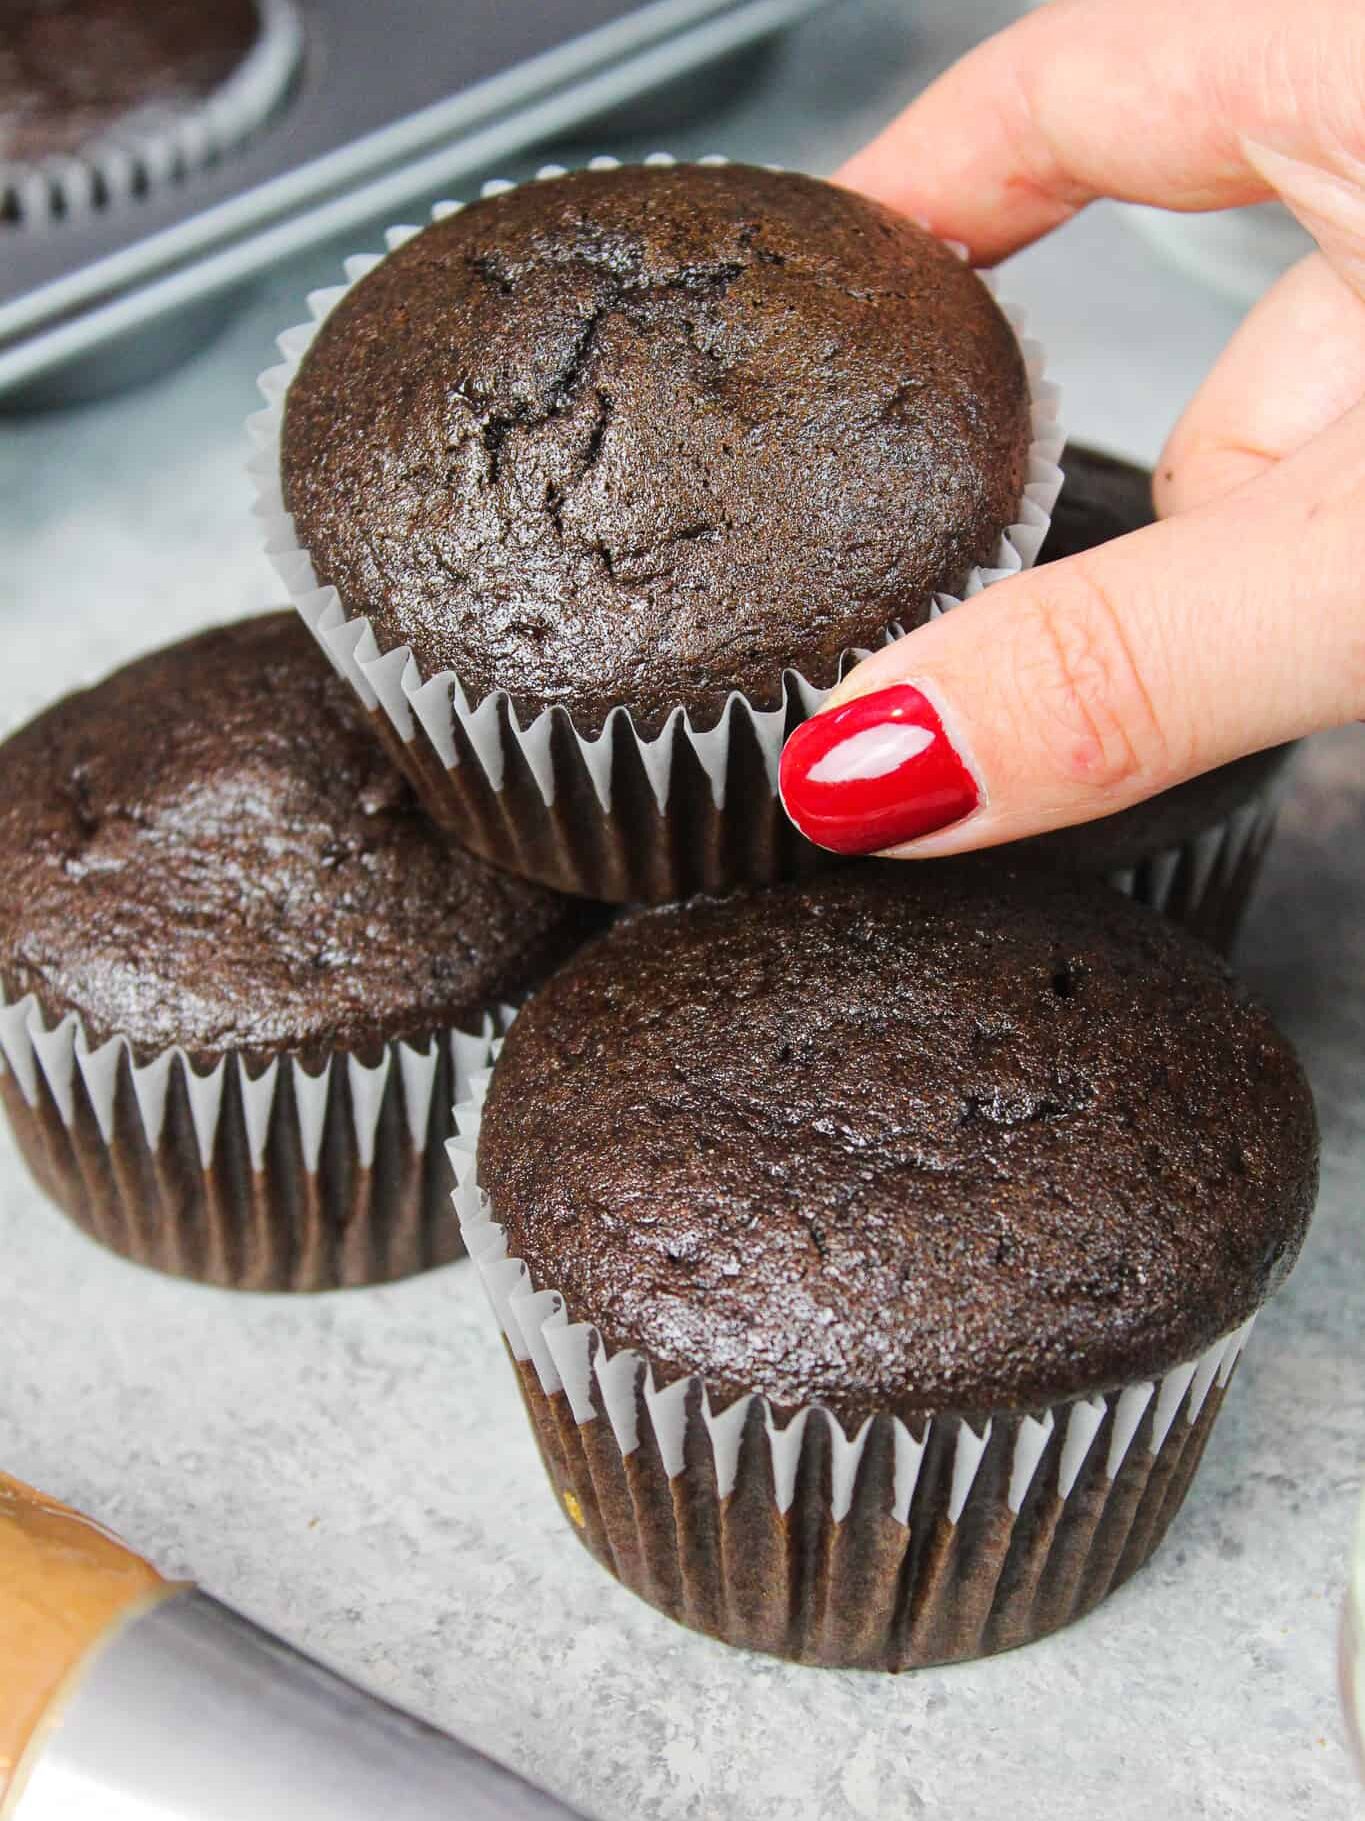
Fill cupcake liners 2/3 full and bake for 18-21 minutes or until a toothpick comes out with a few moist crumbs. Remove from the oven.
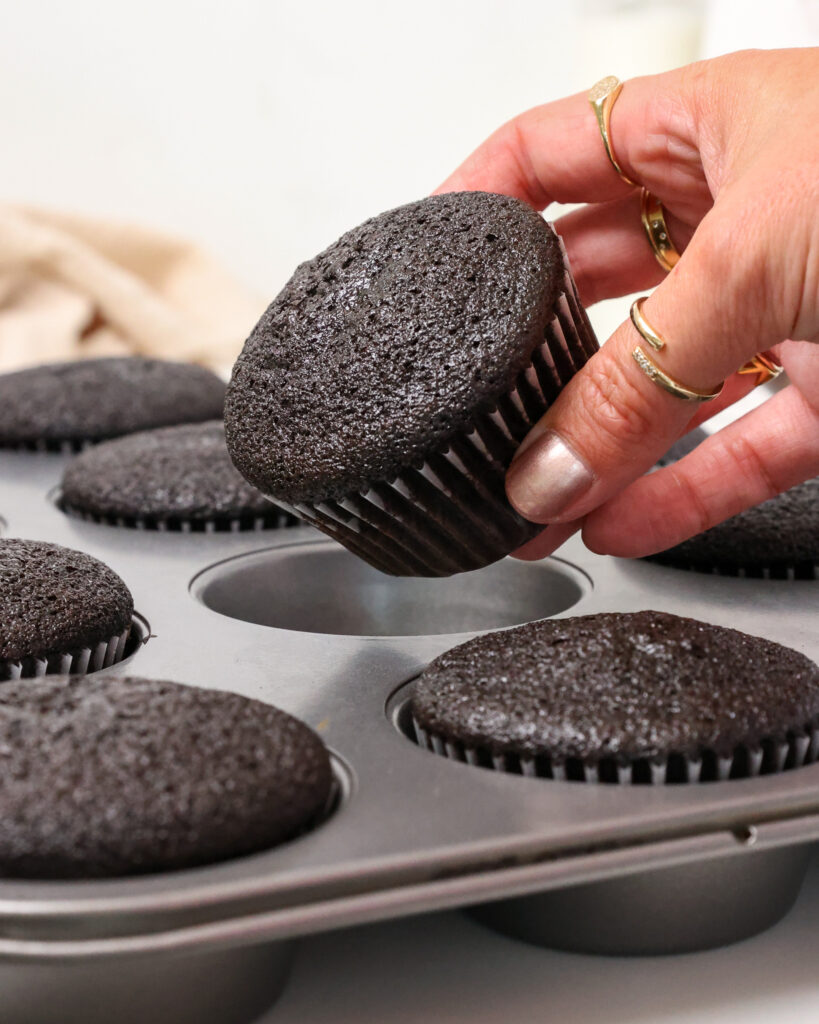
Let the cupcakes cool in the pan for 10 minutes, then remove and place on a wire rack to finish cooling.
If you’re in a rush, place the entire pan in the freezer for 15 minutes to accelerate the cooling process.
Step 3: Make the Black Cocoa Buttercream
While the cupcakes bake and cool, make the black cocoa frosting.
If the frosting seems too thick, add an extra Tbsp of heavy cream. If it seems too thin, add in another 1/4 cup of powdered sugar.
Once the frosting is made, stir it by hand with a rubber spatula to get the frosting SUPER smooth.
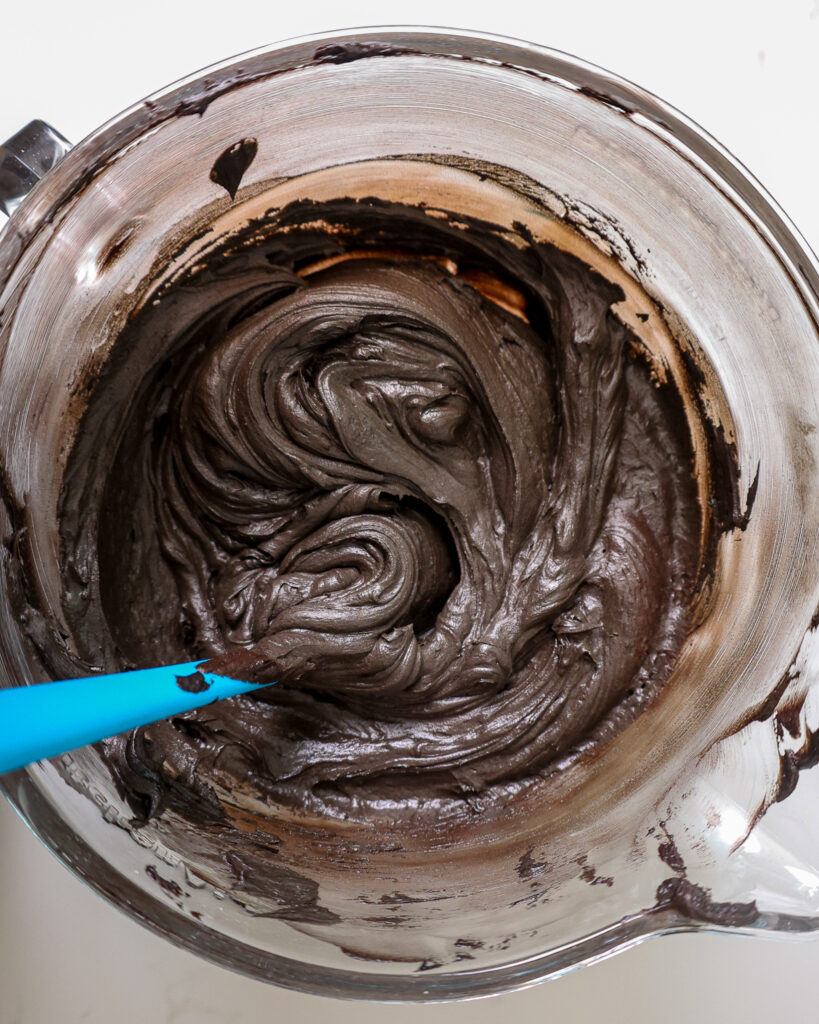
Then place in a piping bag fitted with a Wilton 1M tip.
Step 4: Frost the Cupcakes
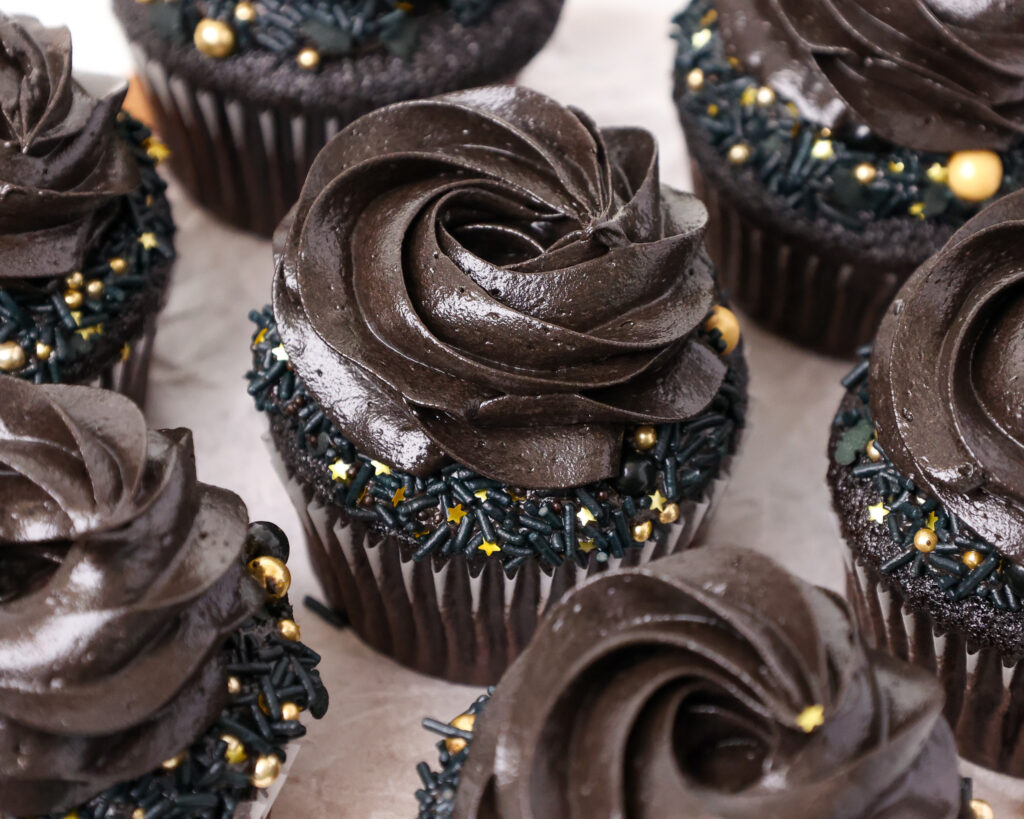
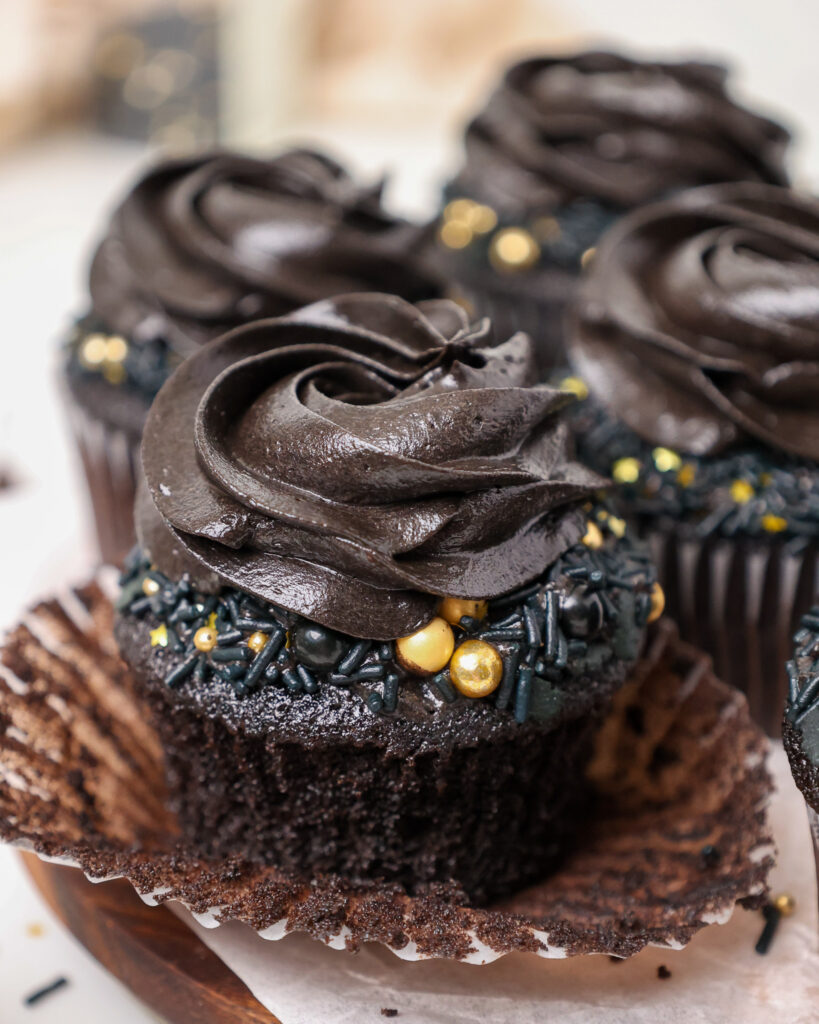
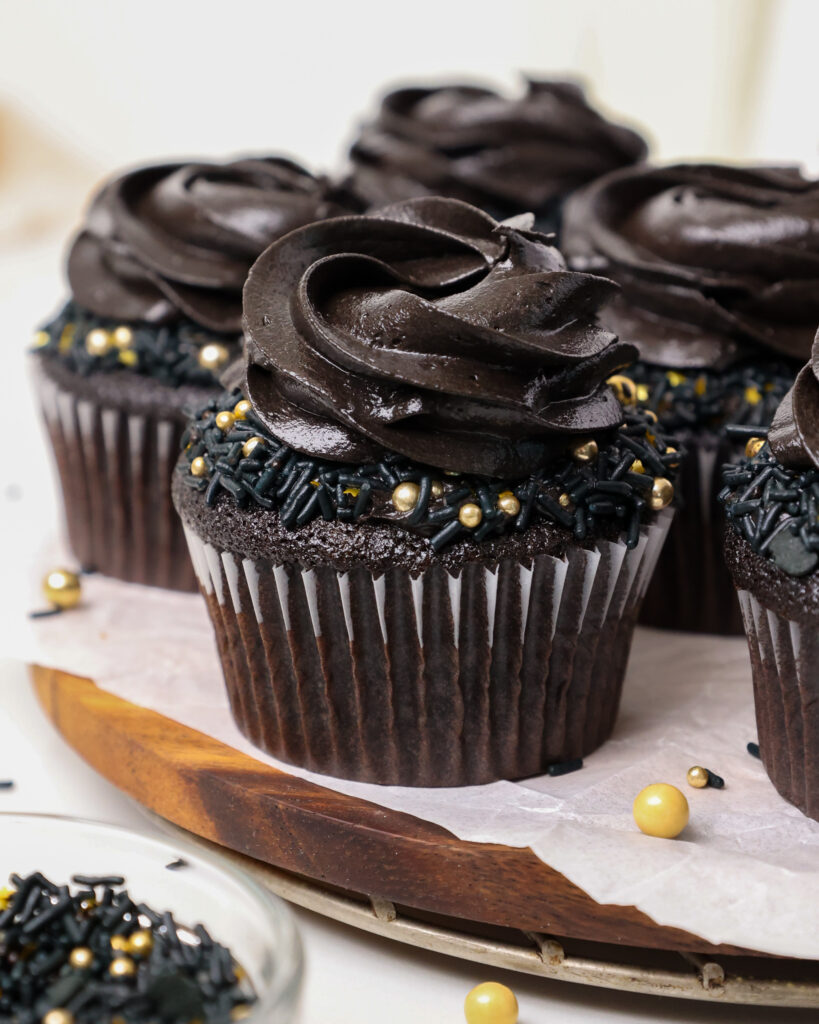
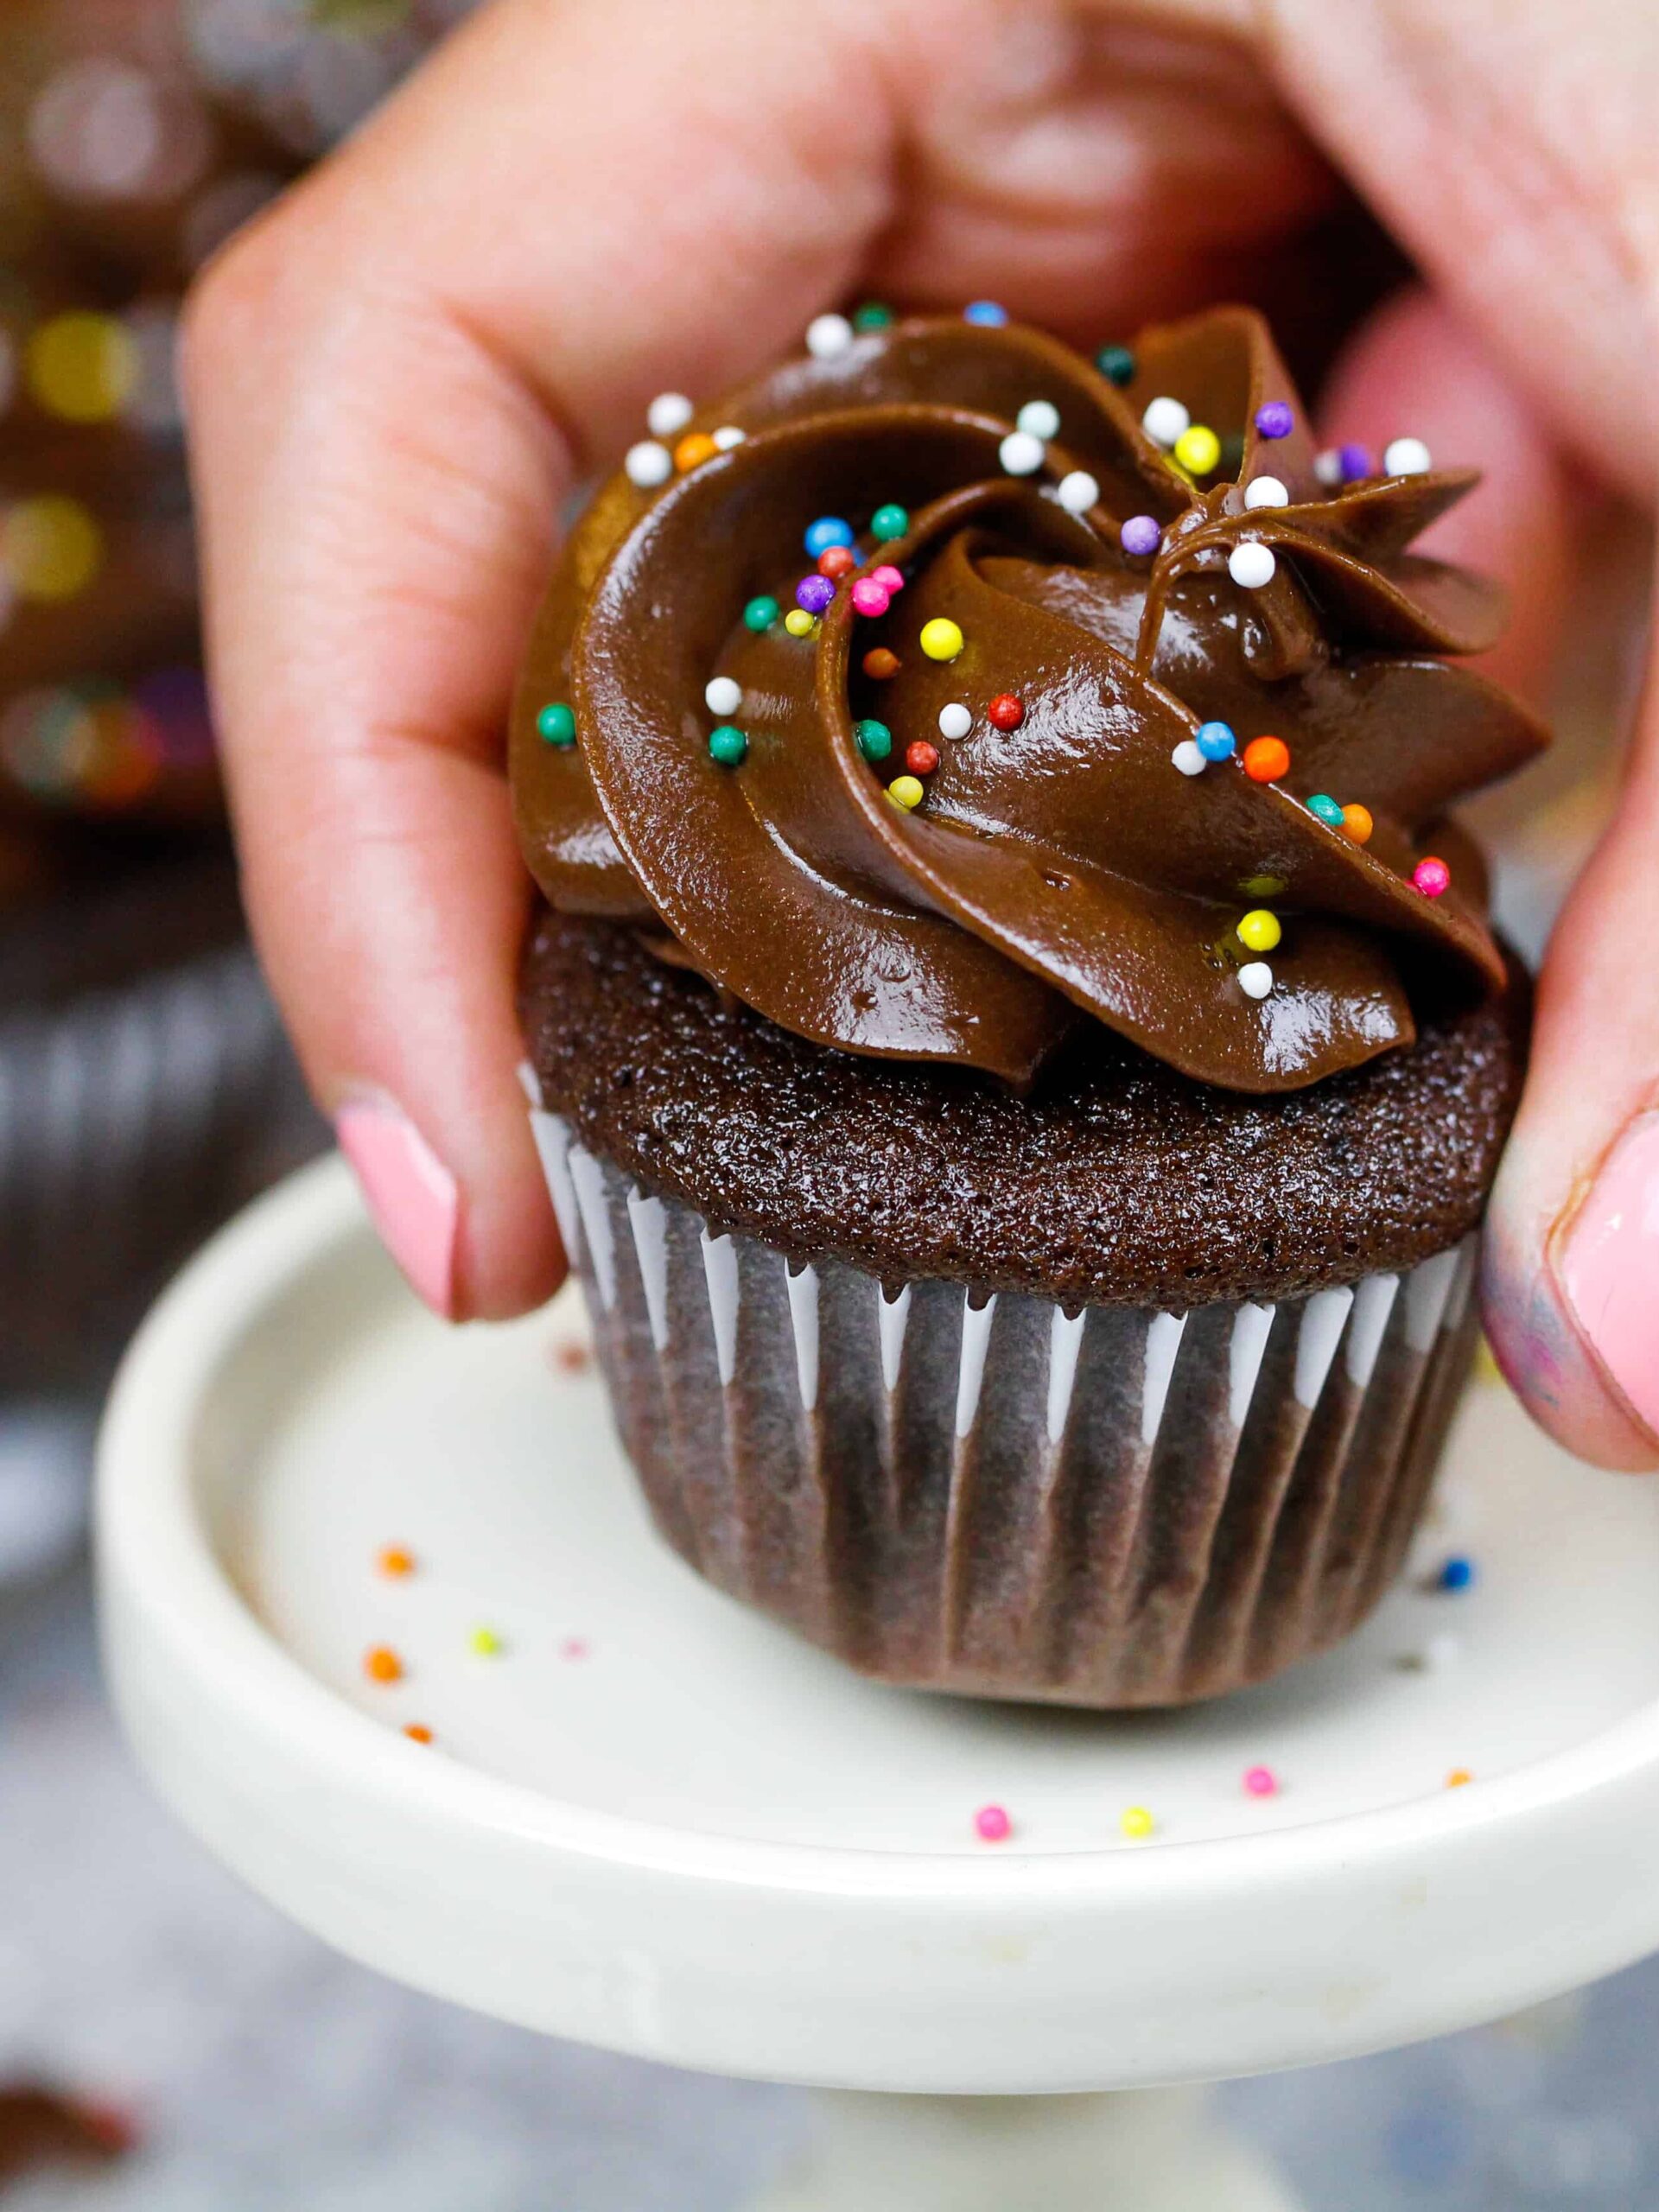
The final step is to pipe on a frosting swirl! To give these cupcakes a little extra flair, pipe a small swirl on top of each cupcake and dunk the cupcake into a bowl of your favorite sprinkles.
Each cupcake should be topped with a nice, even layer of sprinkles. Then pipe on large buttercream swirls and enjoy!
If you don’t have any frosting tips, you can also use a Freezer ziplock bag and trim the corner to have a 2 cm opening.
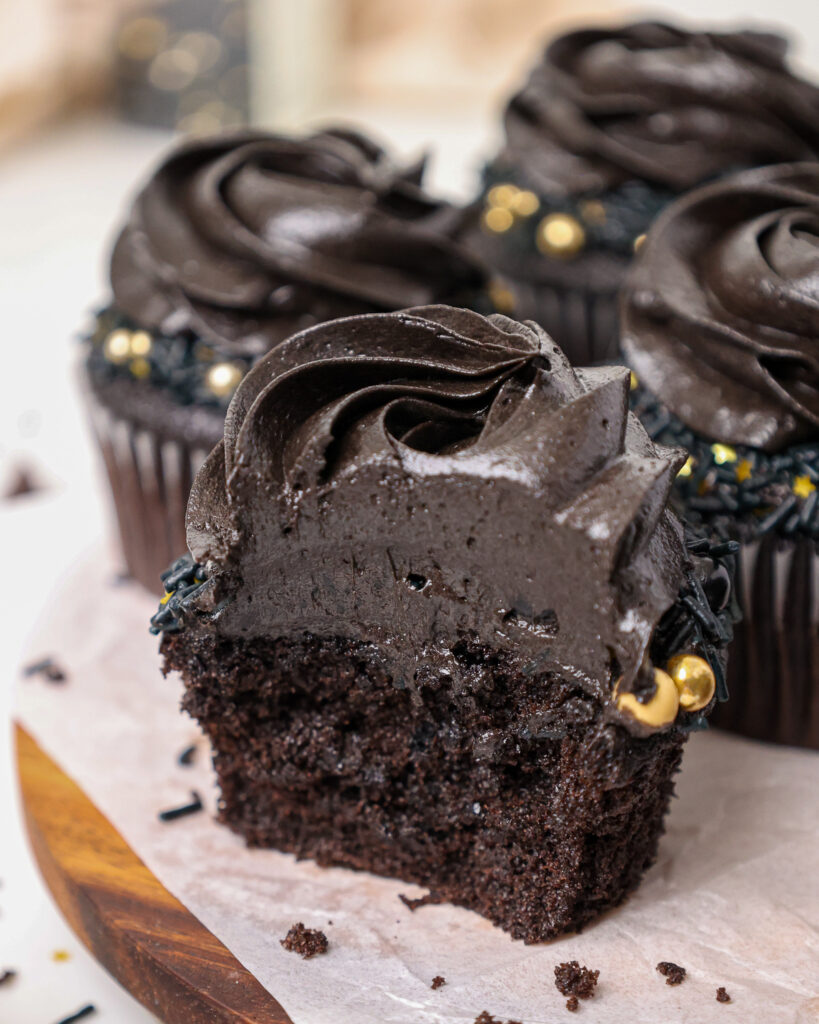
No matter how you decorate them, they’re going to be incredibly moist and delicious. I mean, just look at that crumb!!
Substitutions and Swaps – Black Velvet Cupcakes
Now that we’ve covered how to make these cupcakes, let’s talk about the ingredients!!
This recipe use quite a few ingredients and I know you might not have them all on hand.
Or if you have food allergies or restrictions, I’ve got you covered. Below are some swaps and substitutions that you can make.
- Chocolate Chips – You can use milk, dark, or semi-sweet chocolate to make these cupcakes.
- All Purpose Flour – This recipe turns out best with AP flour, but you can use a gluten free flour blend if needed.
- Granulated Sugar – I do not recommend reducing the amount of sugar or changing the type of sugar as it will change the texture of these cupcakes.
- Vegetable Oil – You can use any flavorless oil in this recipe. Canola or sunflower oil would work great!
- Large Eggs – If you have an egg allergy, try using 2 flaxseed eggs or a vegan egg replacer like this one made by Bob’s Red Mill.
- Vinegar – This recipe needs a bit of white vinegar because it uses baking soda as a leavening agent. The vinegar activates the baking soda and helps the cupcakes rise. You can also use apple cider vinegar.
Substitutions and Swaps – Black Cocoa Buttercream Frosting
- Unsalted Butter – If you only have salted butter on hand, you can use it in place of the unsalted butter. Just be sure to omit the salt that this frosting recipe calls for. You can also use vegan butter in its place!
- Black Cocoa Powder – To give this buttercream a naturally dark color, use black cocoa. I order mine online on amazon. If you can’t get your hands on black cocoa powder, you can also use dark cocoa powder and a little black gel food coloring.
- Heavy Cream – Whipping cream, coconut cream, or alternative milk (soy, almond, oat, coconut) will work fine in this frosting recipe if that’s what you have on hand.
- Chocolate Chips – Use milk, dark, or semi-sweet chocolate to make this buttercream! Just be sure it’s a good quality chocolate so it will melt down smoothly.
Tips for Making the Best Black Velvet Cupcakes
- Try to get your hands on some black cocoa for this recipe– it’s delicious and totally worth it!
- Ingredients at room temp mix together better. Set out any cold ingredients ahead of time.
- Properly measure the flour (spoon into the cup measure, then level) or use a kitchen scale to measure your dry ingredients.
- Mix the cupcake batter just until the ingredients are incorporated. This will ensure your cupcakes are tender and fluffy.
- Use a large cookie scoop to easily fill your cupcake liners. It also makes sure your cupcakes end up being the same height.
- Seal off the top the piping bag with a rubber band to prevent any frosting from coming out the top of the bag and make the piping bags easier to use.
Making This Black Velvet Cupcake Recipe in Advance
You can make these cupcakes in advance! Frosted cupcakes can sit at room temperature overnight or be stored in the fridge for up to 5 days in an airtight container.
They can also last up to a month in the freezer. If you plan to freeze them, I suggest waiting to frost them until they’re thawed.
You can also make the buttercream ahead of time or save any leftovers. This buttercream frosting will last in the fridge for up to a month.
Be sure to give the frosting a good stir once it thaws to get the consistency nice and smooth again.
You can also store buttercream in piping bags in the fridge. I find buttercream keeps its consistency well in piping bags and doesn’t require any mixing after it’s thawed.
Let Me Know What You Think!
If you make this black velvet cupcake recipe, I’d love to hear what you think of it! Please leave a rating below.
Don’t forget to tag me @chelsweets and #chelsweets so that I can see your amazing creations on social media.
Other Recipes You Might Like:
Black Velvet Cupcakes
These black velvet cupcakes are naturally colored with black cocoa powder and taste absolutely delicious! They're rich, chocolaty, and taste like an Oreo cookie!
Ingredients
Black Velvet Cupcakes
- 3/4 cup buttermilk (180g)
- 1/3 cup semi-sweet or dark chocolate chips (60g)
- 2 large eggs, room temperature (112g)
- 1/3 cup vegetable oil (70g)
- 1 tsp white vinegar (4g)
- 1 tsp vanilla extract (4g)
- 3/4 cup all purpose flour (100g)
- 3/4 cup granulated sugar (150g)
- 1/3 cup black or dark cocoa powder (30g)
- 1/2 tsp baking soda (3g)
- 1/2 tsp fine salt (2g)
Black Buttercream Frosting
- 3/4 cup (1 1/2 sticks) unsalted butter, room temperature (113g)
- 1/3 cup black or dark cocoa powder, sifted (30g)
- 1/2 tsp vanilla extract (2g)
- 1/4 tsp fine salt (1g)
- 2 1/2 cups powdered sugar (313g)
- 1/3 cup heavy cream (80g)
- 1/2 cup semi-sweet or dark chocolate chips (90g)
Optional Topping
Instructions
Black Velvet Cupcake Recipe
- Make the black velvet cupcakes first. Preheat the oven to 350°F / 175°C and place 12 cupcake liners in a cupcake pan.
- Add 3/4 cup buttermilk and 1/3 cup chocolate chips into a heat proof bowl. Heat in the microwave at power level 8 for 1 minute or over a double boiler until the chocolate has melted. Don't worry if the buttermilk separates a bit. Let the mixture sit for a minute, then whisk together until combined. Make sure all the chocolate is melted.
- Add in 2 large eggs, 1/3 cup vegetable oil, 1 tsp vinegar and 1 tsp vanilla. Whisk together until smooth.
- Sift 3/4 cup all purpose flour, 3/4 cup granulated sugar, 1/3 cup black cocoa powder, 1/2 tsp baking soda, and 1/2 tsp salt into chocolate buttermilk mixture. Whisk until just combined.
- Scrape the sides and bottom of the bowl as needed with a spatula.
- Pour the batter evenly between the cupcake liners and fill them about 2/3 full. Bake for about 18-21 minutes or until a toothpick comes out with a few moist crumbs.
- Let the cupcakes cool for 10 minutes in the pan before moving them to a wire rack to finish cooling.
Black Cocoa Buttercream Frosting
- While the cupcakes bake and cool, make the black cocoa buttercream. Beat 3/4 cup of unsalted butter on a medium speed for 30 seconds with a hand mixer until smooth.
- Mix in 1/3 cup black cocoa powder, 1/2 tsp vanilla extract and 1/4 tsp salt on a low speed.
- Slowly mix in 2 1/2 cups powdered sugar on a low speed. Scrape the sides and bottom of the bowl as need with a rubber spatula.
- In a small, heat-proof bowl, add 1/3 cup heavy cream and 1/2 cup semi-sweet chocolate chips. Heat in the microwave for 30 seconds, then let the mixture sit for a minute. Stir until combined, then slowly mix into the frosting on a low speed.
- If the frosting seems too thick, add an extra Tbsp of heavy cream. If it seems too thin, add in another 1/4 cup of powdered sugar.
- Stir by hand with a rubber spatula to get the frosting SUPER smooth. Place into a large piping bag fit with a Wilton 1M frosting tip.
Decorating These Black Velvet Cupcakes
- The final step is to pipe on a frosting swirl! To give these cupcakes a little extra flair, pipe a small swirl on top of each cupcake and dunk the cupcake into a bowl of your favorite sprinkles. Each cupcake should be topped with a nice, even layer of sprinkles.
- Then pipe on large buttercream swirls and enjoy!
Notes
Making Mini Black Velvet Cupcakes
If you want to make mini black velvet cupcakes, this recipe can be baked in mini muffin tins! It makes about 40 mini cupcakes, and they only need to bake for 10-12 minutes at 350 F / 175 C.
Tips for Making the Best Black Velvet Cupcakes
- Ingredients at room temp mix together better. Set out any cold ingredients ahead of time.
- Properly measure the flour (spoon into the cup measure and then level) or use a kitchen scale to measure your dry ingredients.
- Once you add the flour, mix the cupcake batter just until the ingredients are incorporated. This will ensure your cupcakes are tender and fluffy.
- Use a large cookie scoop to easily fill your cupcake liners. It also makes sure your cupcakes end up being the same height.
- Bang the cupcake pan on the counter before putting it in the oven. This brings any air bubbles that are trapped in the batter to the surface.
- Seal off the top of your piping bag with a rubber band to prevent any frosting from seeping out the top of the bag and make the piping bags easier to use.
Black Velvet Cupcake Variations
To make gluten free black velvet cupcakes, swap in your favorite gluten free flour blend for the AP flour this recipe calls for, and be sure to over-mix your batter and let it sit for at least 30 minutes before baking for best results.
Making These Black Velvet Cupcakes in Advance & Storage Tips
You can make these cupcakes in advance! Frosted cupcakes can sit at room temperature overnight or be stored in the fridge for up to 5 days if stored in an airtight container. However, they taste best when they're freshly baked!
These cupcakes can also last up to a month in the freezer. If you plan to freeze them, I suggest waiting to frost them until they're thawed.
You can also make your buttercream ahead of time or save any leftovers. The buttercream frosting will last in the fridge for up to a month.
Be sure to give the frosting a good stir once it thaws to get the consistency nice and smooth again.
You can also store buttercream in piping bags in the fridge. I find they keep their consistency well in piping bags and don't require any mixing after they've thawed.
Nutrition Information
Yield
12Serving Size
1Amount Per Serving Calories 475Total Fat 20gSaturated Fat 8gTrans Fat 0gUnsaturated Fat 10gCholesterol 43mgSodium 254mgCarbohydrates 67gFiber 5gSugar 49gProtein 7g
