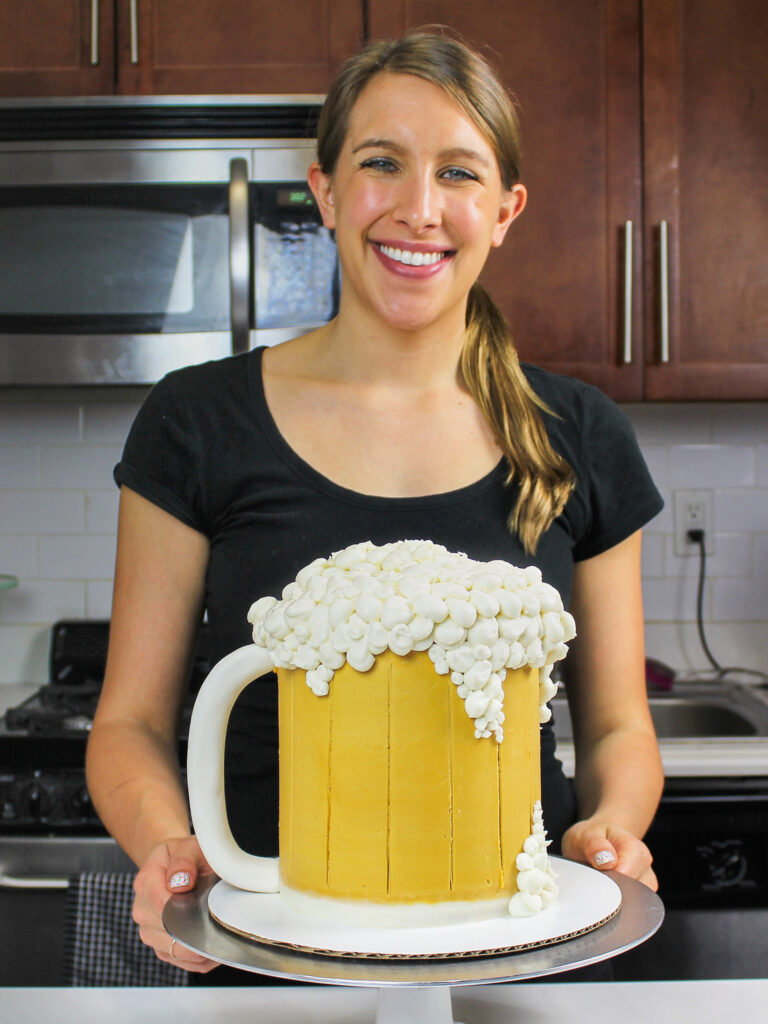
Originally I wanted to share a beer mug cake for Father’s Day, but I wasn’t able to edit the footage in time!
Luckily, beer never goes out of style, and this cake is also perfect for summertime BBQs / cook outs!
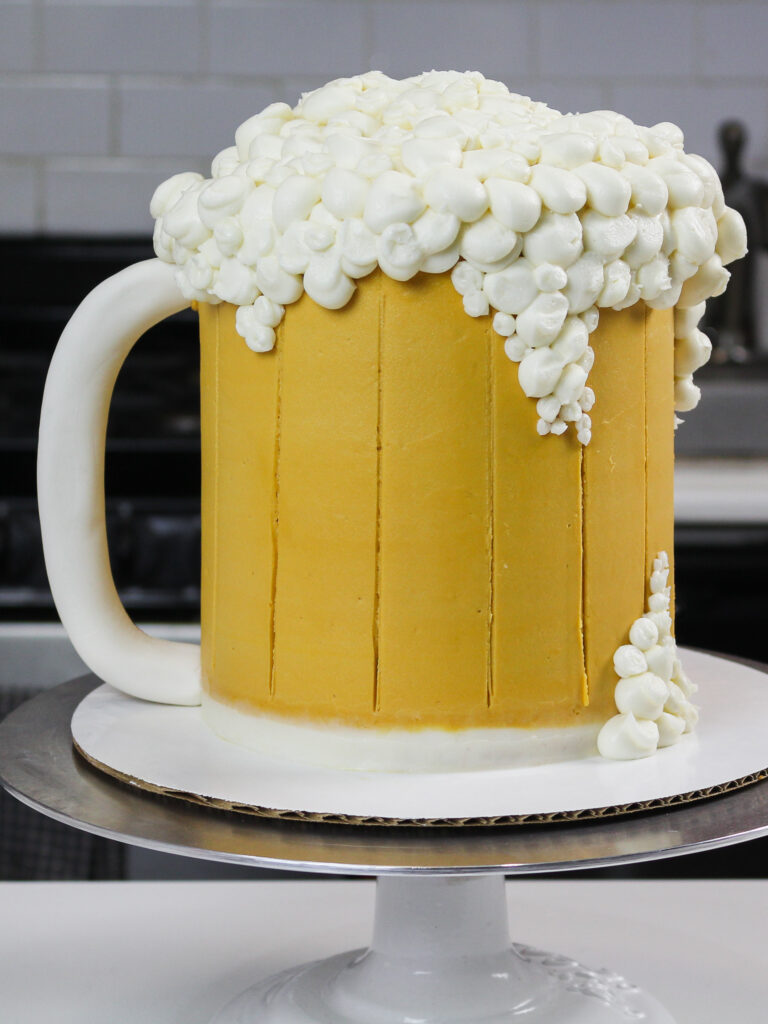
Adding Beer Into This Cake Recipe
I couldn’t resist using some beer in the actual cake recipe. It felt wrong making the cake layers without it. Plus, now it’s truly a beer cake recipe!!
I swapped out some of the buttermilk for beer in my go-to vanilla layer cake recipe and frosted the cake with a vanilla buttercream. It’s almost like a cream ale, right?!
The fun part is that you can use your favorite beer. I used a Founders All-Day IPA, but the options are really limitless.
I’d love to hear what your favorite beer is, and what types you’ve used in this recipe!
Beer Frosting??
When I began to think about adding beer to the cake layers, my brain naturally progressed to day dreaming about a beer buttercream.
Originally I did plan to use a beer flavored frosting on this cake. I figured if I could cook down the beer a bit, I could incorporate it into my buttercream recipe.
But that idea quickly faded when I tried to make an IPA reduction. While the concept seemed great in my mind, the smell of the reduction told me otherwise!!
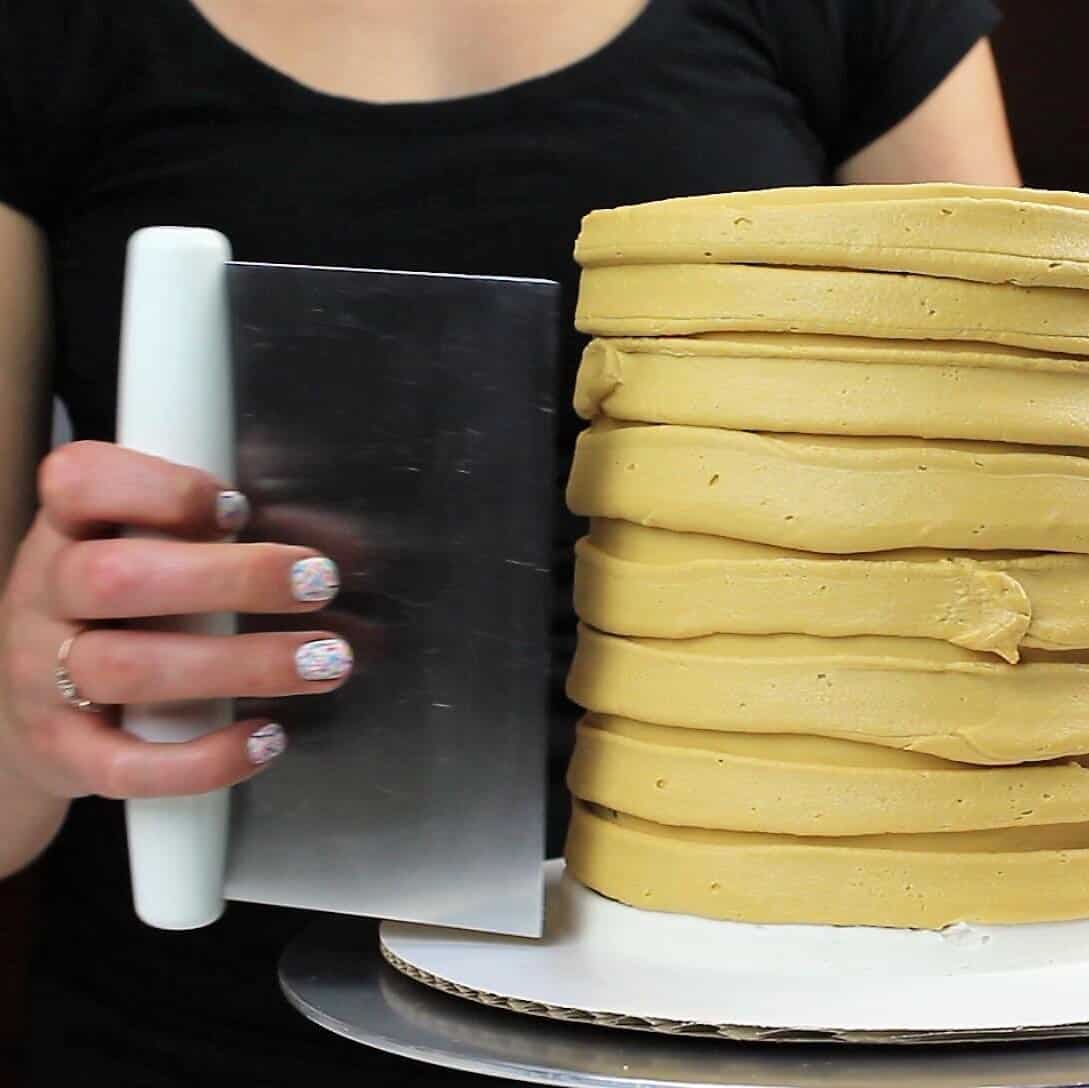
Instead, I chose to color the frosting into what I decided was a “beer-colored” frosting.
I used a combination of warm brown and yellow gel food coloring to create this tan shade.
Making the Beer Mug Handle
While I don’t work with fondant and gum paste very often, it’s hard to avoid it with this beer mug cake design.
Without a handle, it’s really a beer glass cake. And that just doesn’t have the same ring to it!!
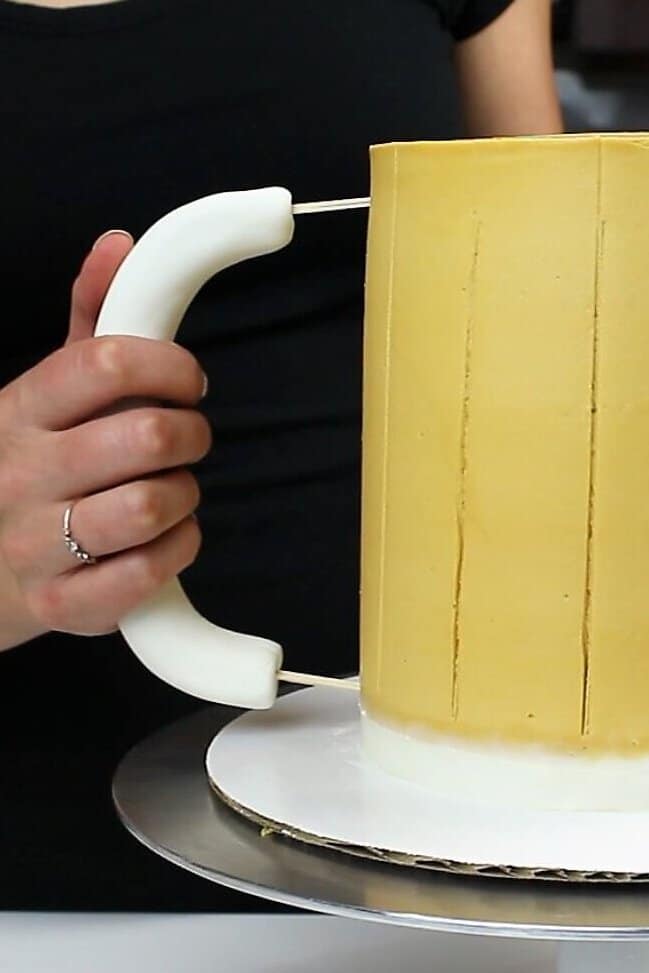
This handle can be made with white fondant or gum paste. Gum paste is similar to fondant but dries more quickly.
I used fondant and it took quite a while for my handle to dry. I’d recommend using gum paste if possible!
Be sure you make the handle for this cake at least a few hours in advance, if not the day before.
This will give it time to dry and make it easier to insert onto the side of your cake. If it’s still soft, it can crack or break.
The Finishing Touch on This Beer Mug Cake: The Buttercream Foam
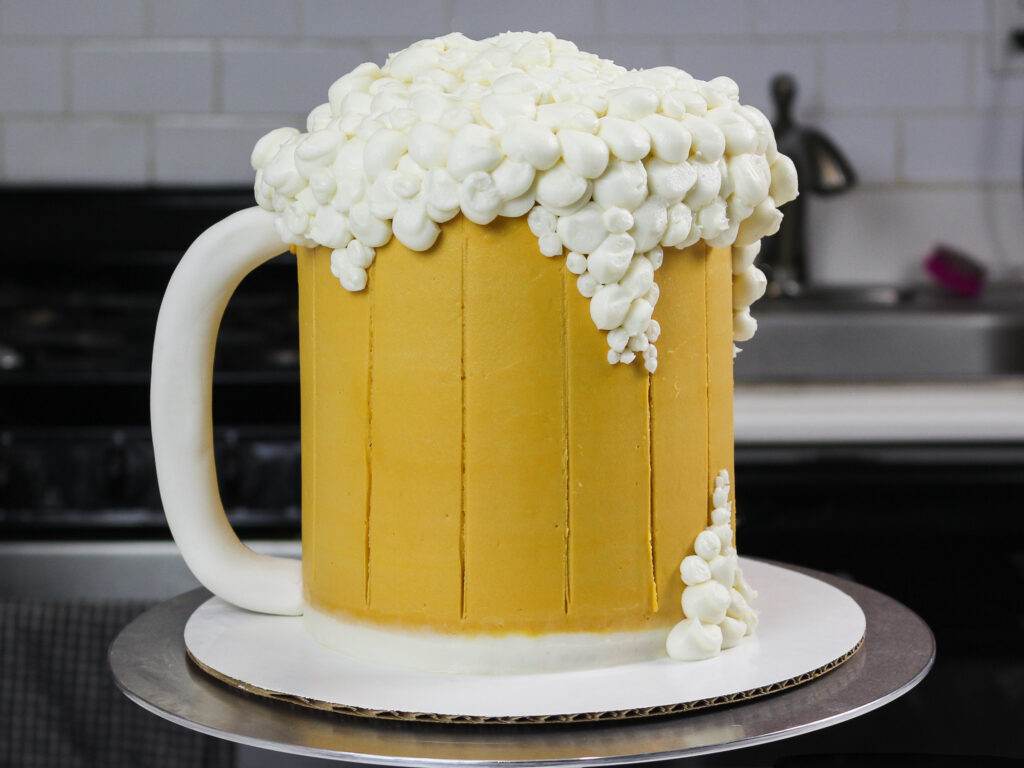
The finishing touch on this cake is the buttercream foam! It’s ironic, because in real life you don’t want a ton of foam on top of your beer.
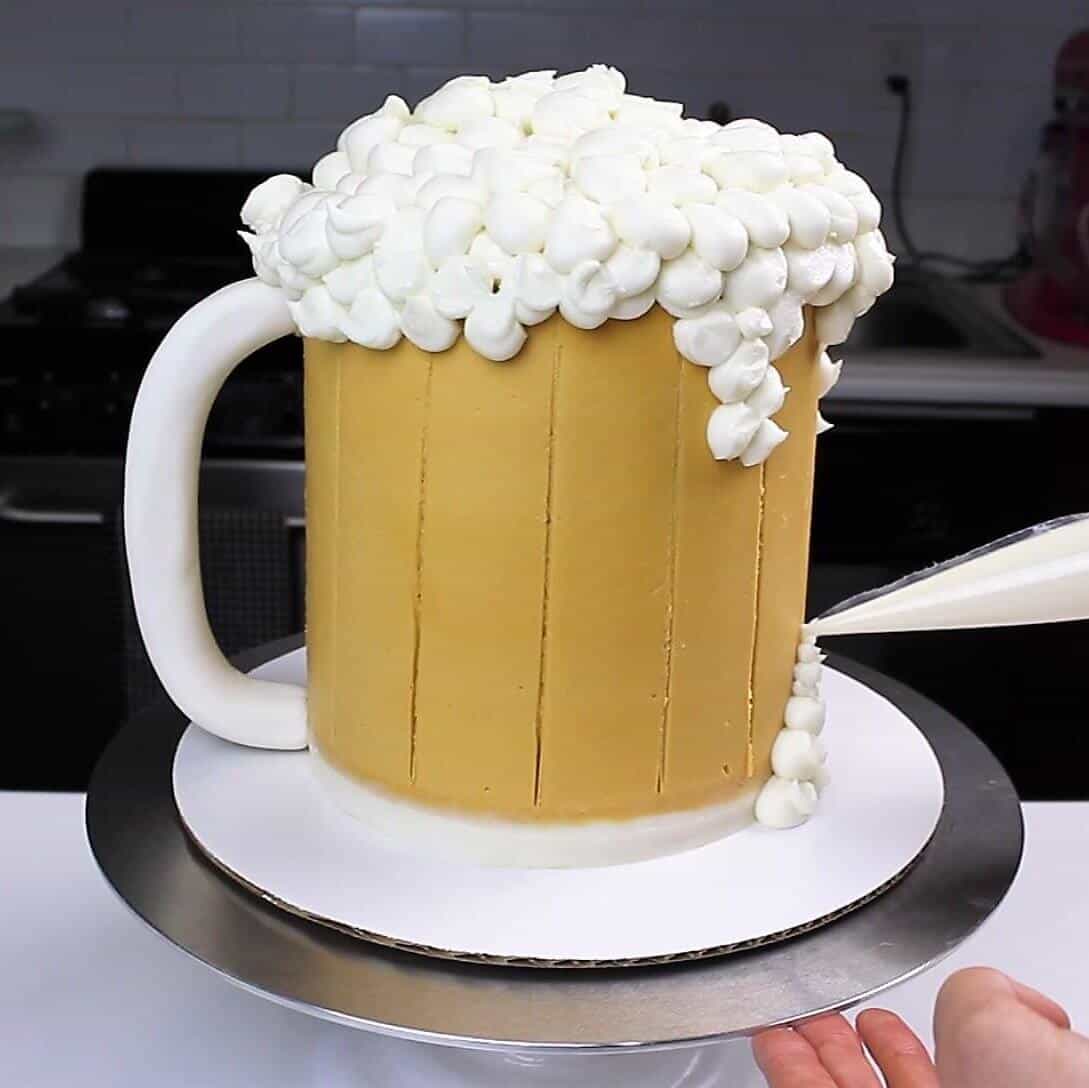
However, I love the cartoonish look that the piped frosting foam gives this cake. It makes it feel like it’s right out of an episode of The Simpsons!!
I’d be lying if I said I didn’t enjoy the rest of the IPA while decorating this beer mug cake! I had way too much fun decorating it, and hope you do too.
Beer Mug Cake Substitutions and Swaps
Below are some swaps and substitutions that can be made in this recipe.
- All-Purpose Flour – This recipe works best with all-purpose flour, but you can use cake flour or a gluten free flour blend if needed.
- Unsalted Butter – If you only have salted butter on hand, you can use it in place of the salted butter and omit the salt in this recipe. You can also use vegan butter in its place!
- Egg Whites – You can also use 5 large, whole eggs or if you have an egg allergy you can use an egg replacer like this. However, it will slightly change the color and texture of these cake layers.
- Buttermilk – You can also use whole milk, full-fat yogurt, sour cream or alternative yogurt or milk (almond, soy, oat) if you’re dairy free.
Tips for Making the Best Beer Mug Cake
- Ingredients at room temp mix together better! Set out any cold ingredients ahead of time.
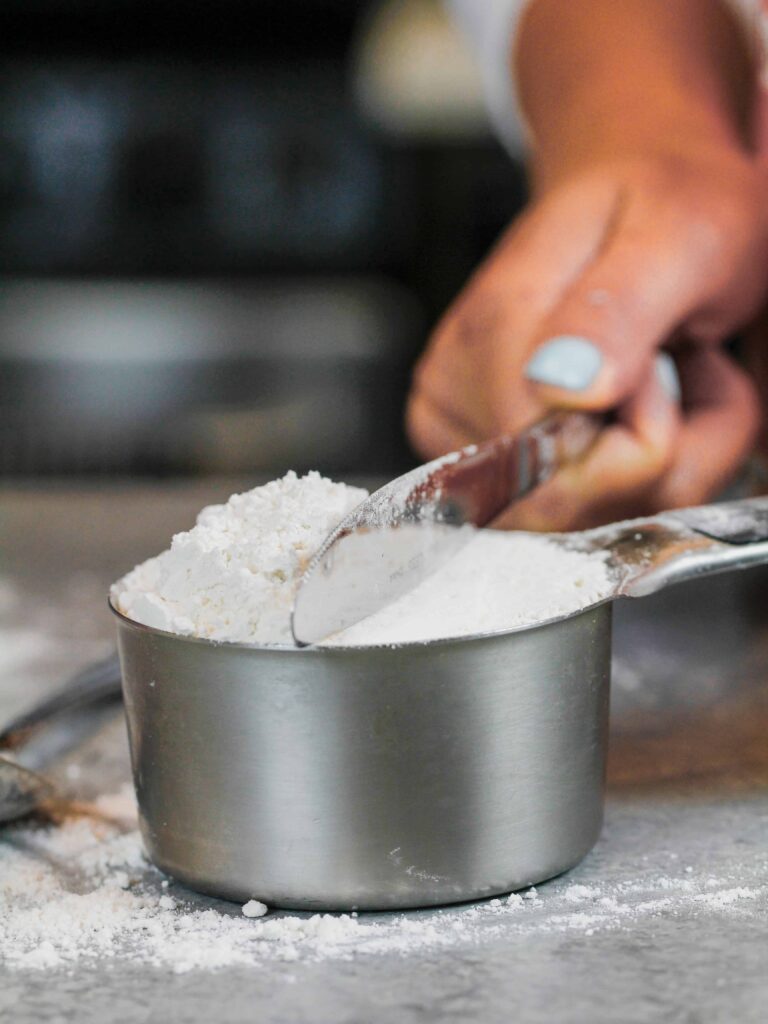
- Properly measure your flour (spoon into the cup measure, then level) or use a kitchen scale to measure the dry ingredients.
- Bang your cake pans on the counter before putting them in the oven. This brings any air bubbles that are trapped in the batter to the surface.
- Level the room temperature or thawed cake layers with a serrated knife to make them easier to stack (but leave one unleveled!).
- Make this beer mug cake vegan or dairy free if needed! Use your favorite type of dairy free milk to replace the buttermilk and heavy cream and use vegan butter sticks in place of the butter. For the eggs I recommend using an egg replacer like this.
Making This Beer Mug Cake in Advance & Storage Tips
Make the cake layers in advance and freeze them. It breaks the process up and makes it more approachable.
Make the frosting ahead of time or save any leftover frosting! It can be stored in an airtight container in the fridge for up to a month, or in the freezer for up to 3 months. Be sure to give it a good stir once it thaws to get the consistency nice and smooth again.
A frosted cake can last in the fridge for up to a week or in the freezer for up to a month. The buttercream locks in all the moisture, keeping the cake fresh and delicious!
If you cut into the cake and have leftovers, use any remaining frosting to cover the cut section to keep it moist and store in the fridge for up to a week.
Let Me Know What You Think!
If you try this beer mug cake recipe, I’d love to hear what you think of it! Please leave a rating and comment below.
And don’t forget to tag me @chelsweets and use #chelsweets on social media so that I can see your delicious creations!
Other Recipes You Might Like:
Beer Mug Cake

This beer mug cake is perfect for anyone who loves beer!! It's decorated to look like a frosty mug of beer and the recipe actually uses a bit of beer!
Ingredients
Beer Cake Recipe
- 3 cups all-purpose flour (375g)
- 3 cups granulated sugar (600g)
- 2 1/2 tsp baking powder (10g)
- 1 tsp fine salt (6g)
- 1 cup unsalted butter, room temp (226g)
- 1 cup egg whites from a carton or about 7 egg whites, room temp (235g)
- 1 cup buttermilk, room temp (240g)
- 1/2 cup of your favorite beer, room temperature (120g)
- 2 Tbsp vegetable oil (30g)
- 2 tsp vanilla extract (8g)
- Yellow and brown gel food coloring (if desired)
Vanilla Buttercream Frosting
- 2 cups unsalted butter, room temp (452g)
- 1 Tbsp vanilla extract or vanilla bean paste (12g)
- 1/2 tsp fine salt (3g)
- 7 cups powdered sugar (875g)
- 1/4 cup heavy cream or whipping cream (60g)
- Yellow and brown gel food coloring
Additional Decorations
- 1 cup white gum paste
- 2 toothpicks
Instructions
Beer Handle Decoration:
- Make the beer handle first so that it has time to dry! It needs at least a few hours to dry, and I like to make it the night before just to be safe. To accelerate the drying process, use either white gum paste or fondant with tylose powder.
- Shape the handle to be about 5 inches tall and insert toothpicks into the tips of the handle. Set aside to fully firm up overnight.
Beer Cake Layers:
- Preheat the oven to 350°F / 175°C. Line six, 6" cake pans with parchment rounds and grease with non-stick baking spray or homemade cake pan release. If you don't have 6 cake pans, the batter can sit at room temperature for a few hours. Bake as many layers at a time as you can.
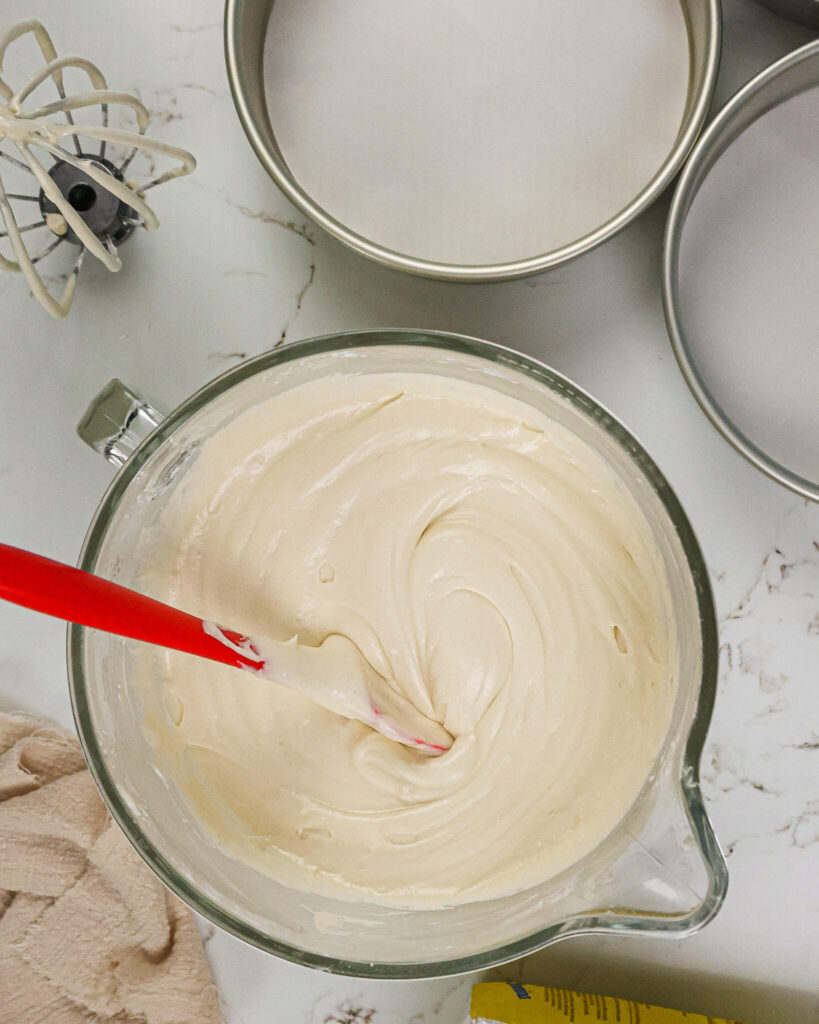
- Mix 3 cups all purpose flour, 3 cups sugar, 2 1/2 tsp baking powder and 1 tsp salt together in a stand mixer with a paddle attachment or hand mixer until fully combined.
- Mix in 1 cup of room temperature, unsalted butter slowly into the dry ingredients on a low speed. Continue to mix until no large chunks of butter remain, and the mixture looks like moist sand.
- Pour in 1 cup of egg whites and mix on low until just incorporated. Mix in 1 cup of buttermilk and 1/2 cup of beer on a low speed.
- Add in 2 Tbsp of vegetable oil and 2 tsp of vanilla extract and mix at a low speed until fully incorporated. If you plan to color your cake layers, add in the brown and yellow gel food coloring with the oil and vanilla.
- Scrape down the sides of the bowl with a rubber spatula, then beat on a medium speed for about a minute to make sure everything is properly mixed together. This also helps lighten the texture of the cake layers a bit.
- Divide the batter evenly between your prepared pans. I like to use a scale to make sure each pan has the same amount of batter and will bake up to be the same height.
- Bake for 30-32 minutes or until a toothpick comes out with a few moist crumbs. Let the pans cool for 10 minutes, then run a small offset spatula around the perimeter of the pan to separate the cake from the pan.
- Place the cake layers into the freezer for 30 minutes to accelerate the cooling process. Once the layers are fully cooled, carefully flip the pans and remove the layers.
- Use a serrated knife to level the tops of the layers right before you plan to assemble your cake, or you can wrap and freeze them if you're making them in advance.
- If you make these cake layers in advance and freeze them, let them thaw for about 20 minutes before making your cake. The cake layers should still be slightly cold to the touch, which will make it easier to assemble your cake.
Vanilla Buttercream Frosting:
- While the cake layers bake and cool, make the vanilla buttercream frosting.
- Beat 2 cups of unsalted butter on a medium speed for 30 seconds with a paddle attachment until smooth.
- Mix in 1 Tbsp of vanilla extract and 1/2 tsp salt on a low speed.
- Slowly mix in 7 cups of powdered sugar on a low speed. Add 1/4 cup of heavy cream halfway through to make the frosting easier to mix.
- Continue to mix on a low speed for a few minutes until the desired consistency is reached.
- If the frosting is too thick, add in additional cream (1 Tbsp at a time). If the frosting is too thin, add in more powdered sugar (quarter of a cup at a time).
- Place two cups of white buttercream into a large piping bag and cut a small opening (about 1 cm wide). Set aside.
- Color the remaining buttercream a tan color using a couple drops of yellow gel food coloring and a tiny drop of brown gel food coloring. Start off with a tiny bit of food coloring, then add more as needed until the color looks right.
Assembling This Beer Mug Cake:
- Stack and frost cake layers on a greaseproof cake board using a dab of frosting to help stick the first cake layer to the board.
- Add a thick, even layer of tan buttercream between each cake layer. Once the layers are stacked, add a thin coat of frosting around the cake that fully covers the cake layers. This will trap those pesky crumbs so that our final coat of buttercream looks amazing!
- If the layers seem to be sliding around a bit while you cover the cake with frosting, insert a wooden dowel through the center of the cake for stability.
- Smooth the crumb coat using a bench scraper, then chill the cake in the fridge (30 minutes) or freezer (10 minutes) until the frosting is firm to the touch.
- Then it's time for our second, thicker layer of frosting. Pipe a line of white buttercream around the base of the cake, then cover the rest of the cake with the tan buttercream. Smooth using a bench scraper. I also like to use the bench scraper to make vertical lines up the cake to look like the indentations on a beer mug.
- Pipe some foam on top of the cake with the remaining white buttercream. Add a bit of buttercream foam down the side of the cake too to look like it's overflowing.
- The last step is to press the beer mug handle into the side of the cake. Then enjoy!
Notes
One batch of cake batter makes about 1800 grams. If you plan to use six circular cake pans, add 300 grams of batter into each pan.
Tips for Making the Best Beer Mug Cake
- Ingredients at room temp mix together better! Set out any cold ingredients ahead of time.
- Properly measure your flour (spoon into the cup measure, then level). Or better yet, use a kitchen scale to measure your dry ingredients.
- Use a scale to weigh your cake pans as you fill them. It will make your cake layers bake to the same height and bake more evenly.
- Bang your cake pans on the counter before putting it in the oven. This brings any big air bubbles that are trapped in the batter to the surface.
- Level your room temperature or thawed cake layers with a serrated knife to make them easier to stack.
- Chill your cake layers in the freezer for about 20 minutes before assembling the cake. It makes it so much easier to stack and frost them!
Making This Beer Mug Layer Cake in Advance & Storage Tips
Make the cake layers in advance and freeze them. It breaks the process up and makes it more approachable.
Make the frosting ahead of time too or save any leftover frosting! It can be stored in an airtight container in the fridge for up to a month, or in the freezer for up to 3 months. Be sure to give it a good stir once it thaws to get the consistency nice and smooth again.
A frosted cake can last in the fridge for up to a week, or in the freezer for up to a month. The buttercream locks in all the moisture, keeping the cake fresh and delicious!
If you cut into the cake and have leftovers, use any remaining frosting to cover the cut section to keep it moist and store in the fridge for up to a week.
Nutrition Information
Yield
24Serving Size
1Amount Per Serving Calories 557Total Fat 24gSaturated Fat 15gTrans Fat 0gUnsaturated Fat 8gCholesterol 63mgSodium 237mgCarbohydrates 84gFiber 1gSugar 68gProtein 3g

Enshu
Sunday 27th of February 2022
Hello, Chelsea : )
What a beautiful and cool cake. May I ask in what way the outcome of your cake will differ from a regular sponge cake? I'm kind of new to baking and appreciate your input very much. Thank you again : )
Vanessa
Wednesday 23rd of February 2022
How many servings can you get from this cake? I’m duplicating your design and recipe and just want to make sure it can feed 20 people :)
Shannon
Friday 8th of October 2021
Hello! I'm hoping to use this recipe to make Oktoberfest cupcakes with a german stout and caramel pretzel buttercream. Do you think this recipe would hold up okay for cupcakes? Thank you!!
Amber-lese Smith
Sunday 18th of July 2021
What did you use to make the beer foam?
Sharon
Sunday 18th of July 2021
What sort of nozzle did you use for the foam