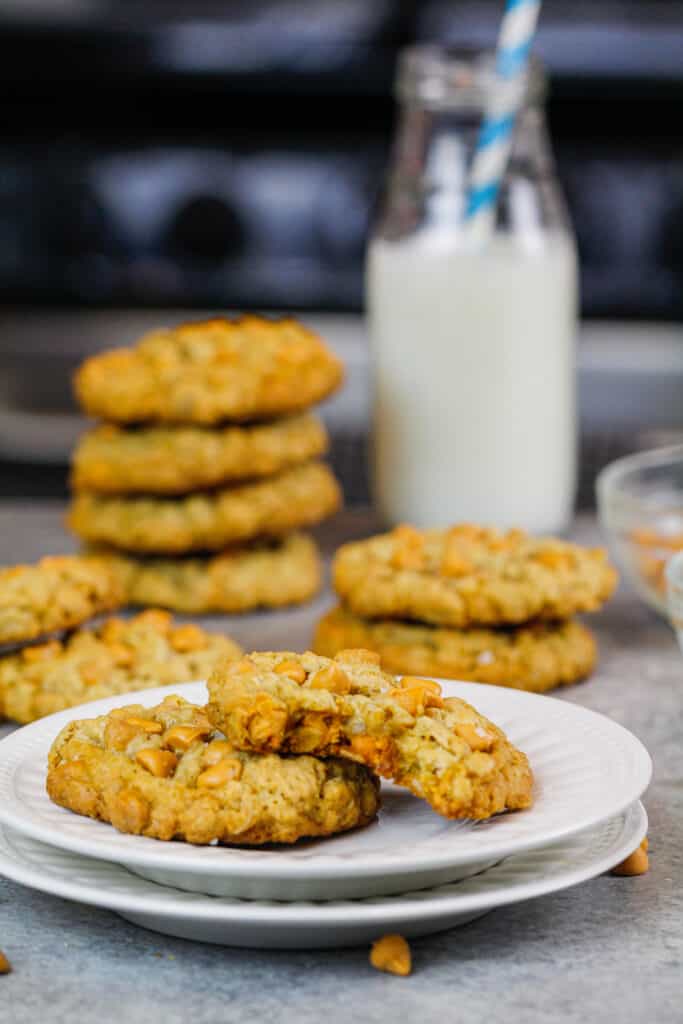
I worked with Butterfinger® to combine a few of my favorite things and make these soft and chewy Monster Butterfinger® cookies. And let me tell you, these cookies deliver!!
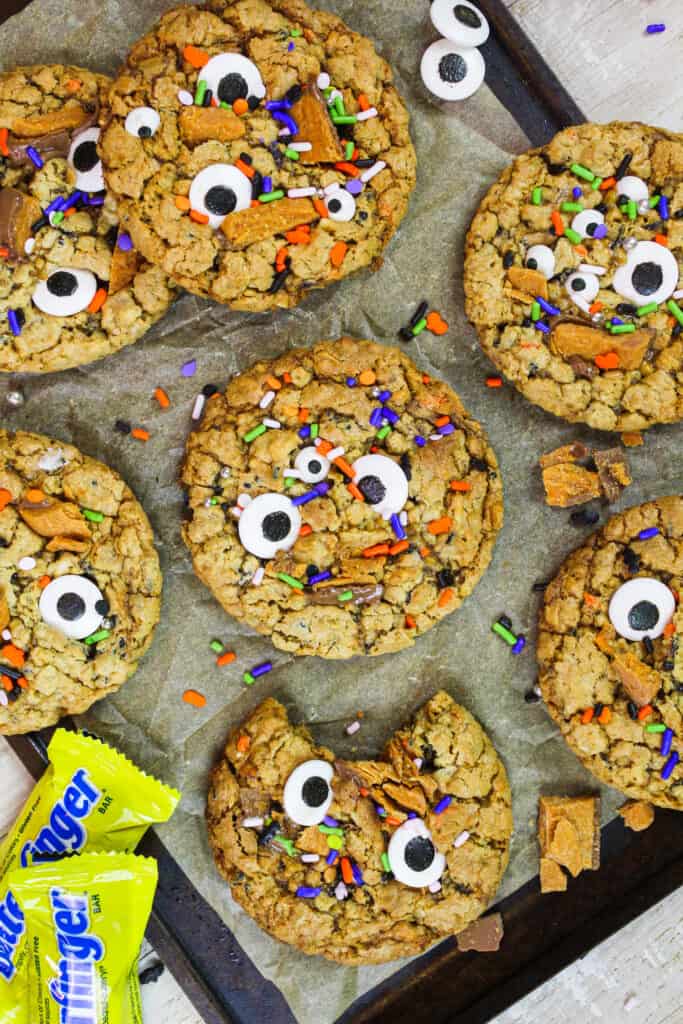
They get their unique texture and flavor from generous amounts of peanut butter, brown sugar, chopped-up Butterfinger® and oats.
They’re chewy, packed with crispety, crunchety, peanut-buttery Butterfinger® flavor and are perfectly sweet.
Monster Cookie Ingredients & Substitutions
I love this monster cookie recipe just the way it is but I know some people might not have all of these ingredients on hand! Or you might have food restrictions or allergies.
Below are some swaps and variations that can be made in this recipe.
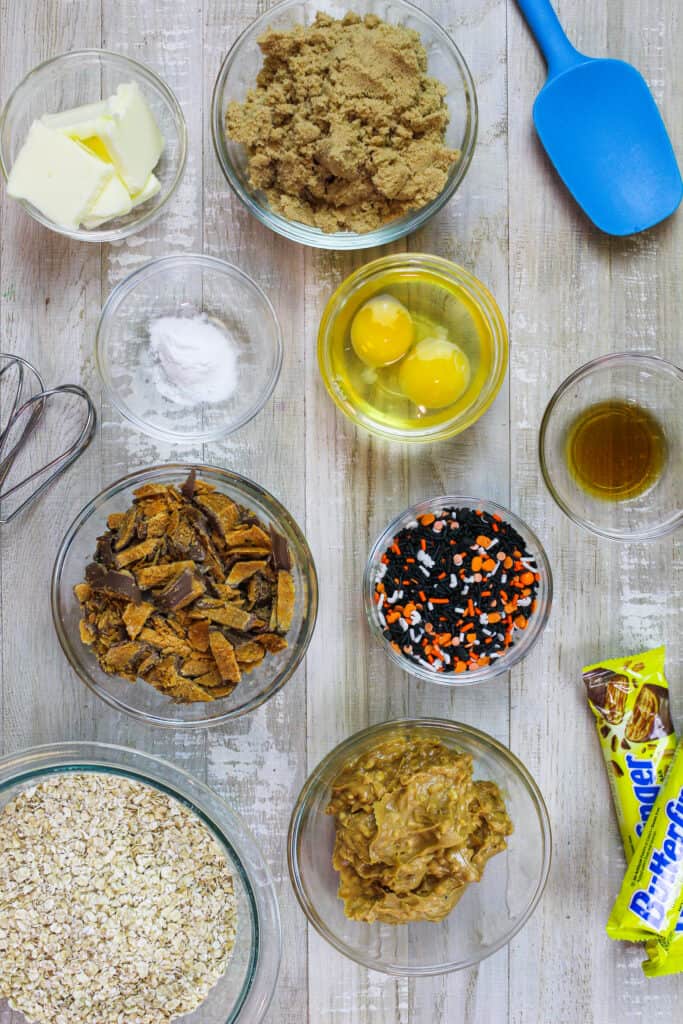
- Salted Butter – If you only have unsalted butter on hand, you can use it in place of the salted butter in this recipe. Just be sure to add 1/2 tsp salt. You can also use vegan butter in its place.
- Brown Sugar – I prefer this recipe with dark brown sugar but you can also use light brown sugar! Granulated sugar can be used in its place but it will change the texture and flavor of the cookies.
- Large Eggs – This cookie recipe uses 2 large eggs! You can use 2 flaxseed eggs instead if you have an egg allergy.
- Peanut Butter – I prefer chunky peanut butter in this recipe for the added texture, but you can use creamy if you prefer! You can also use almond or sunflower butter.
- Quick Oats – Quick oats give these cookies the perfect chew. If you don’t have quick oats on hand, you can also use rolled or old-fashioned oats.
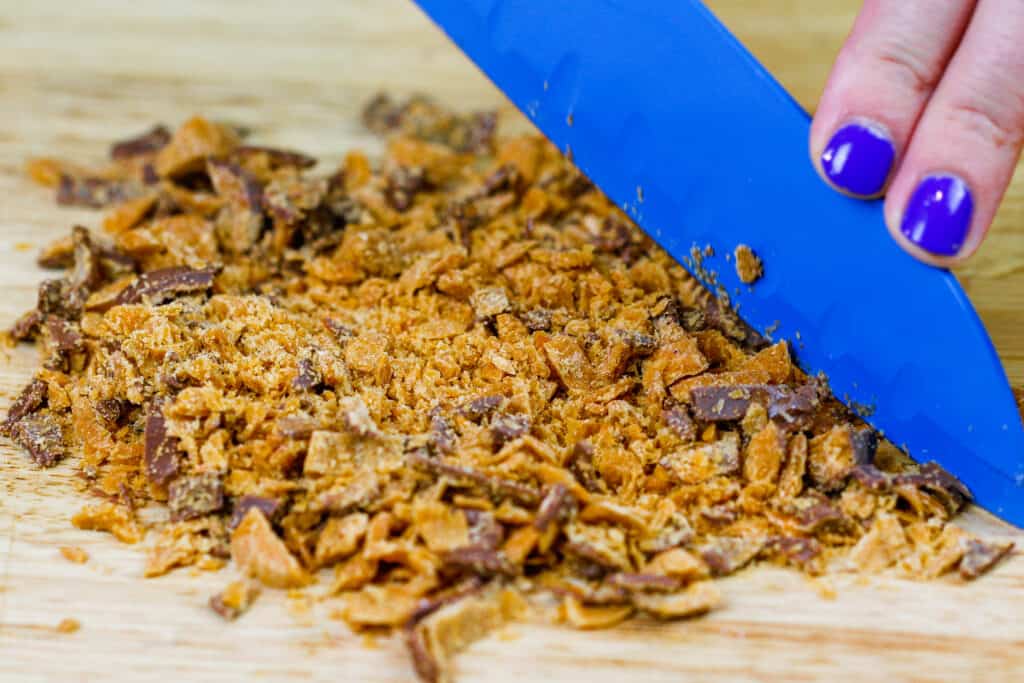
- Butterfinger® – The chopped-up Butterfinger® pieces in these cookies are the star of the show. They add so much texture and flavor and are an absolute must!
- Sprinkles – These are optional but they add a great pop of color and can be customized to fit any season. I used Halloween themed sprinkles in this batch but you can use whatever sprinkles you have on hand or like best.
Making the Best Monster Butterfinger® Cookies
- Use quick oats in this recipe for wonderful chewy texture!
- Use a cookie scoop to make sure your cookies are uniformly sized.
- Chill your cookie dough balls before baking them! This will help control their spread and ensure your cookies are thick and chewy once they’re baked.
- Space your cookies about 3 inches apart before baking them! They will spread as they bake.
- Press extra chunks of chopped-up Butterfinger® on top the cookies once they’re baked.
- Decorate these cookies with candy eyes and additional sprinkles to give them a Halloween-inspired look.
- Don’t over bake your cookies! Even if they seem a bit soft coming out of the oven, they will firm up as they cool.
- If you’re gluten free, try my gluten free monster cookie recipe.
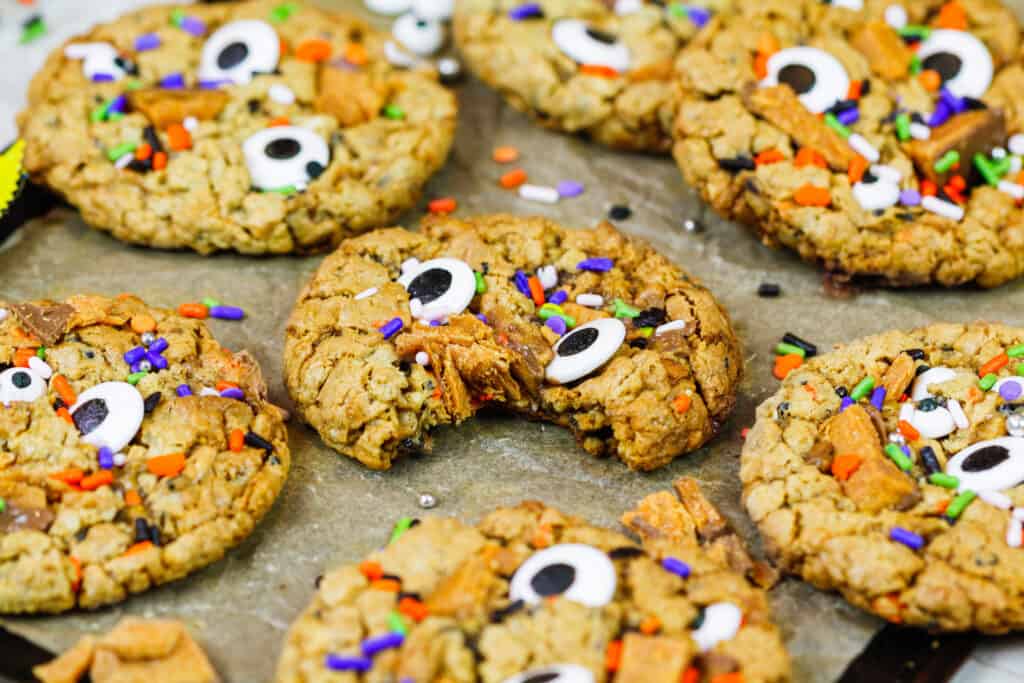
How Many Cookies Does this Recipe Make?
The recipe makes 18 cookies. However, you can also make mini monster Butterfinger® cookies that are half the size!
Scoop 36 cookie dough balls (about 1.5 Tbsp) and bake for 7-8 minutes at 350 F.
Making These Monster Butterfinger® Cookies in Advance & Storage Tips
Store any leftover cookies in an airtight container at room temperature for up to 5 days.
This cookie dough can also be frozen for up to 1 month if stored in an airtight container. Bake them as instructed above but for a couple minutes longer to allow them to fully bake through.
Baked cookies can also be frozen! These cookies last for up to a month if frozen in an airtight container. Move them to the fridge the day before you plan to eat them, then let them sit out at room temperature for a few hours before diving in.
Let Me Know What You Think!
If you try these monster Butterfinger® cookies, I’d love to hear what you think!
Please leave a rating and comment below.
Other Posts You Might Like:
Monster Butterfinger® Cookies

These monster Butterfinger® cookies are chewy, soft and packed with Butterfinger® flavor!! They're so delicious they'll be gone before you know it!
Ingredients
Monster Butterfinger® Cookies
- 1/4 cup (1/2 stick) salted butter, room temperature (56 grams)
- 1 cup light brown sugar, packed (200 grams)
- 2 large eggs (112 grams)
- 3/4 cup chunky peanut butter (180 grams)
- 1 tsp vanilla extract (4 grams)
- 1 tsp baking soda (6 grams)
- 2 cups quick oats (180 grams)
- 1 cup chopped-up Butterfinger® (130 grams)
- 1/2 cup sprinkles (90 grams)
Optional Decorations
- Candy eyes
- Additional sprinkles
Instructions
Monster Butterfinger® Cookies
- Line 2 cookie sheets with parchment paper or silpat mats and set aside.
- Cream together 1/4 cup butter and 1 cup brown sugar. Add in the eggs, one at a time.
- Mix in 3/4 cup of peanut butter, 1 tsp vanilla extract and 1 tsp baking soda.
- Fold in 2 cups quick oats, 2/3 cup chopped-up Butterfinger® and 1/2 cup sprinkles.
- Scoop 18 cookie dough balls (about 3 Tbsp each) and place them 3 inches apart on the prepared baking sheets. They spread quite a bit as they bake!
- Chill the cookie dough balls for 30 minutes. As you place the cookie dough in the fridge, turn on your oven to 350 F or 177 C.
- Bake for 10-11 minutes. The cookies may look underdone but they will continue to bake and set on the pan as they cool.
- Press the remaining bits of chopped-up Butterfinger® and candy eyes on top of the cookies as soon as they're out of the oven.
Notes
Alterations
Make mini monster Butterfinger® cookies that are half the size! Roll out 36 cookie dough balls and bake for 7-8 minutes at 350 F.
Tips to Make The Best Monster Butterfinger® Cookies:
- Thoroughly cream together your butter and sugar until the mixture becomes lighter in color to give these cookies a wonderfully chewy texture.
- Fold in your mix-ins with a rubber spatula to prevent your sprinkles and butterfinger pieces from breaking.
- Err on the side on underbaking your cookies to ensure they're soft and chewy! They will continue to bake as they cool and set on the pan.
- Space your cookies out at least 3 inches from each other! They will spread as they bake.
- Use a cookie scoop to make sure your cookies are uniformly sized.
How to Store These Monster Butterfinger® Cookies:
Store any leftover cookies in an airtight container at room temperature for up to 5 days.
Baked cookies can be frozen for up to a month in an airtight container.
Cookie dough can also be frozen for up to 1 month if stored in an airtight container. Bake them as instructed above but for a couple minutes longer to allow them to fully bake through.
Nutrition Information
Yield
18Serving Size
1Amount Per Serving Calories 212Total Fat 10gSaturated Fat 2gTrans Fat 0gUnsaturated Fat 6gCholesterol 21mgSodium 208mgCarbohydrates 28gFiber 2gSugar 18gProtein 5g

Katrina
Sunday 25th of October 2020
Hi, if I want to leave out the oats, do I make any other adjustments to the recipe? Thanks!