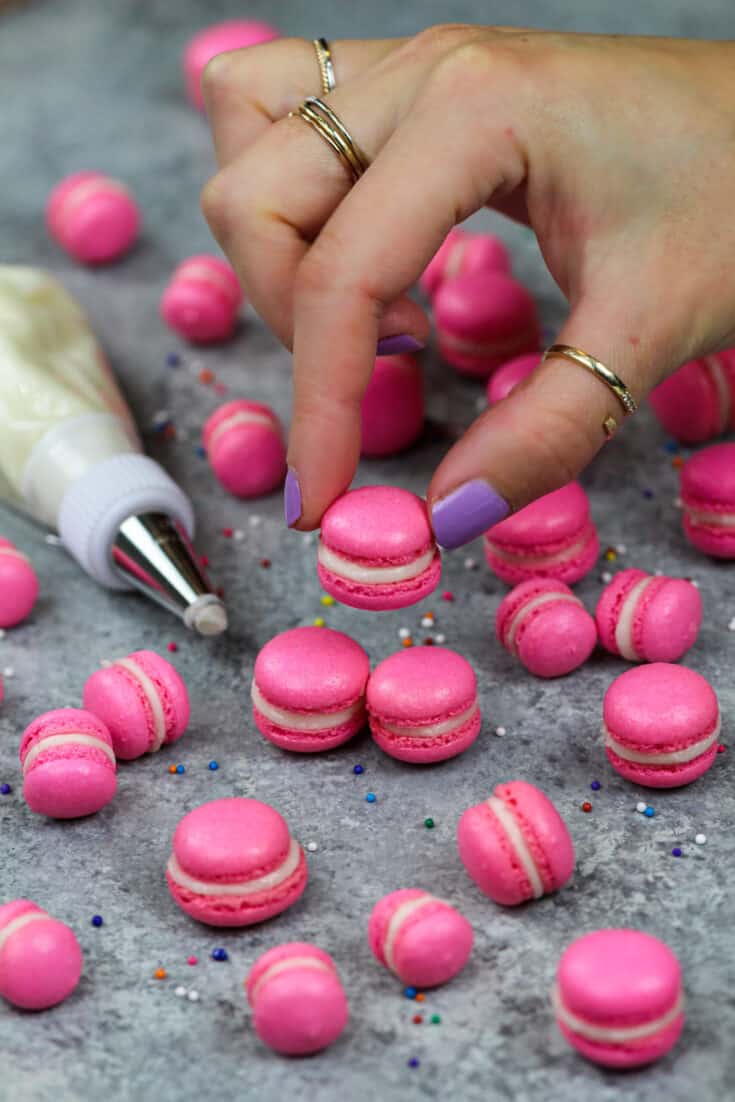
These mini macarons are a bite-sized version of our favorite French macarons!
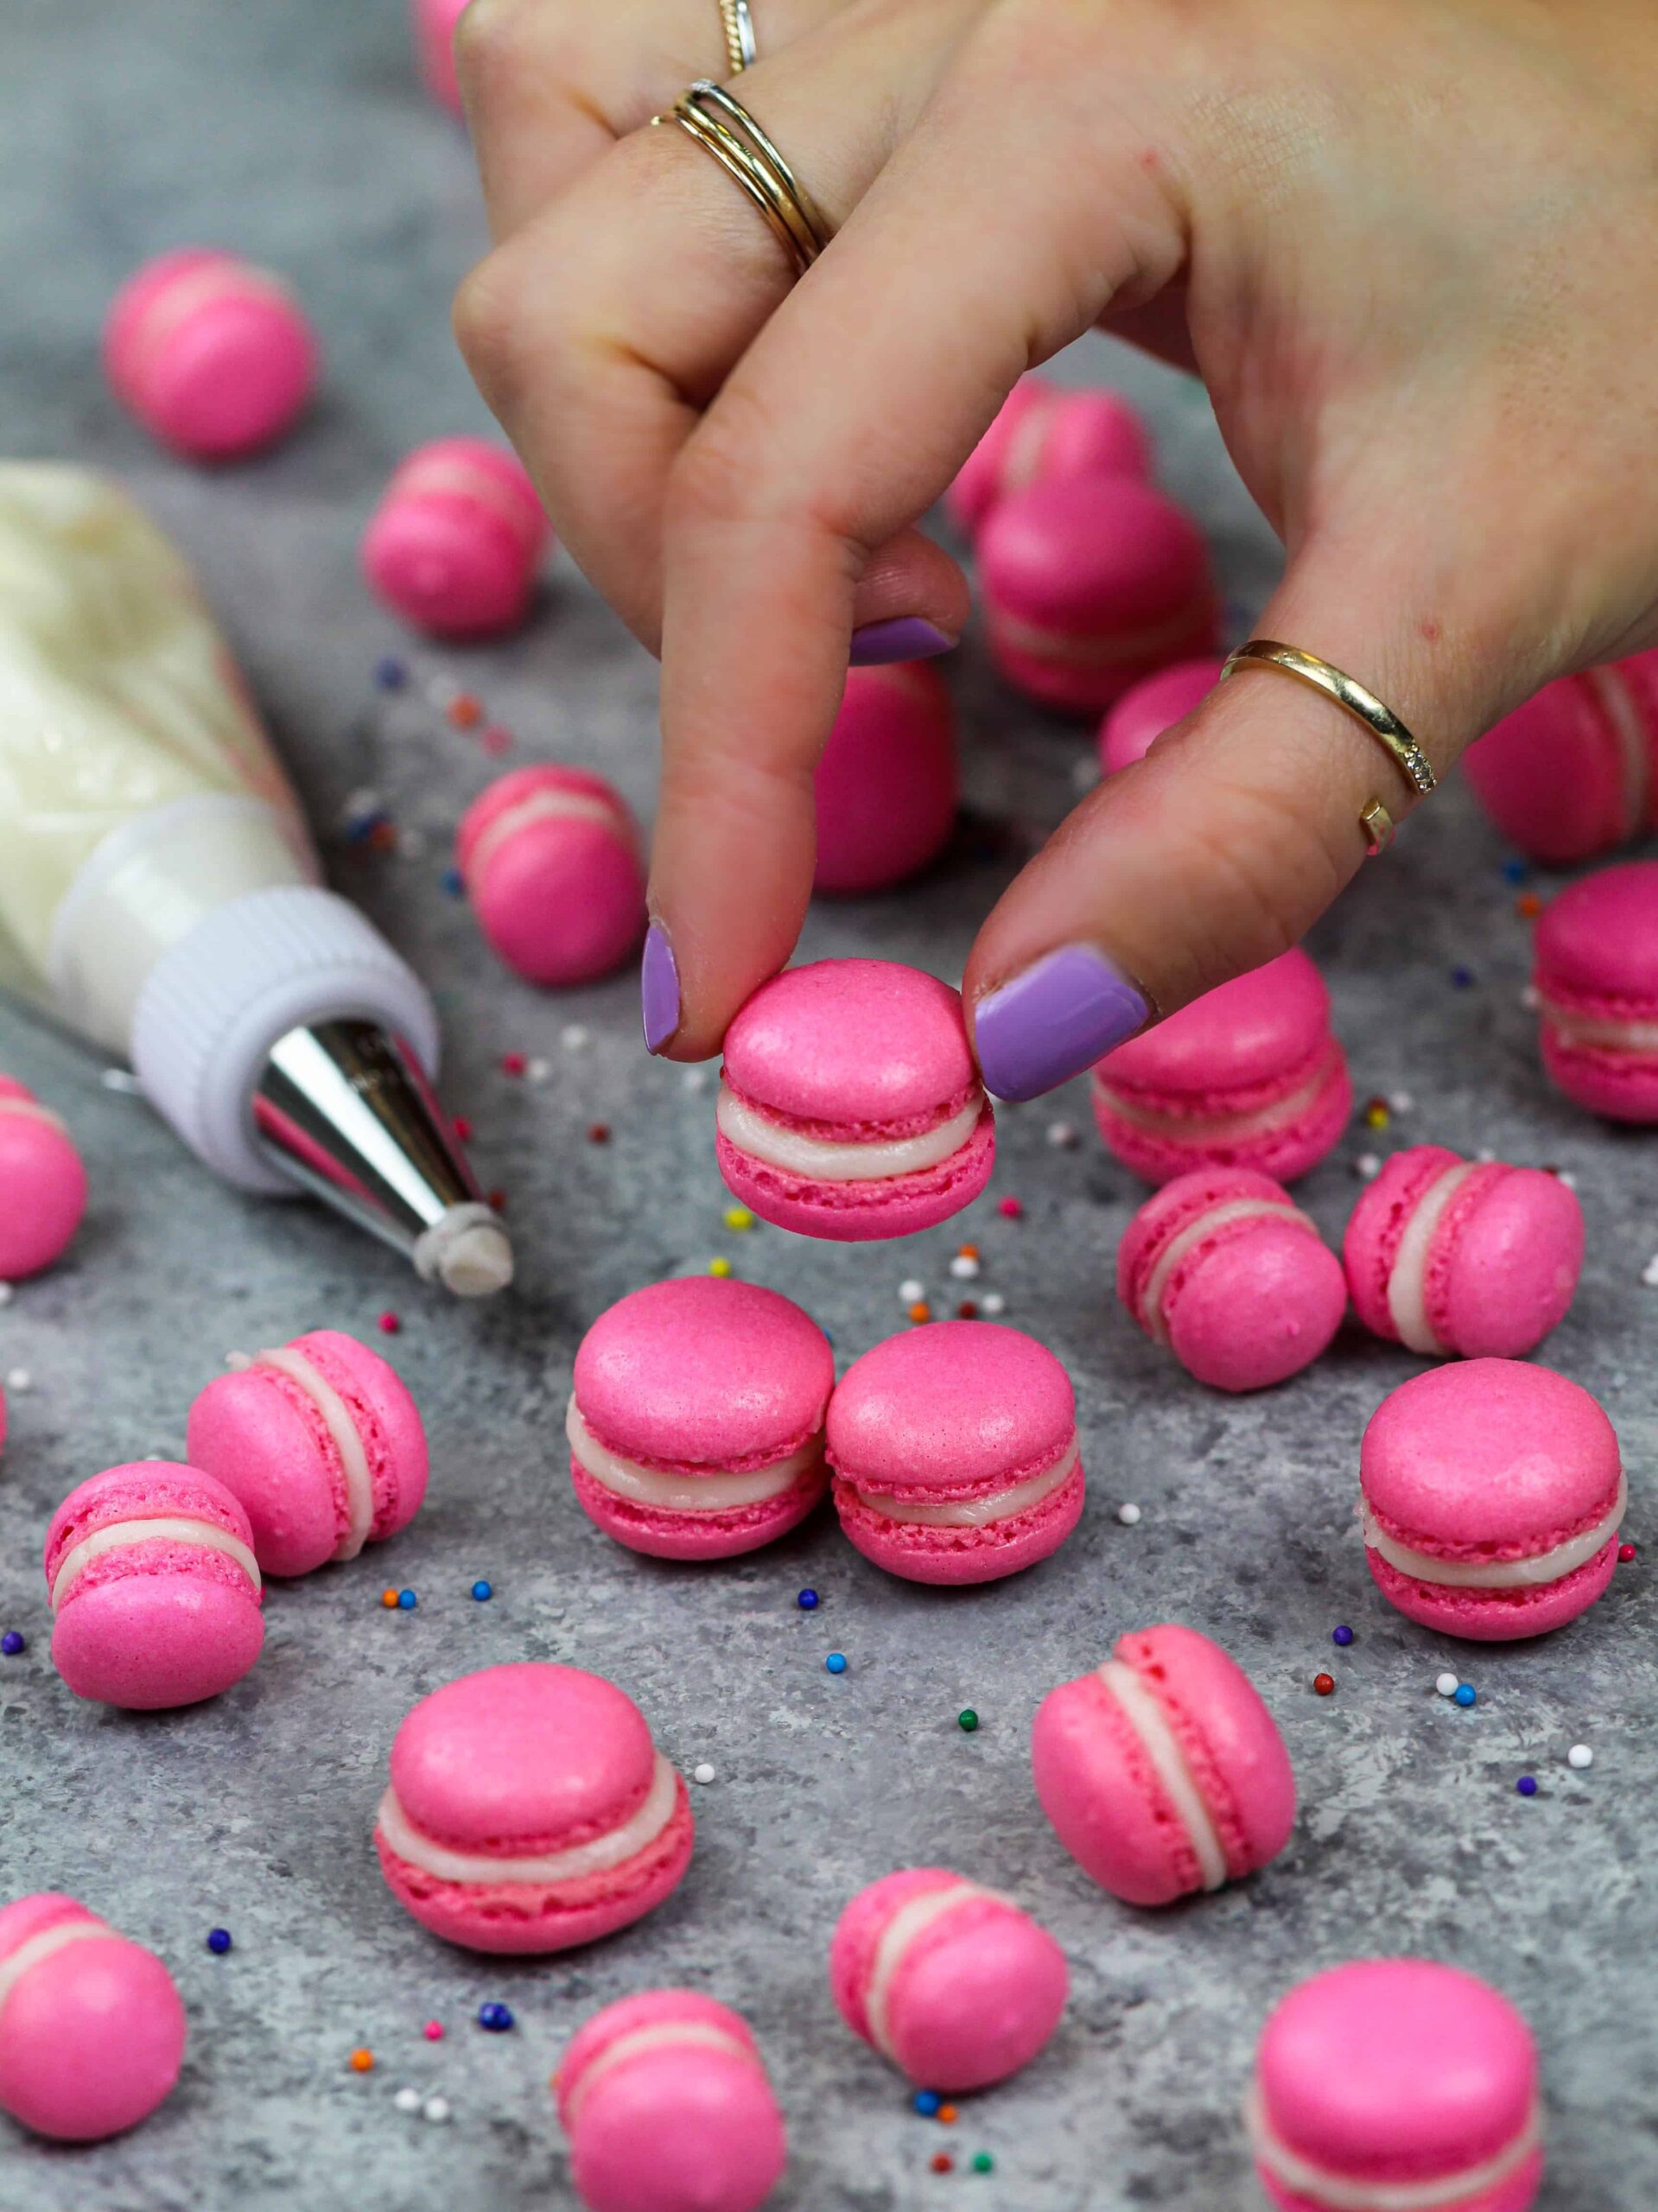
Making These Mini Macarons with the French Method
There are a few different ways macarons are made. French macarons are considered easier to make while the Italian and Swiss methods use a few more steps but are more structurally sound.
French macarons also require less equipment. While I love Italian macarons, I like to keep things simple and used the French method for this recipe.
Equipment You’ll Need to Make These Mini Macarons
I’ve made quite a few batches of macarons, and they definitely turn out best when the ingredients are weighed, and the macarons are baked on a silpat mat.
These are the tools I like to use when I make these macarons:
- Kitchen scale
- Stand Mixer or Electric Mixer
- Large piping bag
- Round piping tip
- Large, flat baking sheets
- Silpat Mats (or parchment paper)
Making Mini Macarons – Step by Step Process
While the recipe below is quite detailed, I find visual cues to be super helpful!
Below are some photos of the process to help guide you through this recipe.
Step #1: Prep the Ingredients and Equipment
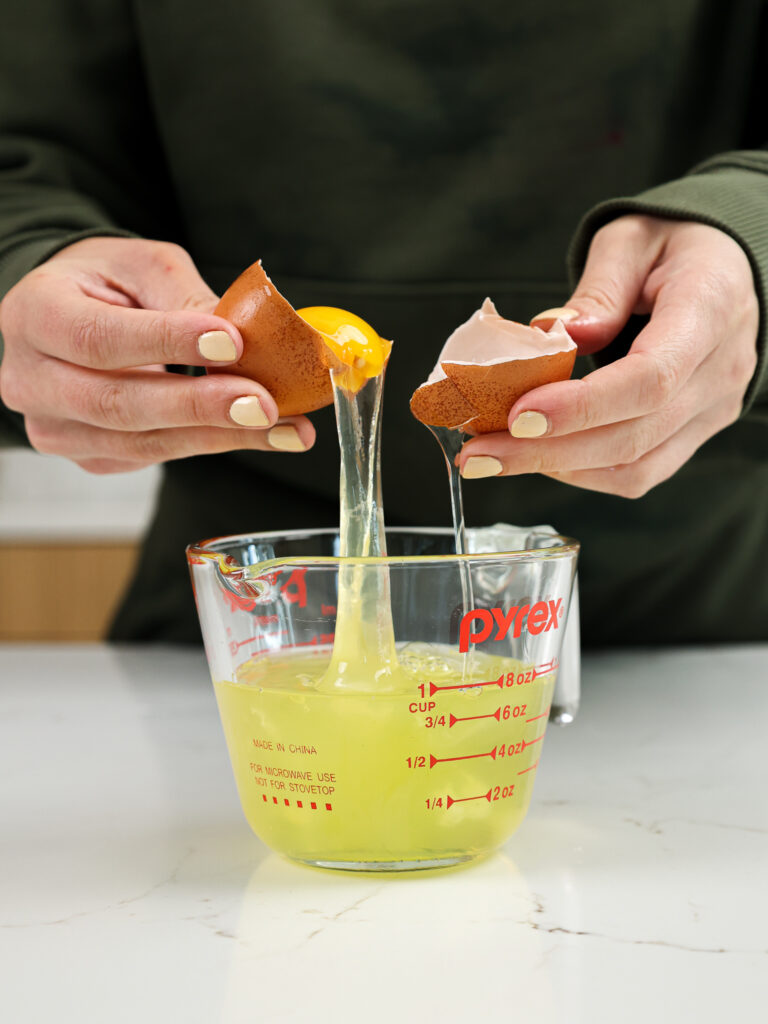
After prepping and weighing your ingredients, wipe down your mixing bowl and whisk attachment with a bit of vinegar or lemon juice to remove any residual grease.
This helps the meringue whip up better!
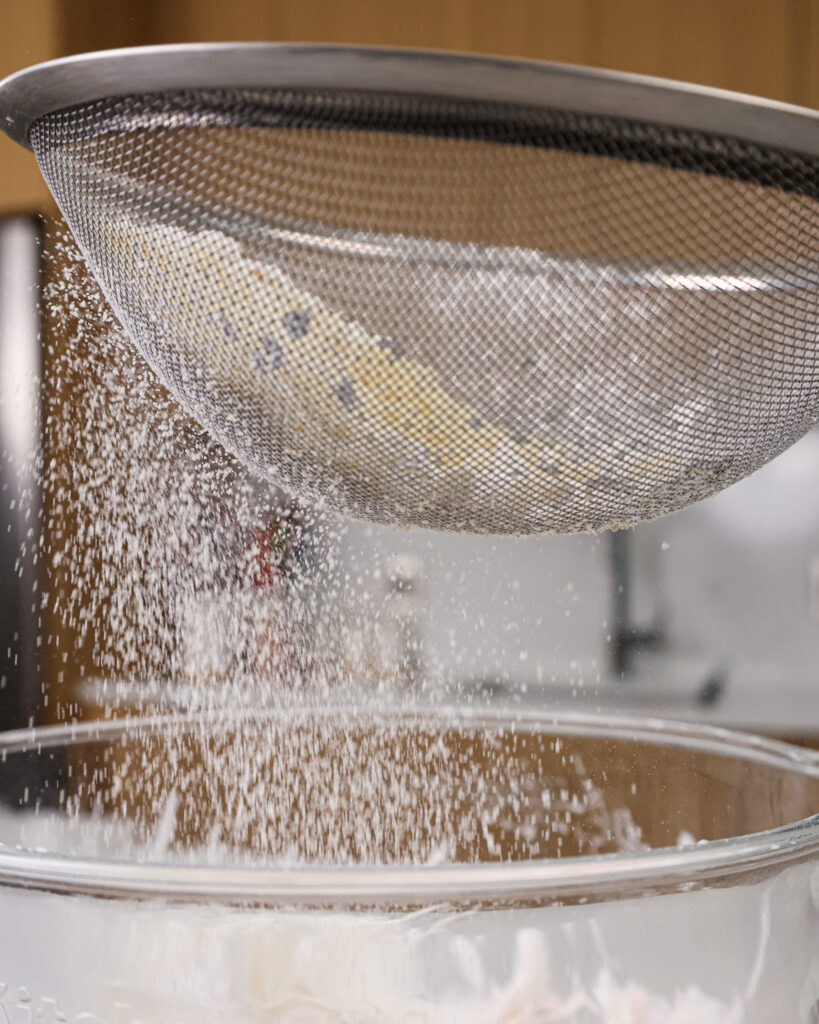
Step #2: Sift the Dry Ingredients
Sifting your superfine almond flour and powdered sugar will help your macaron shells turn out nice and smooth.
This step makes sure that no chunks of almond or powdered sugar get mixed into your macaron batter.
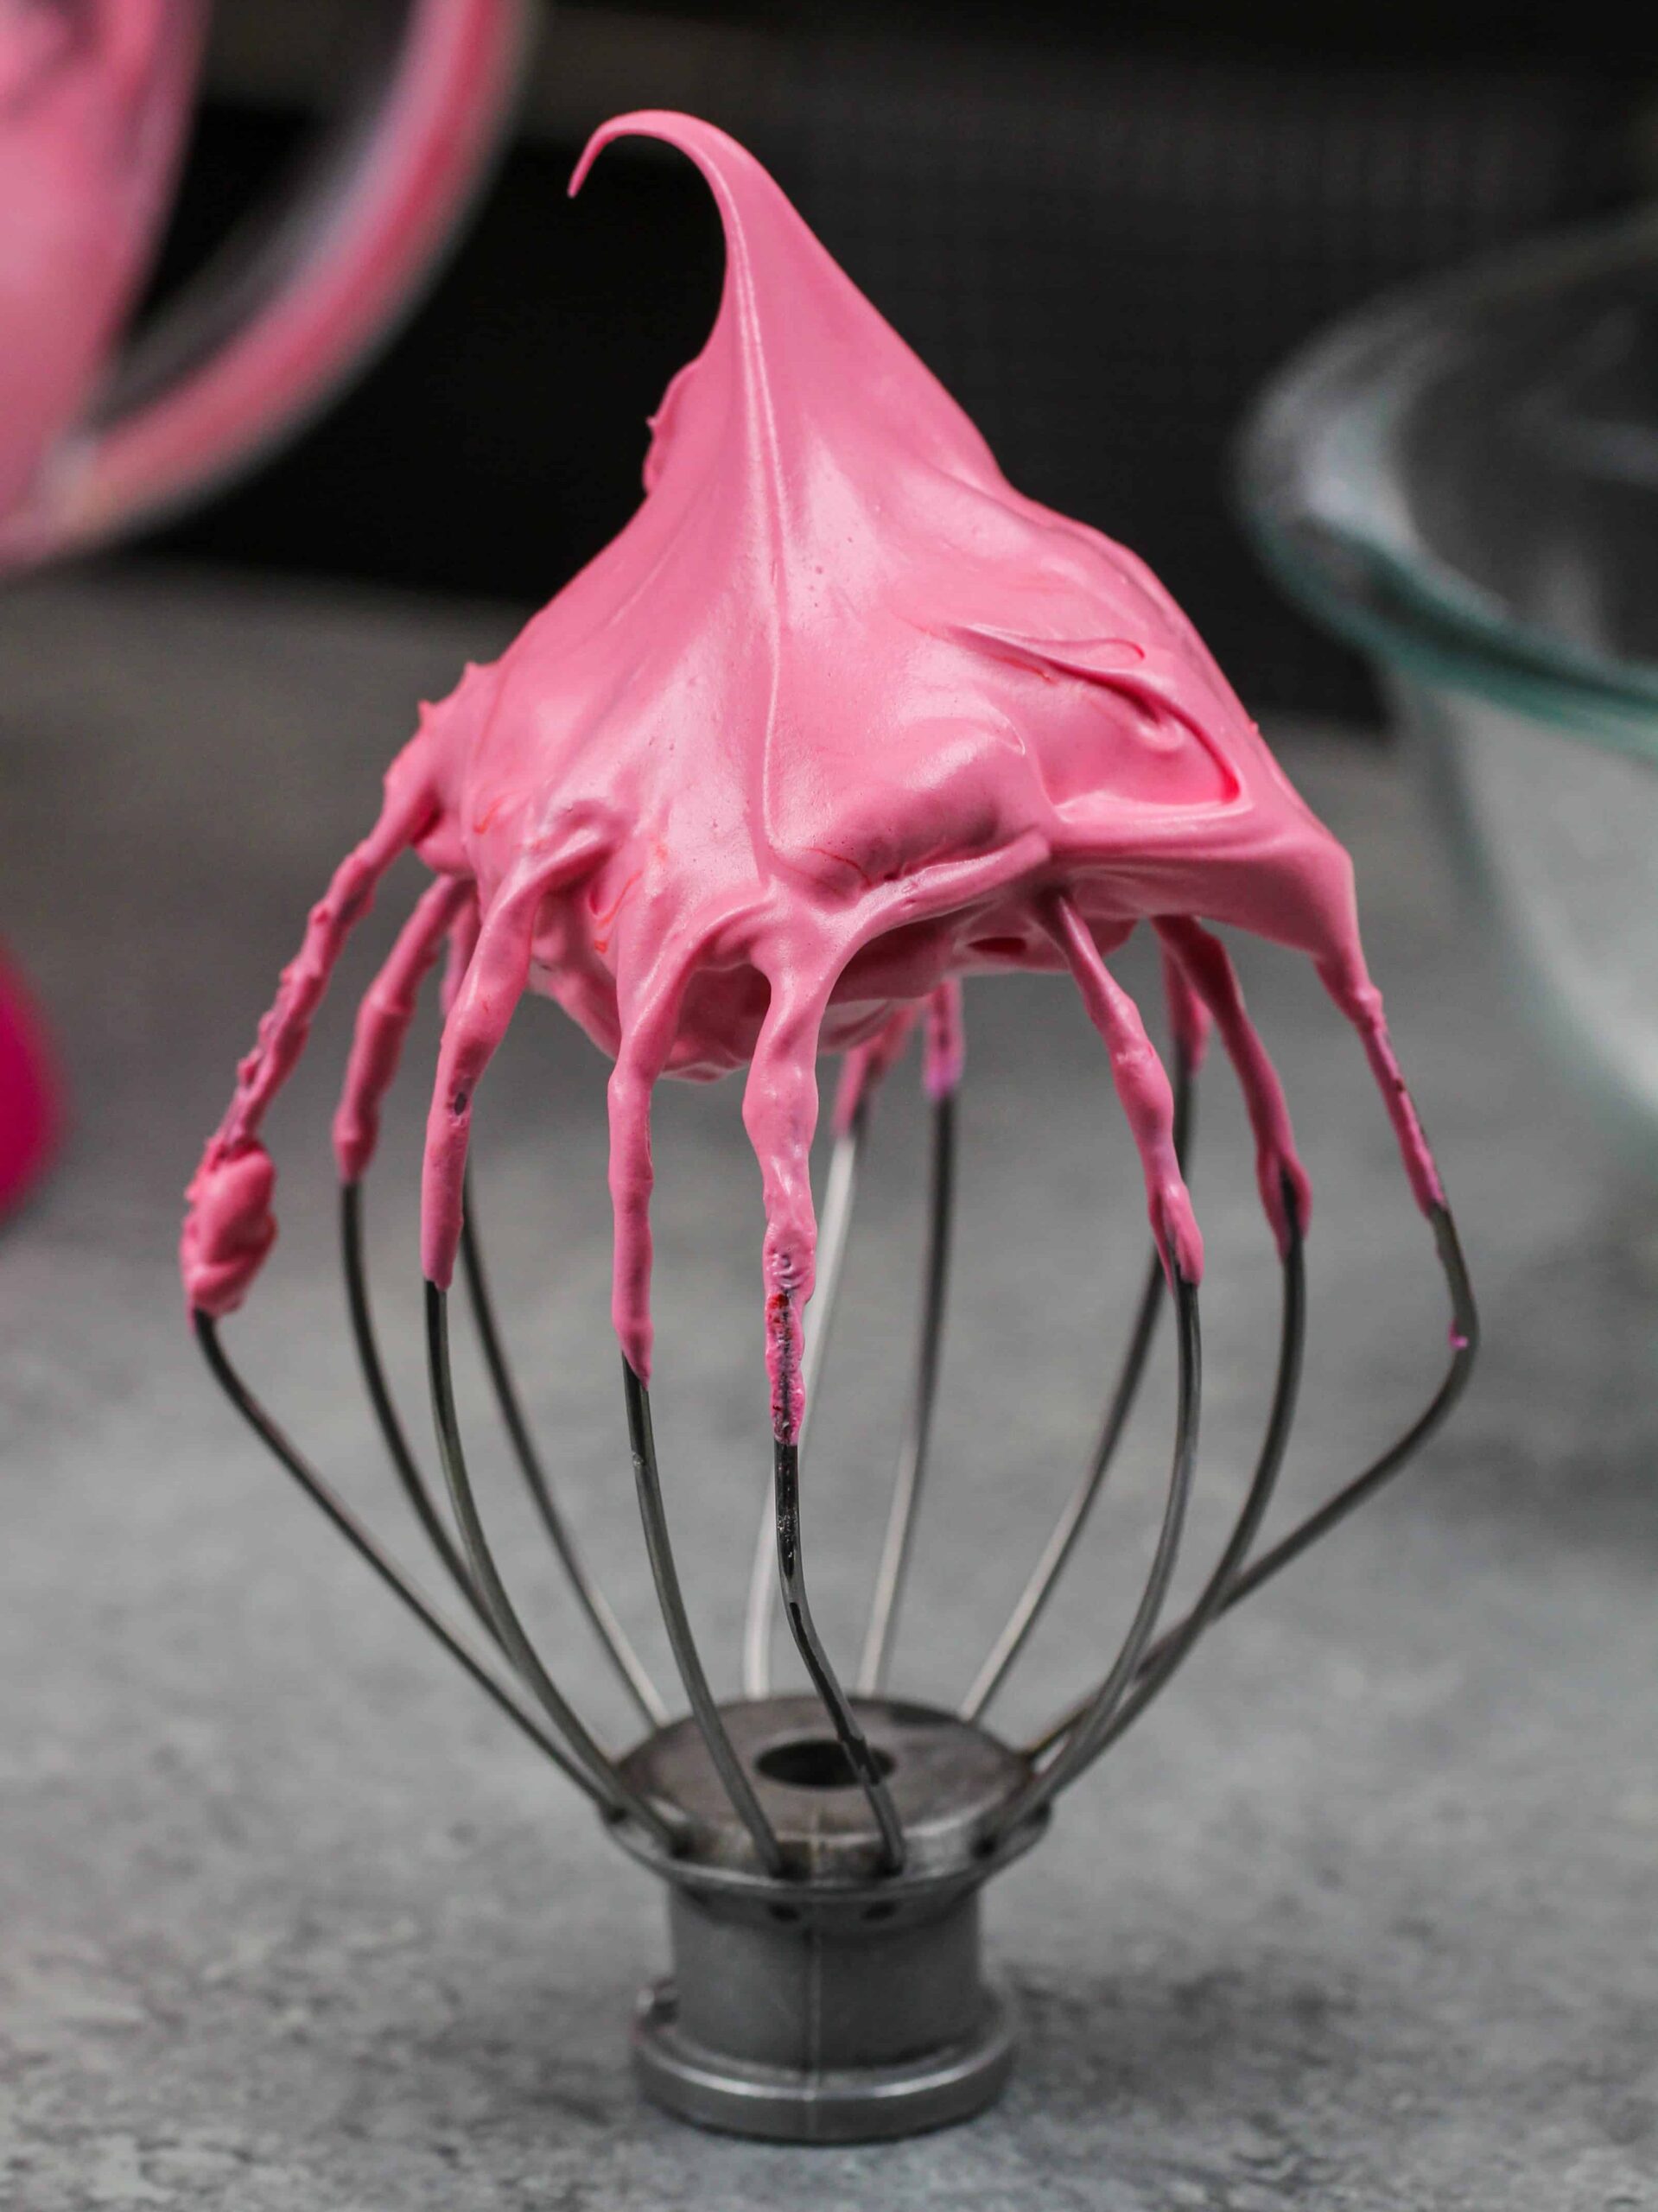
Step #3: Make French Meringue
Next, it’s time to make the French meringue! Whisk the egg whites on a medium speed until soft peaks form, then add in the granulated sugar.
Once the sugar is added, mix in a bit of gel food coloring if desired. I decided to color my mini macs pink!
Increase the mixing speed to medium high and mix until stiff peaks form like in the photo below.
Keep a close eye on your mixer to avoid over-mixing your meringue.
Step #3: Mix the Dry Ingredients into the Meringue
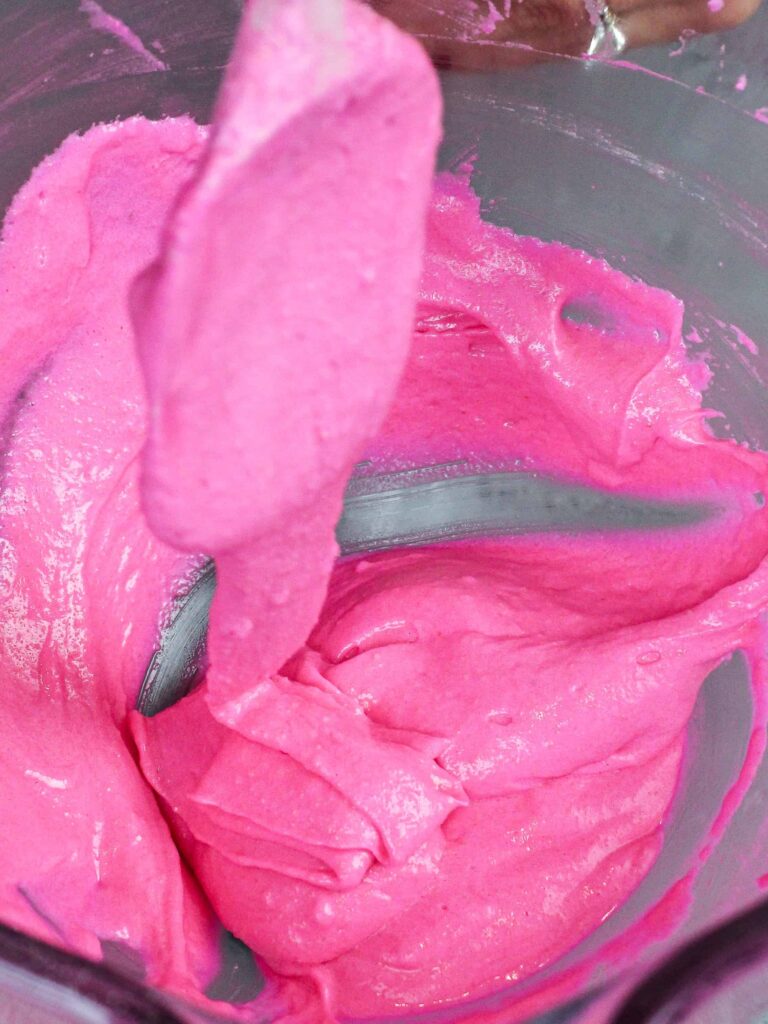
Fold the dry ingredients into the meringue. When the batter is the right consistency, it should form a thick ribbon that flows off your spatula when it’s lifted.
Another way to test your batter is the figure 8 test. Try to create a figure 8 using the flowing batter.
If you’re able to create one your batter is ready to go. If the stream of batter breaks before you’re able to, you may need to stir it a bit more.
Step #4: Pipe the Macaron Shells
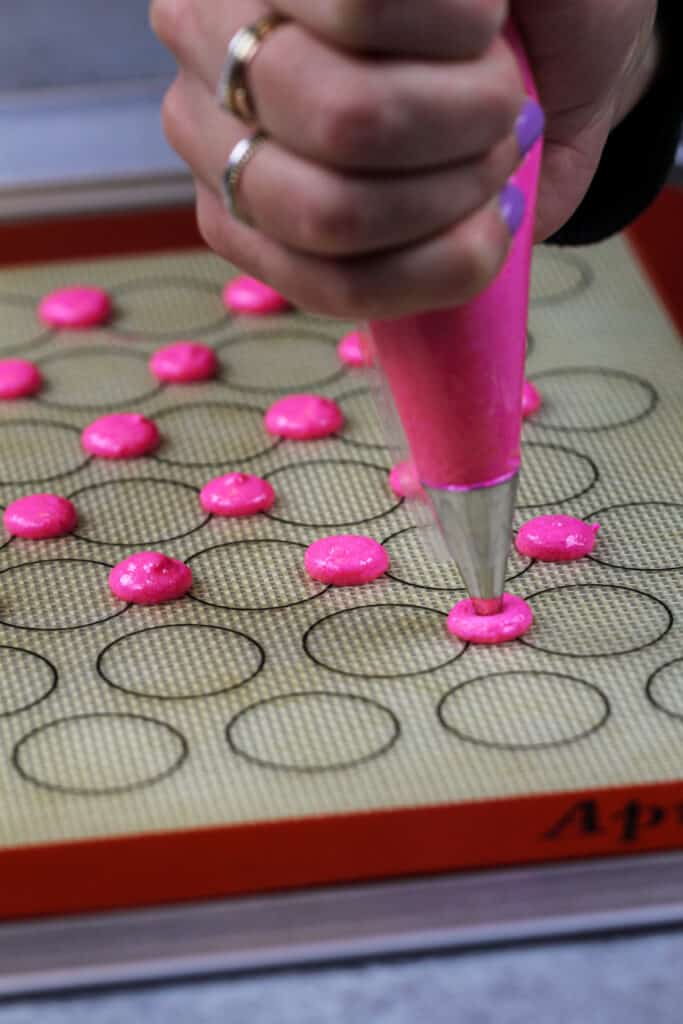
Fill a large piping bag with the macaron batter and pipe 1/2-inch rounds onto the prepared baking sheets, spacing them about 1 inch apart.
Firmly bang or drop your pans on the counter a few times to bring any trapped air bubbles to the surface and pop them with a toothpick.
This can help you avoid hollow or cracked shells.
Step #5: Rest the Piped Macarons
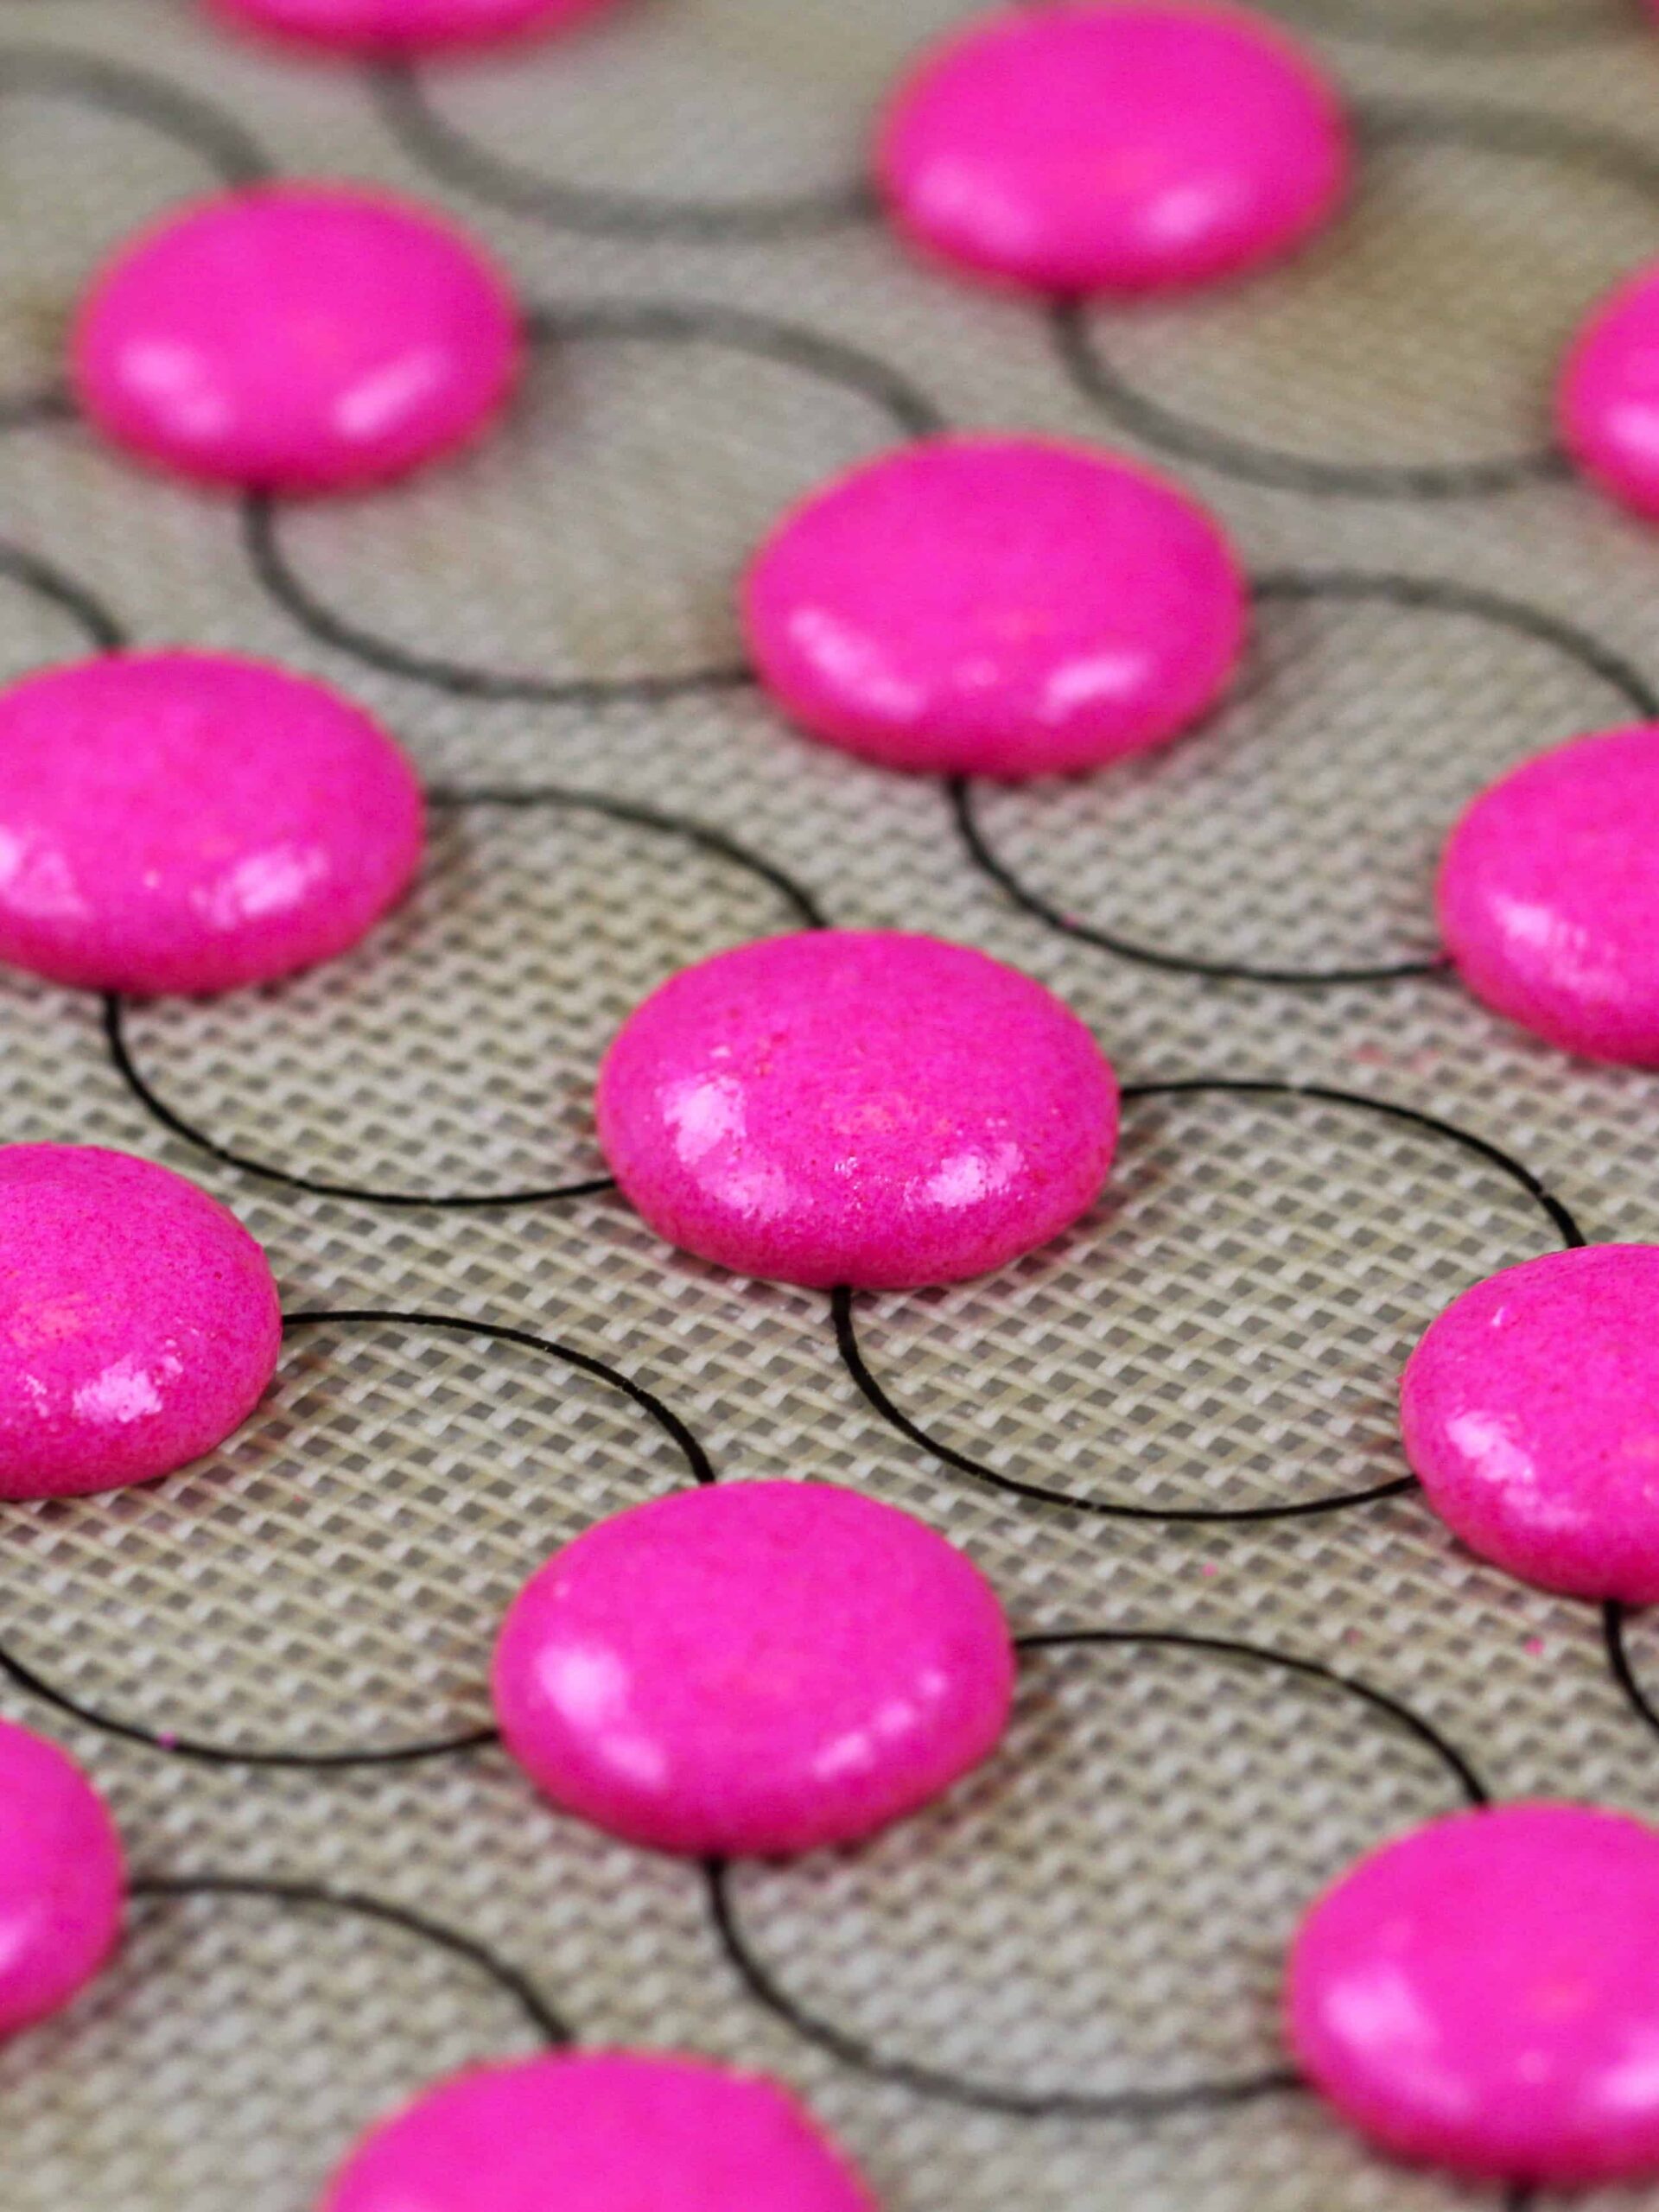
Next let the macarons rest for 15 minutes until they form a skin.
They should be mostly dry to the touch and look matte once they’re ready to be baked! While the shells rest preheat your oven.
Step #6: Bake the Macaron Shells
Bake one tray of macarons at a time and place the tray on the middle rack of your oven.
Bake time can vary based on the size of macarons you pipe and your oven, so adjust the bake time as needed.
Let the macarons cool fully on the pan then gently remove them from the silpat mat.
Step #7: Assembling These Mini Macarons
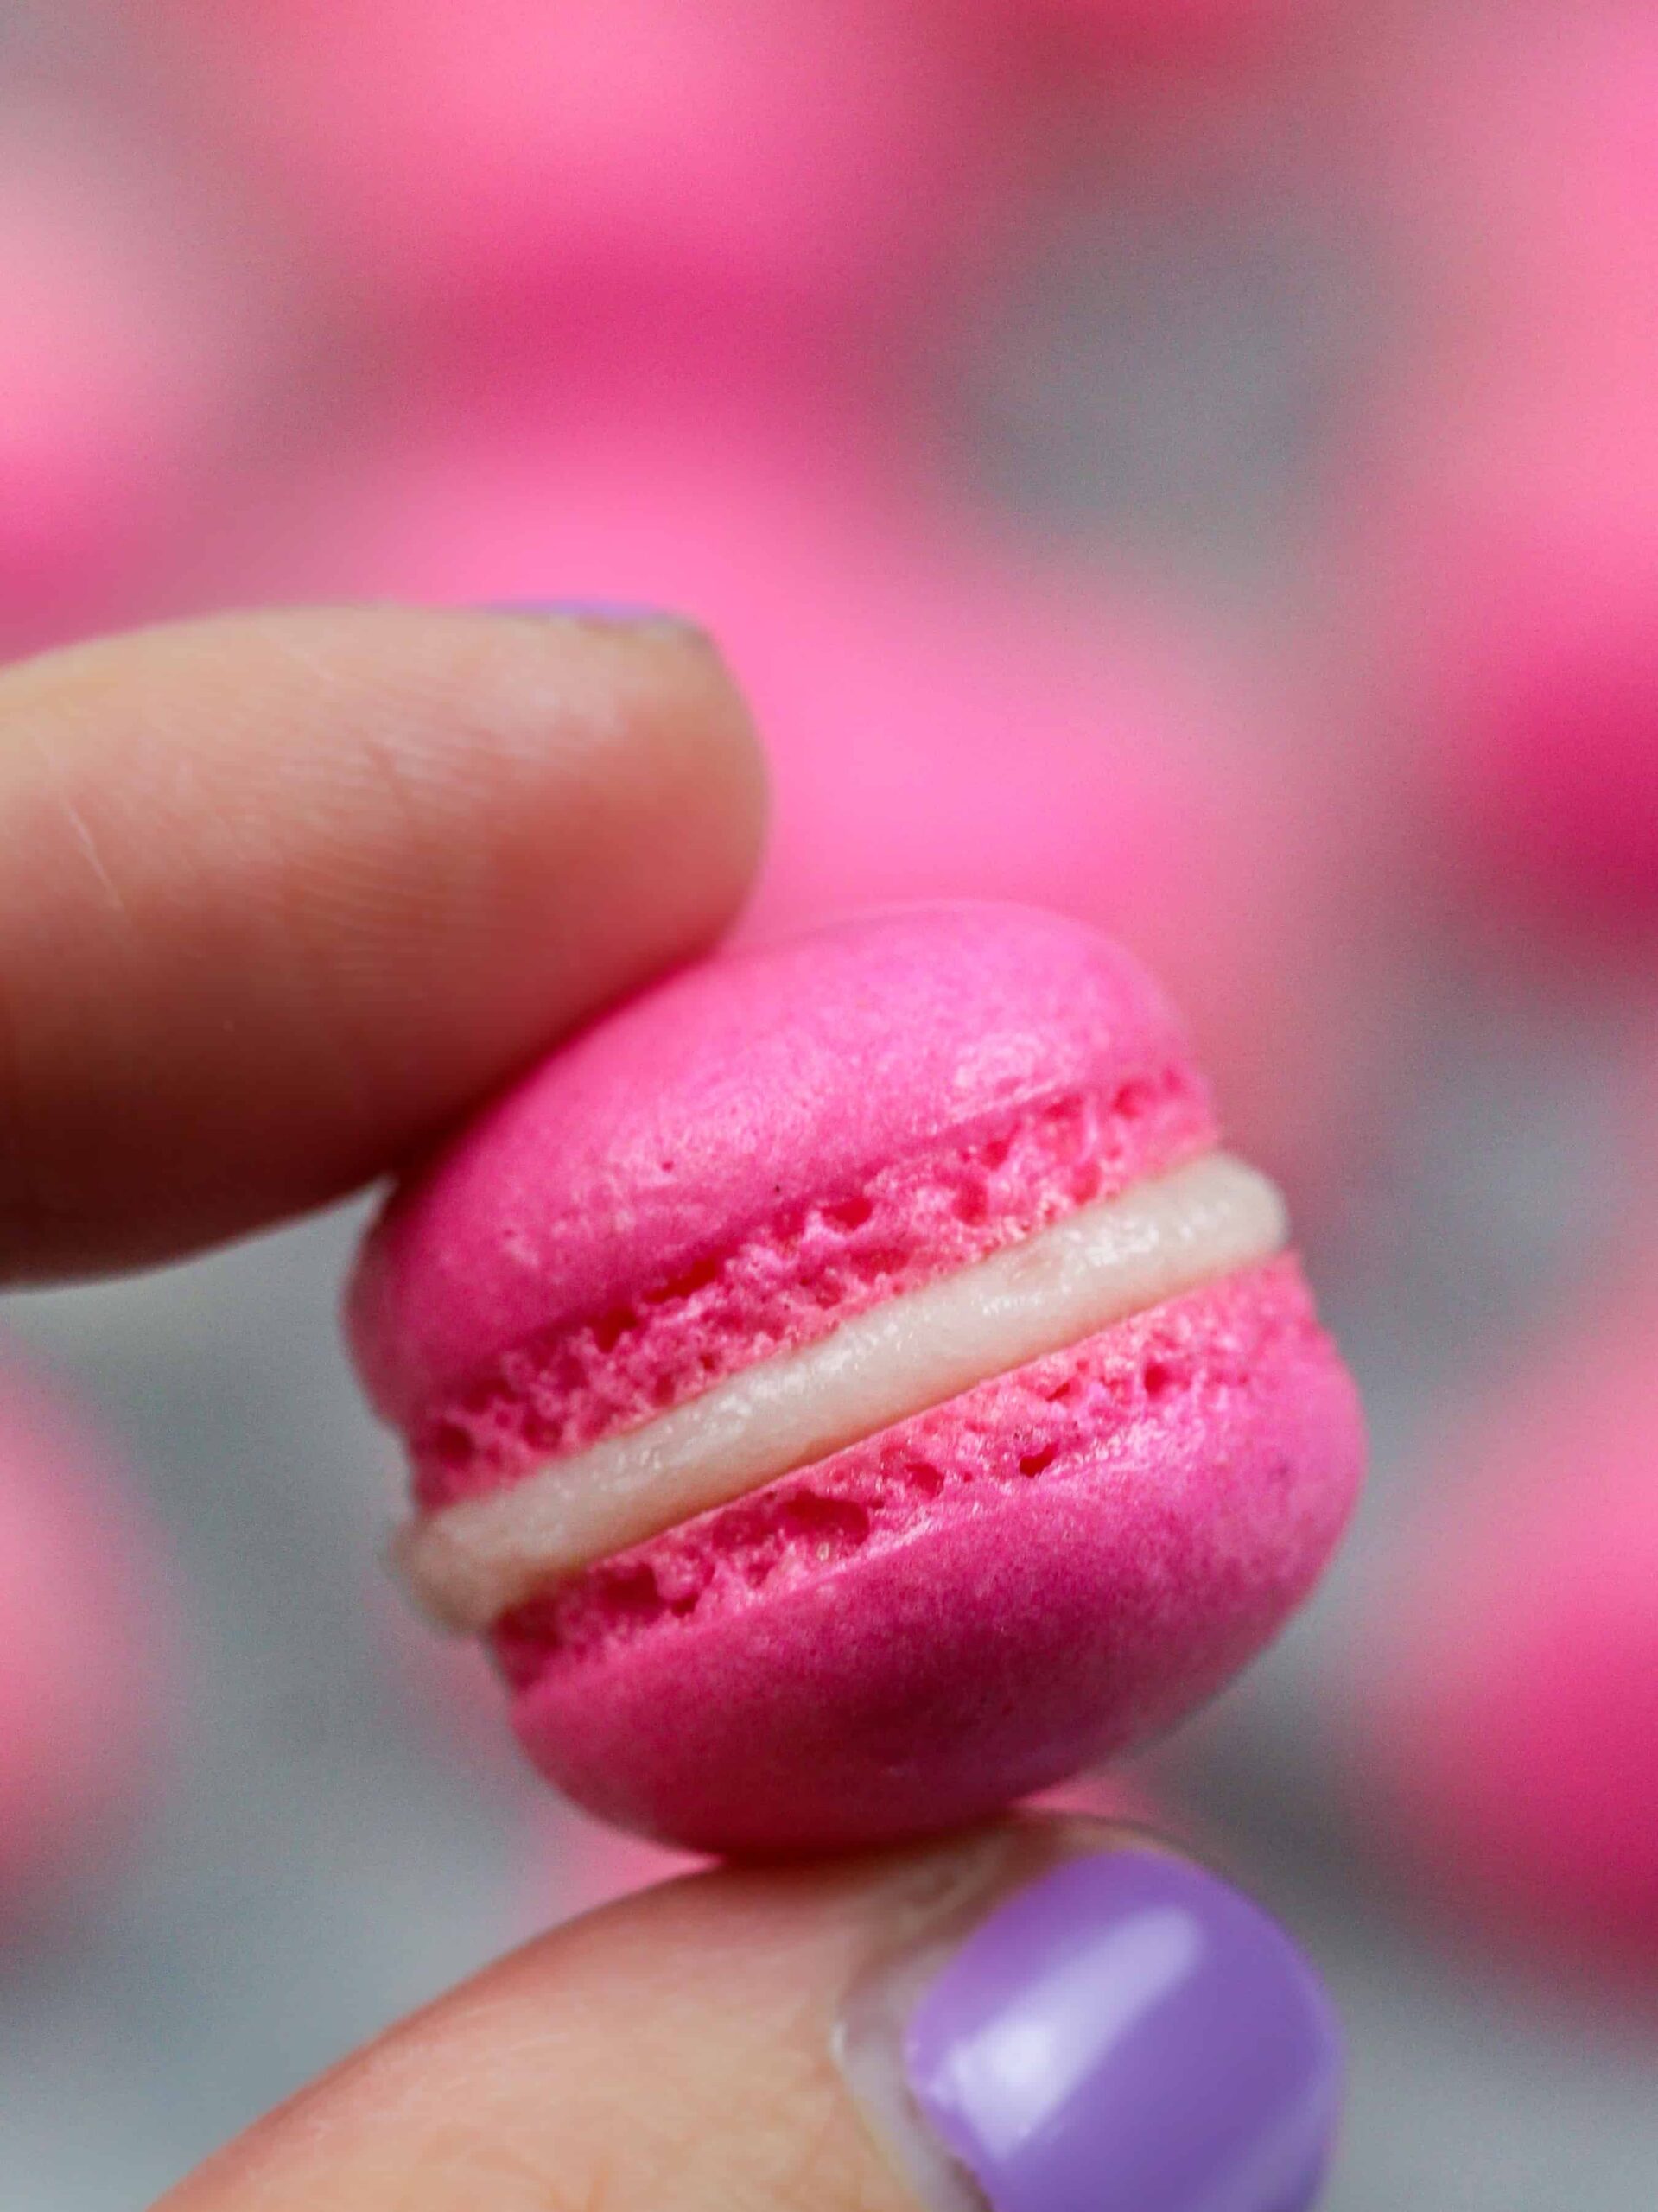
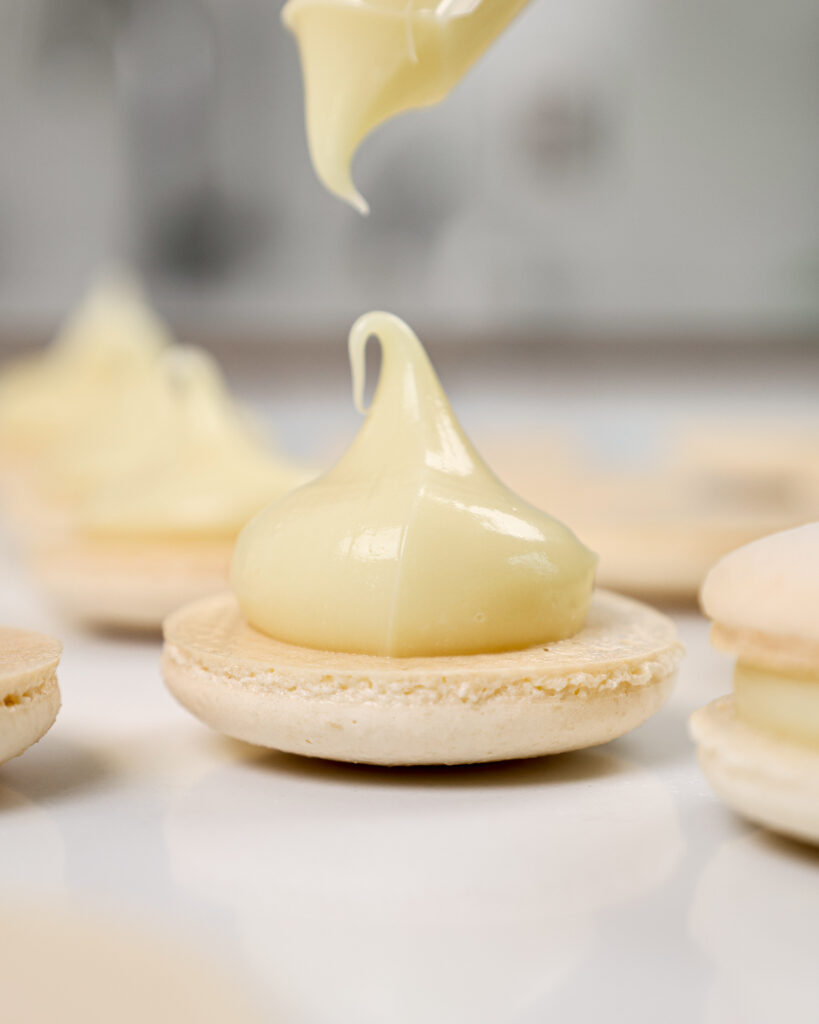
The final step is to pipe a dollop of your favorite buttercream on one macaron shell then top it with a second shell.
Then place the finished macarons in the fridge to mature overnight and bring them to room temperature the next day then enjoy!
Troubleshooting These Mini Macarons
While I’d love to think everyone’s first batch of these mini macarons will turn out perfectly, my own experience has taught me that’s not how things usually go.
Macarons are incredibly temperamental, and it might take a few tries to get them just right. If you run into any issues, check out my macaron troubleshooting guide!
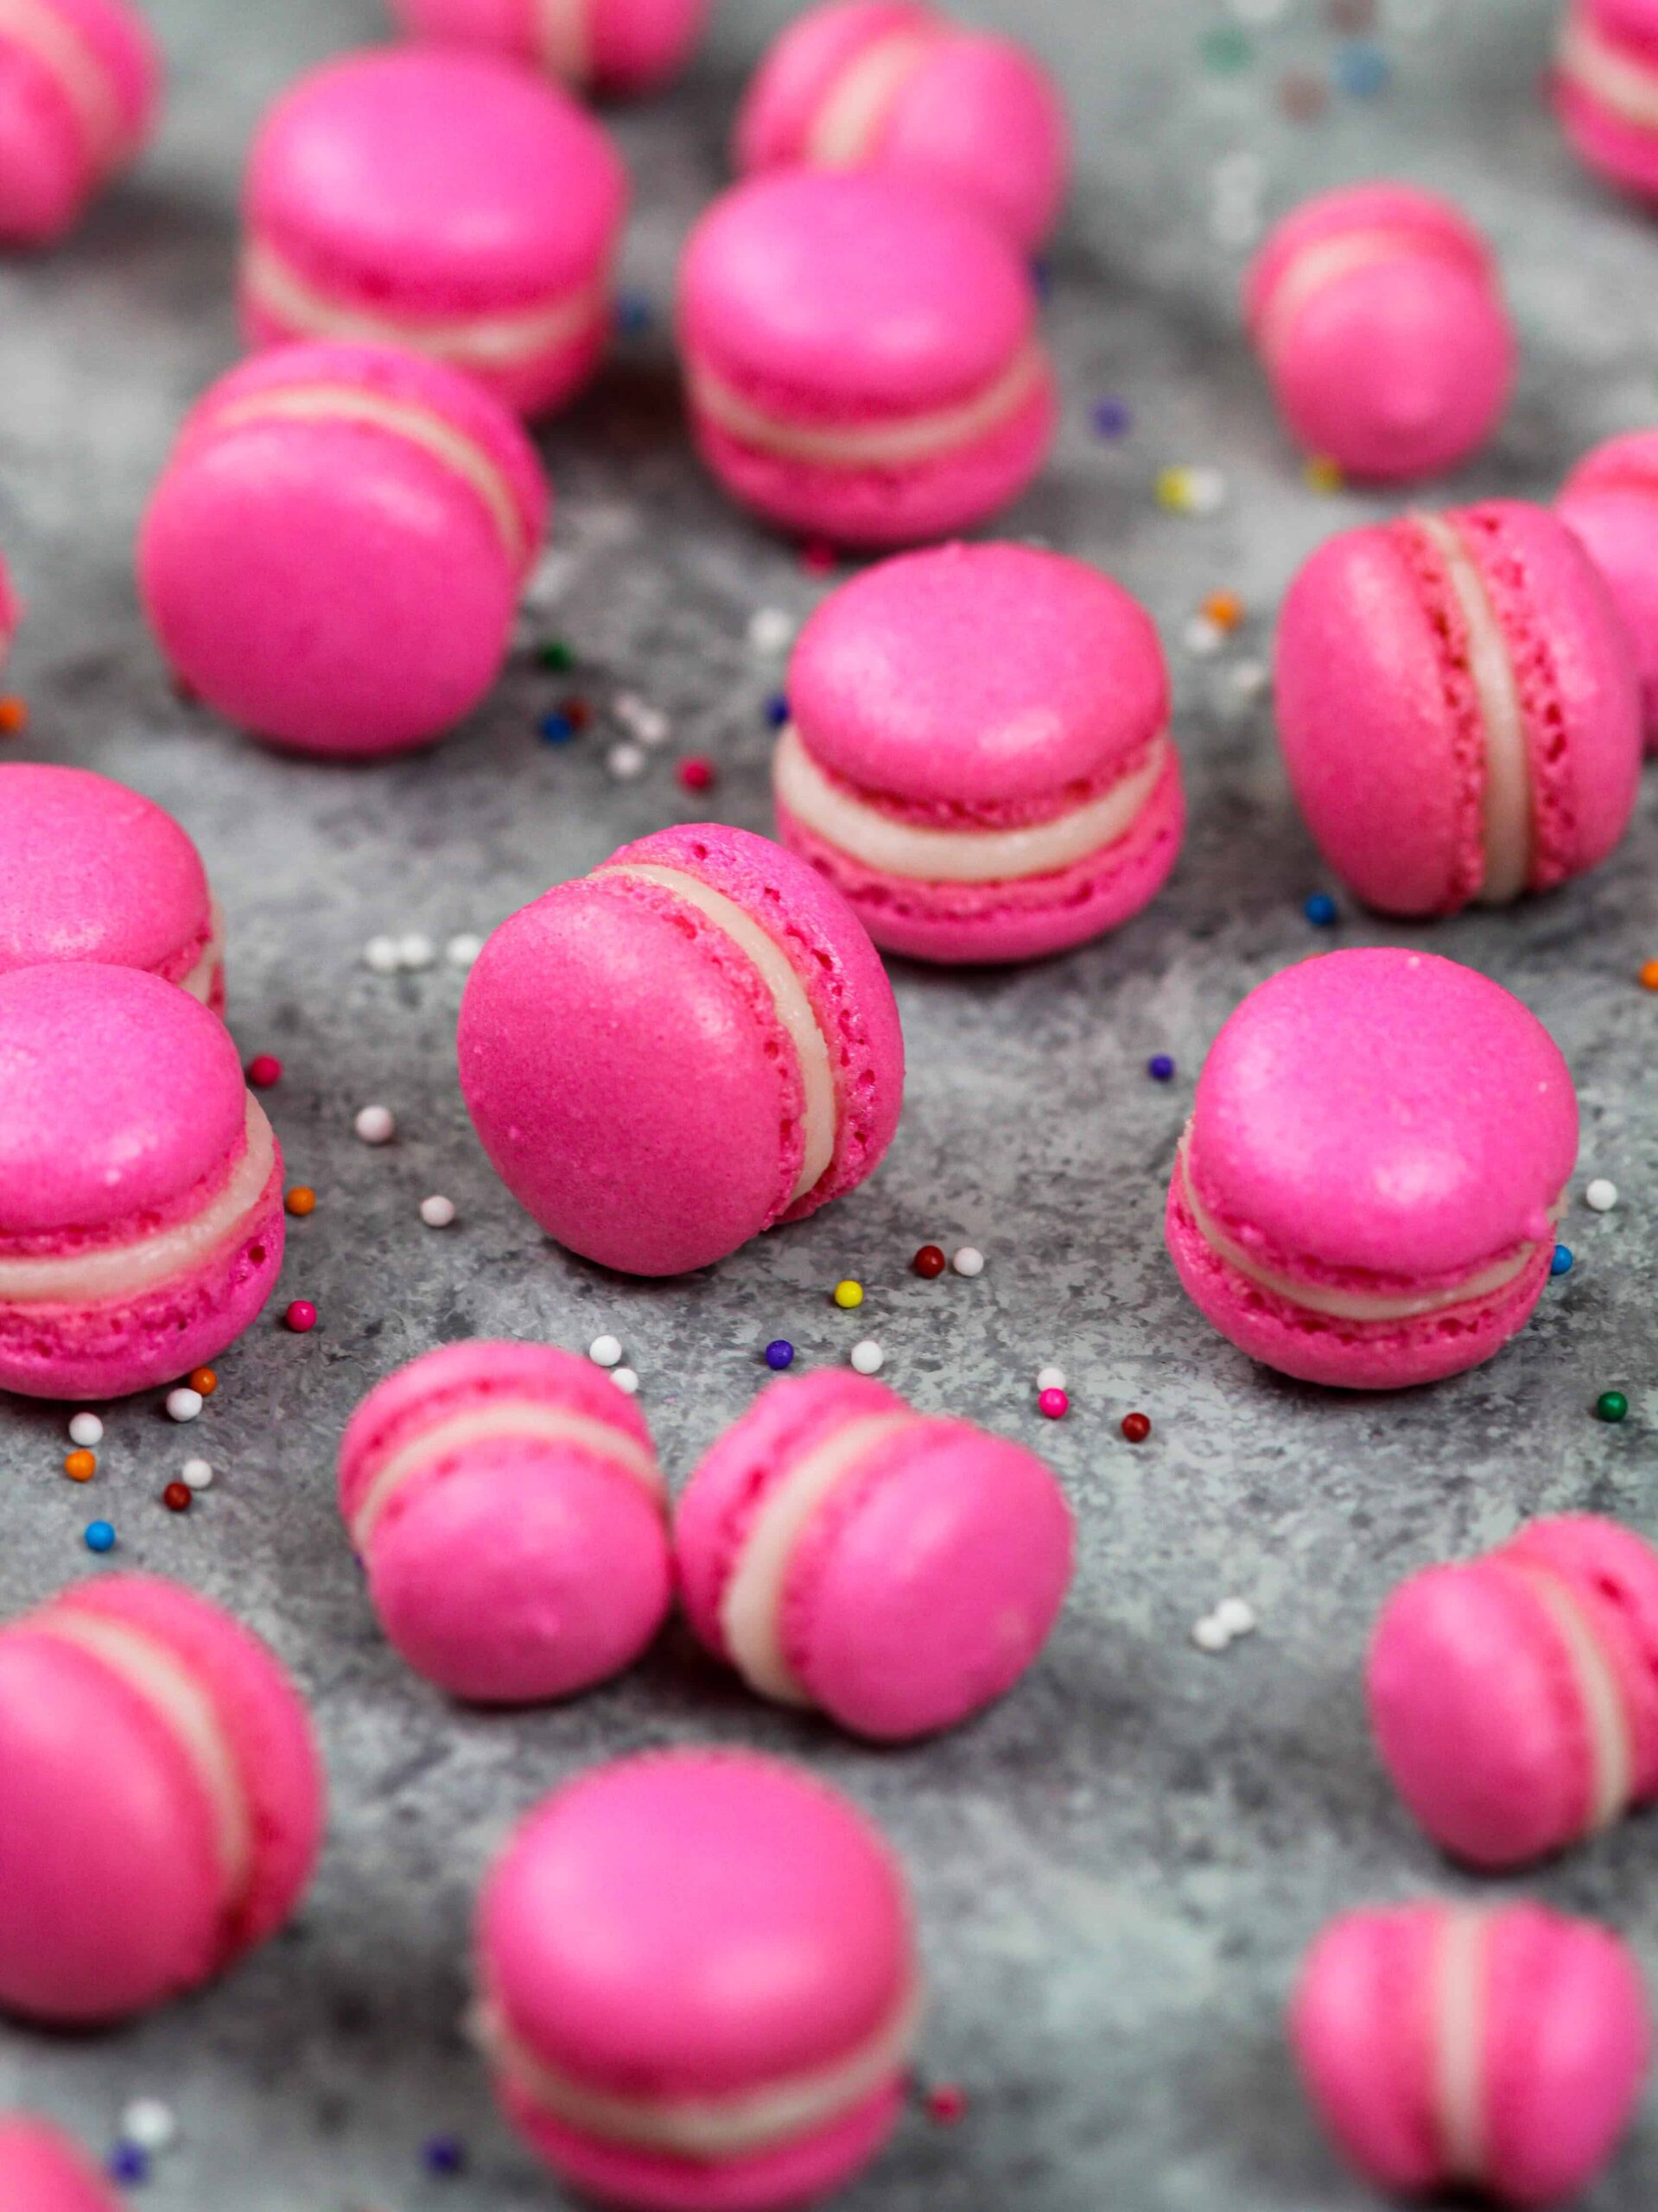
Choosing The Right Filling for These Mini Macarons
Almost all the flavor in a macaron comes from its filling. The shell gives the macarons an incredible texture, but the filling is what determines its flavor.
I have a big sweet tooth, so I like to fill my macarons with my American buttercream.
If you don’t want your macarons to be super sweet, I recommend using a 1/4 batch of my hybrid buttercream or Swiss meringue frosting.
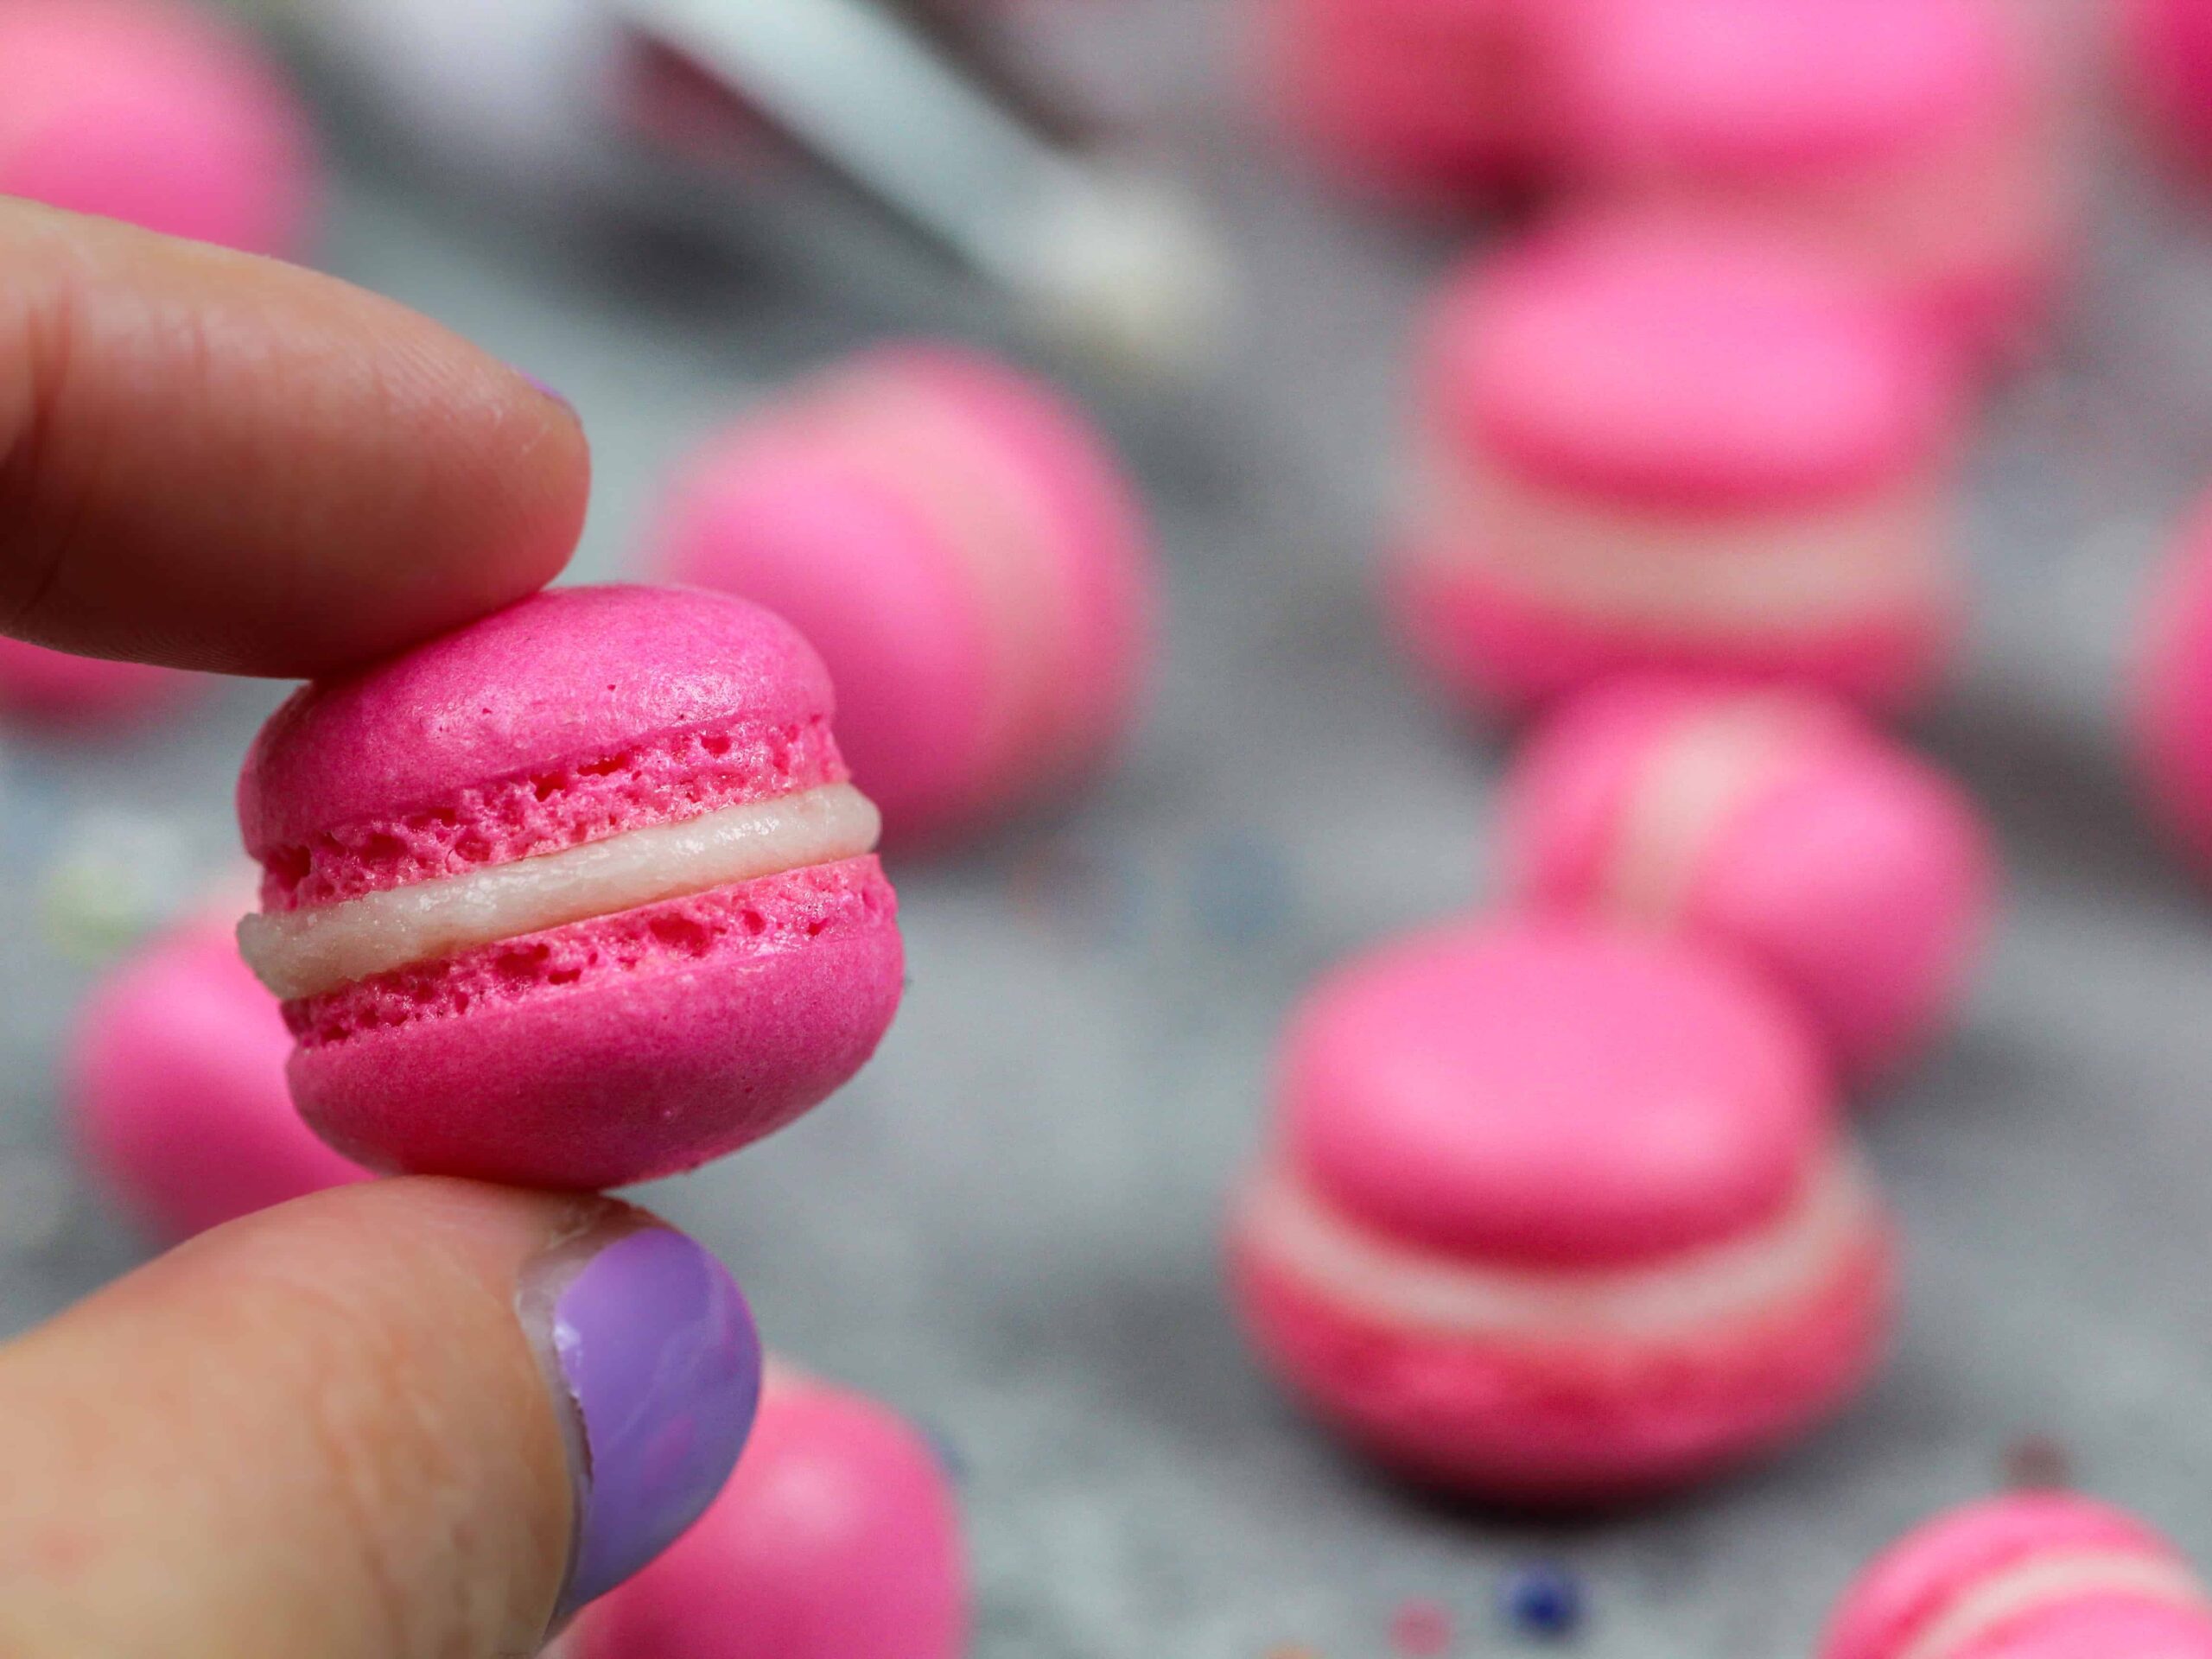
Recipe Yield
This recipe makes about 72 mini macaron shells that are 1/2-inch in diameter, which can be used to make 36 mini macarons.
Do keep in mind that the yield and bake time can vary based on the size of macarons you pipe.
This small batch macaron recipe can also be used to make 18 regular sized macaron shells.
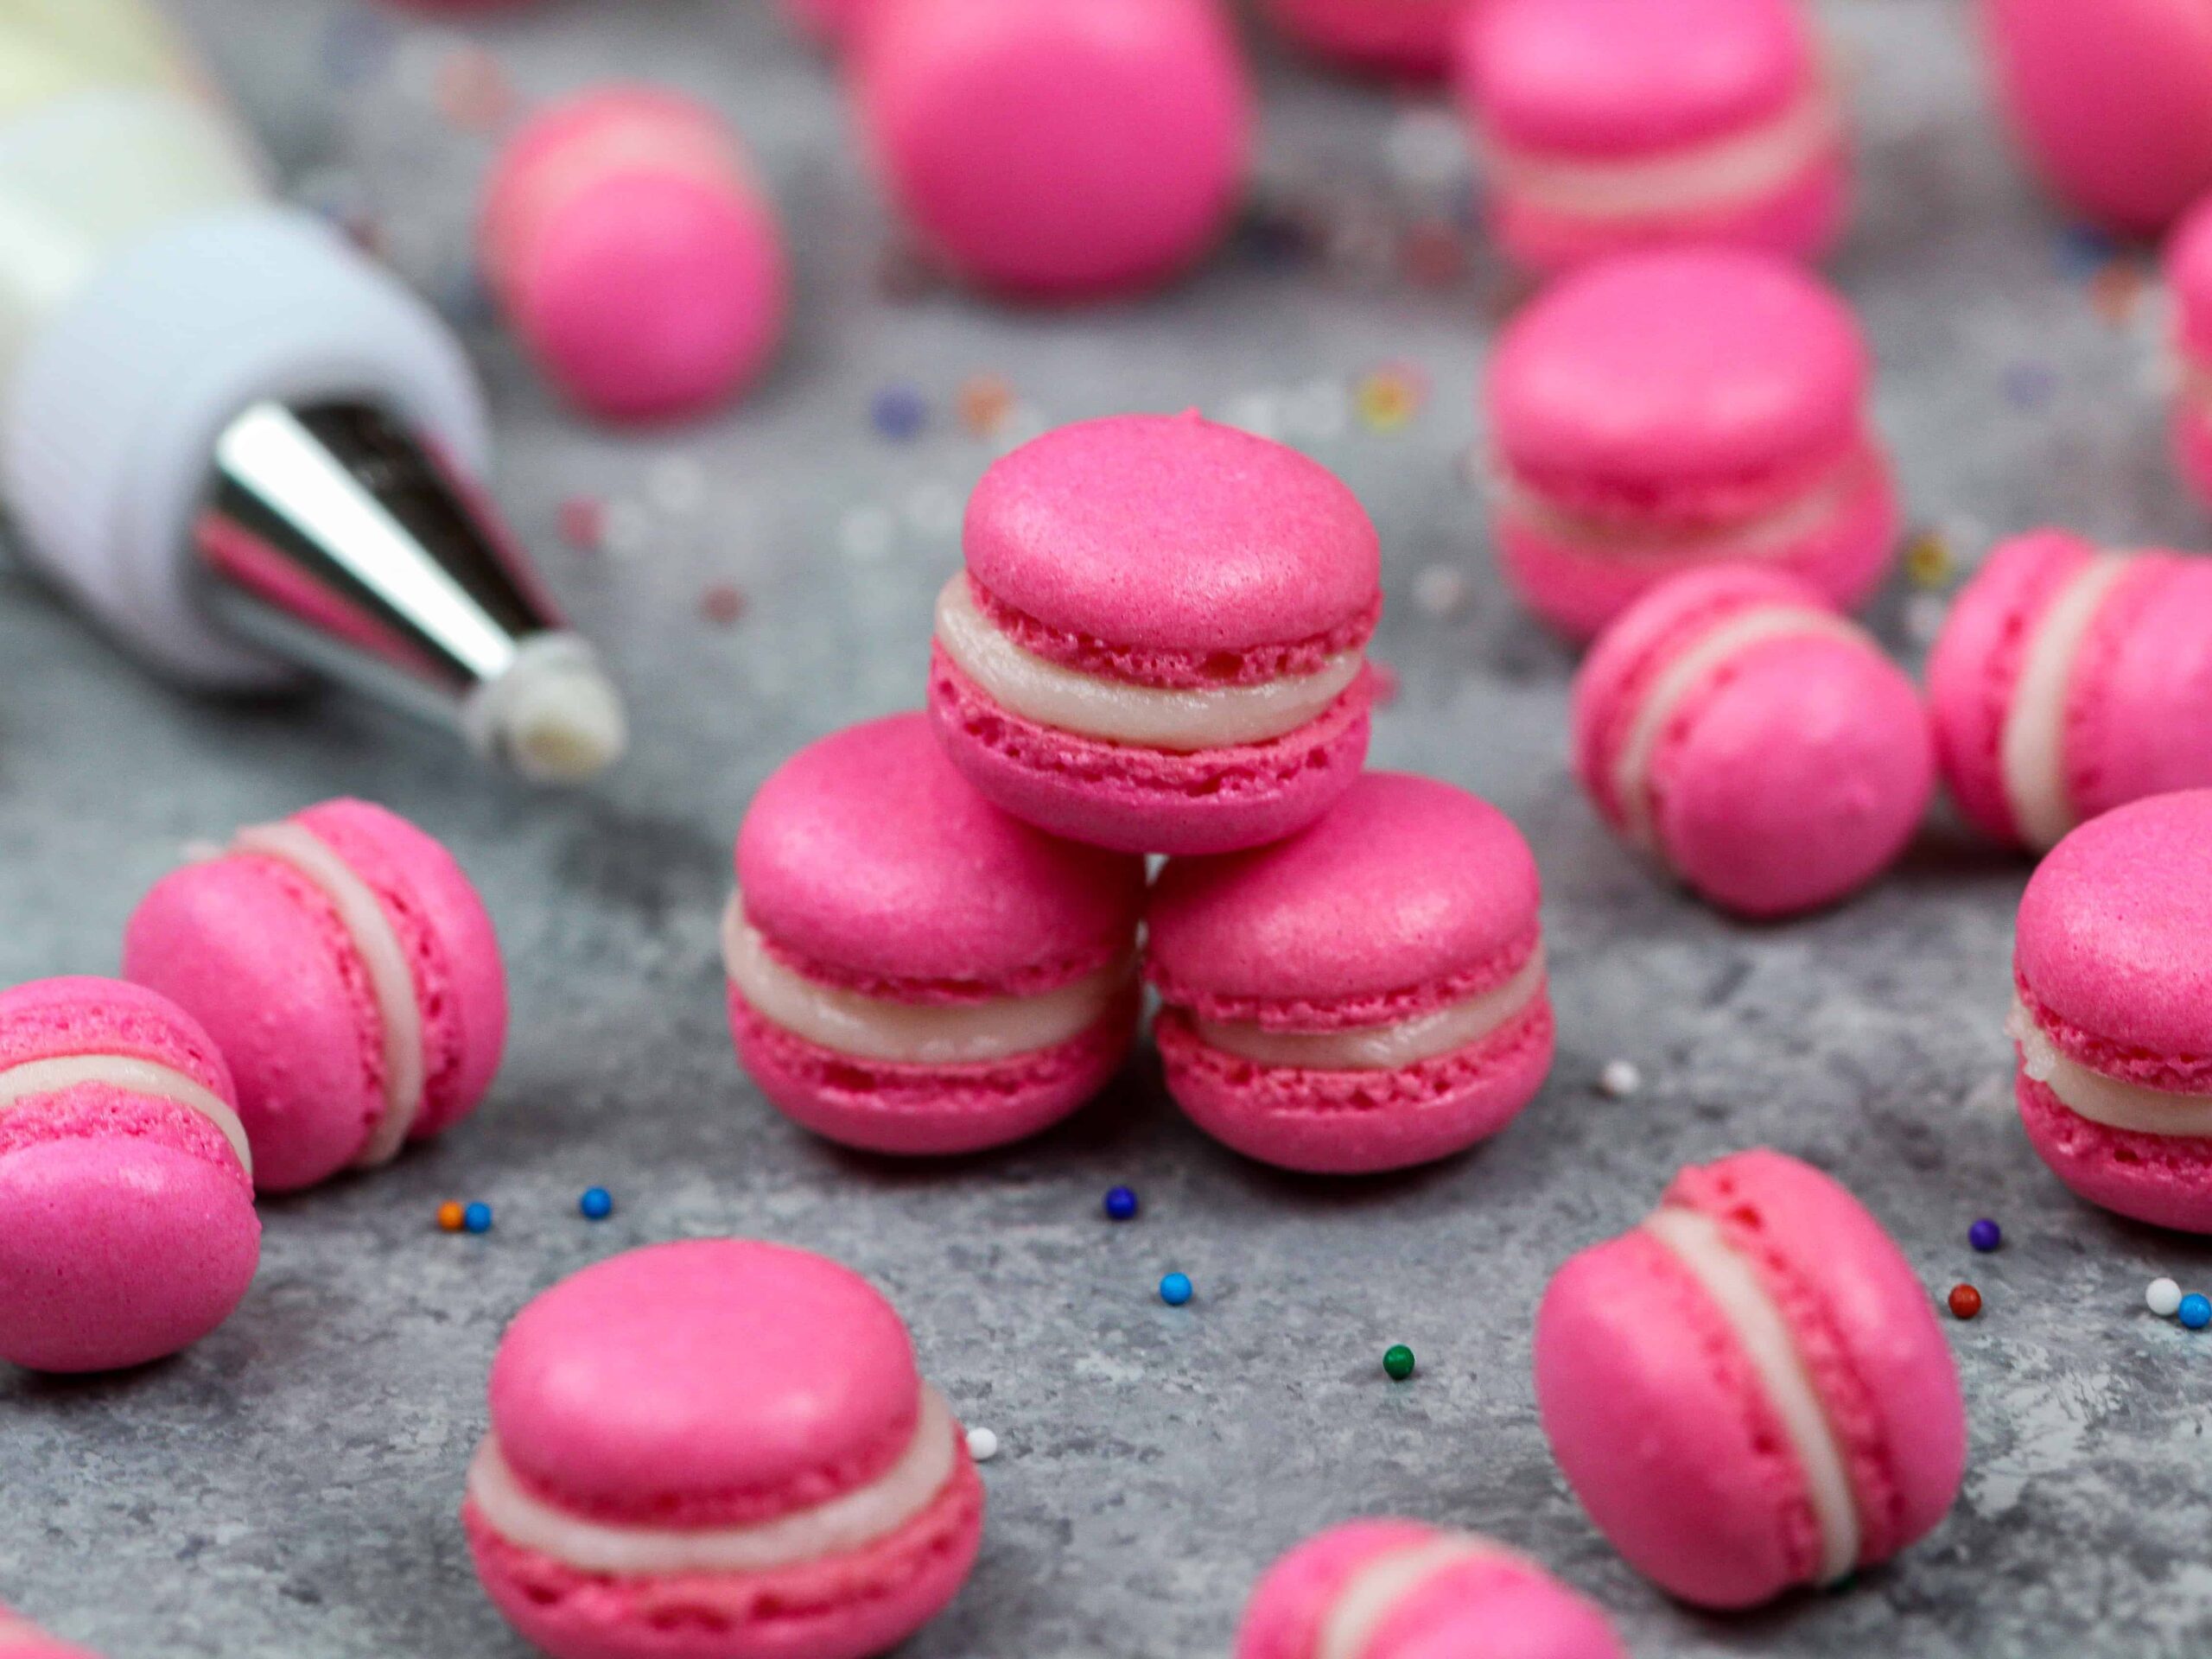
Tips for Making the Best Mini Macarons
- Wipe your mixing bowl and whisk with lemon juice or vinegar to remove any traces of grease before making your meringue. It will help your egg whites whip up better!
- Separate your own eggs and age them if possible. Do not use egg whites from a carton.
- Measure your ingredients in grams with a kitchen scale! You really need to be precise with this recipe and your macarons will turn out best if the ingredients are weighed.
- Use a macaron mat or print out a template to help you pipe consistently sized macarons.
- Let your macarons mature! Letting them rest overnight while they are filled softens them (in a good way) and allows the flavors to develop.
- If your first batch of macarons doesn’t turn out, please check out my macaron troubleshooting guide.
Making These Mini Macarons in Advance & Storage Tips
- You need to let French macarons mature for a few hours or overnight in the fridge before eating them. This gives them their best texture and taste.
- Store macarons at room temperature for up to 2 days in an airtight container.
- Refrigerate macarons for up to 5 days in an airtight container.
- Freeze filled macarons for up to a month in an airtight container.
- Unfilled macaron shells can be frozen for up to a month in an airtight container.
- Make your filling ahead of time too or save any leftover filling! It can be stored in an airtight container in the fridge for up to a week or in the freezer for up to a month.
Let Me Know What You Think!
If you try this recipe for mini macarons, I’d love to hear what you think! Please leave a rating and comment below.
Don’t forget to tag me @chelsweets and use #chelsweets on social media so that I can see your amazing creations!
Other Recipes You Might Like:
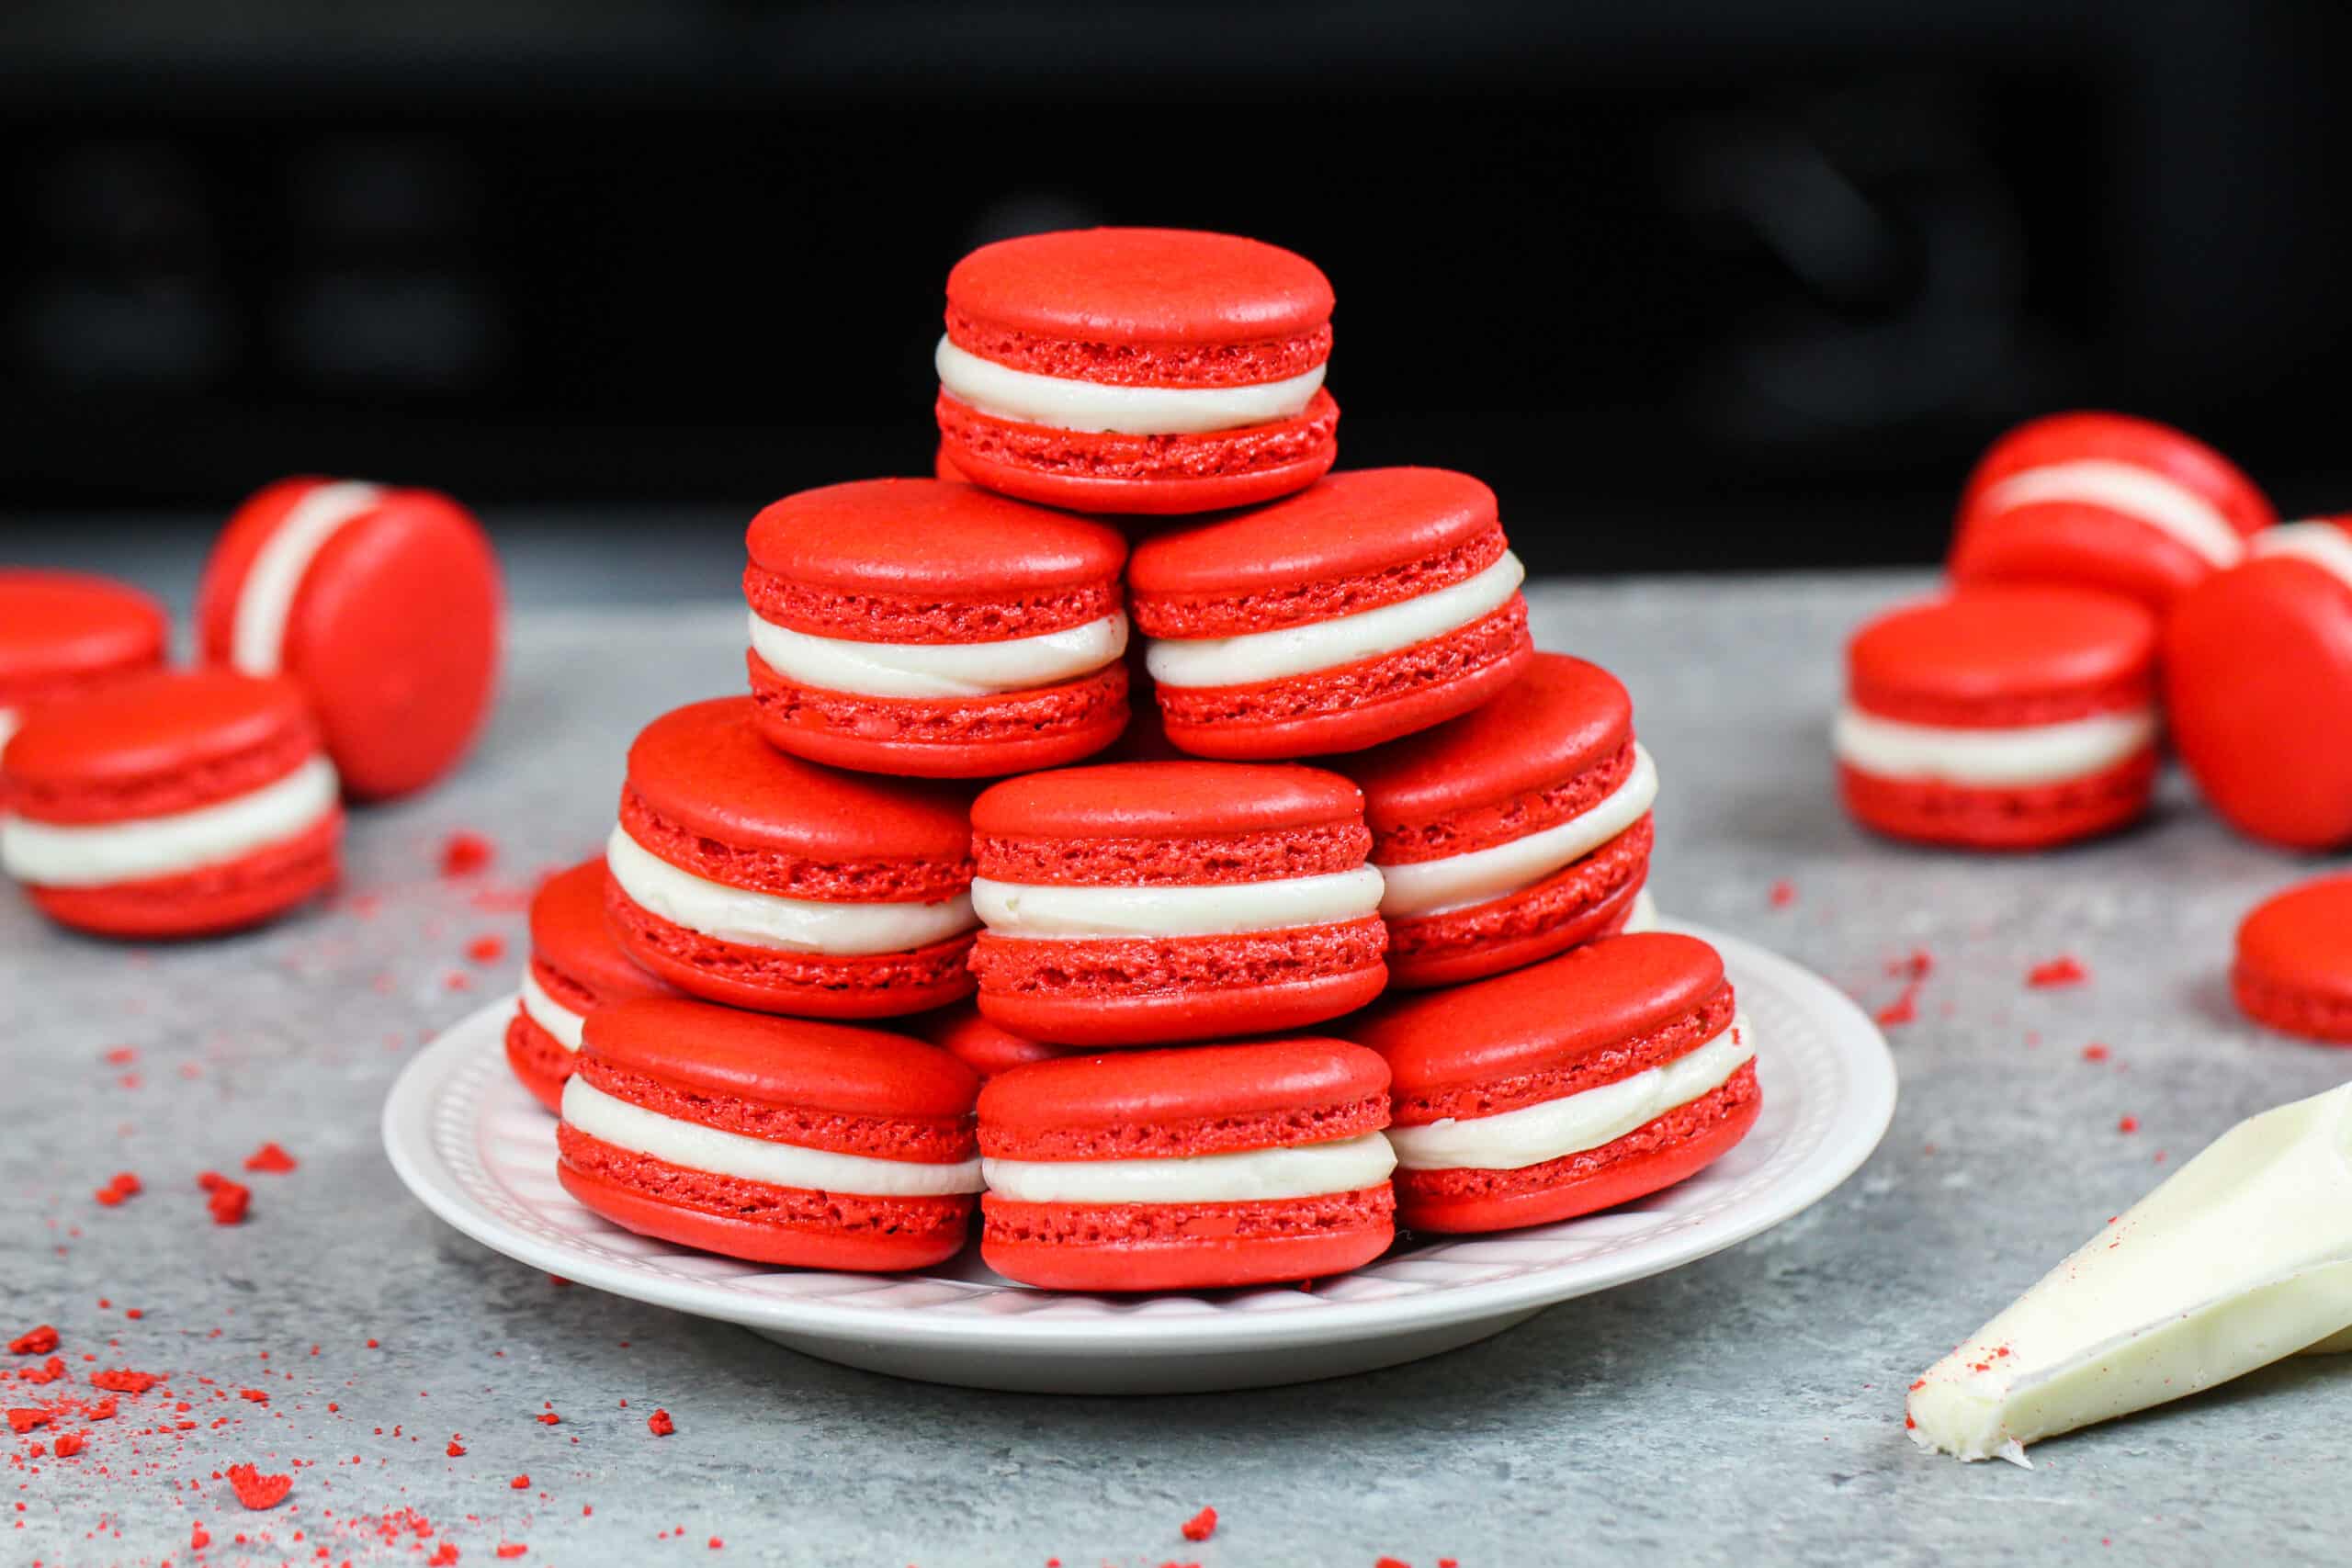

Mini Macarons
Learn how to make these adorable mini macarons! They're the perfect bite-sized version of our favorite French cookie!!
Ingredients
Mini Macarons
- 35g superfine almond flour - blanched (1/3 cup)
- 31 g powdered sugar (1/3 cup)
- 27g aged egg whites - about 2 large eggs
- pinch of cream of tartar - optional
- 27g granulated sugar (2 Tbsp)
- pink gel food coloring - optional
Tiny Batch Buttercream Frosting
- 28g unsalted butter, room temperature (2 Tbsp)
- 2g vanilla extract (1/1 tsp)
- pinch of salt
- 60g powdered sugar (1/2 cup)
- 5g heavy cream (1 tsp)
Equipment
Instructions
Mini French Macarons
- Sift 35g superfine almond flour and 31g powdered sugar into a large bowl and set aside.
- Pour 27g of aged egg whites into the bowl and beat with a hand mixer on a medium speed until the surface of the egg whites is covered in small bubbles. Add in a pinch of cream of tartar and continue to mix until it reaches the soft peak stage.
- Add 27g of granulated sugar into the eggs and mix on a medium speed for 30 seconds. If desired, add in gel food coloring at this point then increase the mixing speed to a medium high speed. Keep mixing until stiff, glossy peaks form.
- Fold the dry ingredients into the meringue using circular motion until a thick ribbon of batter runs off the spatula when it's lifted.
- Pour the batter into a small piping bag fit with a medium-sized round piping tip and pipe 1/2-inch rounds on the prepared baking sheets, spacing them about 1 inch apart.
- Bang the pans firmly on the counter a few times to release air bubbles, then pop any remaining air bubbles that come to the surface with a toothpick.
- Let the macarons rest for 15 minutes, or until they develop a skin. The macarons should look matte once the skin has formed. While the macarons rest, preheat the oven to 315 F / 157 C.
- Bake one tray of macarons at a time on the middle rack of your oven for 8-9 minutes and rotate your pan halfway through.
- Remove from oven and let the macarons cool on the pan (about 10 minutes), then gently remove them from the silpat mat.
Tiny Batch Buttercream Frosting
- Beat 28g of room-temperature butter on a medium speed with a whisk attachment until smooth.
- Mix in 2g vanilla extract and a tiny pinch of salt on a low speed.
- Slowly mix in 60g of powdered sugar and 5g heavy cream on a low speed.
- Continue to mix on low for a couple minutes until the ingredients are fully incorporated and the desired consistency is reached.
- If the frosting is too thick, add in additional heavy cream or milk (1/2 tsp at a time). If the frosting is too thin, add in more powdered sugar (1 tsp at a time).
- Place in a small piping bag with a small round tip, and set aside.
Assembling These Mini Macarons
- Pair up the shells then pipe a dollop of buttercream or frosting of your choice on one macaron shell. Gently press a second shell on top of the frosting to create a sandwich.
- Place the finished macarons in an airtight container and chill in the fridge overnight, then let them warm to room temperature and enjoy!
Notes
Recipe Yield:
This recipe makes about 72 small macaron shells, which can be used to make mini 36 macarons.
The yield and bake time can vary based on how small you pipe your shells. For reference, I piped these shells with a diameter of about 1/2 inch.
This small batch macaron recipe can also be used to make 18 regular sized macaron shells.
Tips for Making the Best Mini Macarons
- Measure your ingredients in grams with a kitchen scale! You really need to be precise with this recipe. Your macarons will turn out best if the ingredients are weighed.
- Separate your own eggs and age them if possible! Do not use egg whites from a carton.
- Use gel food coloring. If you try to use liquid food coloring, it can throw off the consistency of the batter.
- Use a macaron mat or print out a template to help you pipe consistently sized macarons.
- Let your macarons mature in the fridge overnight! Letting them rest overnight while they are filled softens them (in a good way) and allows the flavors to develop.
Making These Mini Macarons in Advance & Storage Tips
- French macarons need to mature overnight (or ideally 24 hours) in the fridge before being eaten! They taste best 24 hours after being made.
- Filled Macarons can be stored at room temperature for up to 2 days in an airtight container.
- Macarons can be refrigerated for up to 5 days in an airtight container.
- Filled macarons can be frozen for up to a month, but the length can vary based on the filling.
- Unfilled macaron shells can be frozen for up to a month in an airtight container.
- Your filling can be made ahead of time too or save any leftover filling! It can be stored in an airtight container in the fridge for up to a week, or in the freezer for up to a month.
Nutrition Information
Yield
36Serving Size
1Amount Per Serving Calories 41Total Fat 2gSaturated Fat 1gTrans Fat 0gUnsaturated Fat 2gCholesterol 12mgSodium 9mgCarbohydrates 4gFiber 0gSugar 3gProtein 1g

Mini Chocolate Cake Recipe: The Perfect Date Night Dessert
Friday 22nd of April 2022
[…] Vanilla Cake Recipe Tiny Butterfinger Bundt Cakes Mini Macarons Mini Cheesecake Yield: […]
Carly
Monday 21st of February 2022
I just wanted to thank you! This is the only macaron recipe I can get to work! It is my go to foolproof recipe. I have tried it weighing the egg white and just using 2 egg whites, either way I end up with pefect macarons. I have used it so many times and it has never failed... Thank you so much!
Chris
Tuesday 25th of January 2022
I tryed twice and use gram measurements. First time the egg whites are not enough for my big mixer to reach. So held bowl closer, and the egg whites never reached the still point. But second attempt they did but when I added flour mixture it seemed to much for the small amount of egg whites, which are no where near 2 eggs if you measure. But batter was gritty and hardley any of it. I dumped it all...I'm sure it was me...
Ben F
Saturday 20th of November 2021
I printed out a guide to do 1/2" rounds. I've been piping them using the batch size presented in the recipe, and I'm up to 140 shells, and I think I could get another 70 out of what's left in the bag. Next time I'll try 3/4" or 1" rounds.
Thomas Stahel
Thursday 18th of March 2021
There's something wrong. You say 2 egg whites and 27g as equivalent. This can't be correct. Normally 1 egg has egg white of around 25 to 40 grams. So 2 egg whites are at the very least double your weight. What is correct now?
Ben F
Saturday 20th of November 2021
@Thomas Stahel, I went with 27g instead of 2 eggs' worth of whites, and it came together nicely.