I grew up in Washington, and every summer the farmers markets were packed with beautiful cherries!
Sadly, I was a super picky-eater as a kid, and I didn’t like cherries. Can you believe it?? I think the pits just weirded me out.
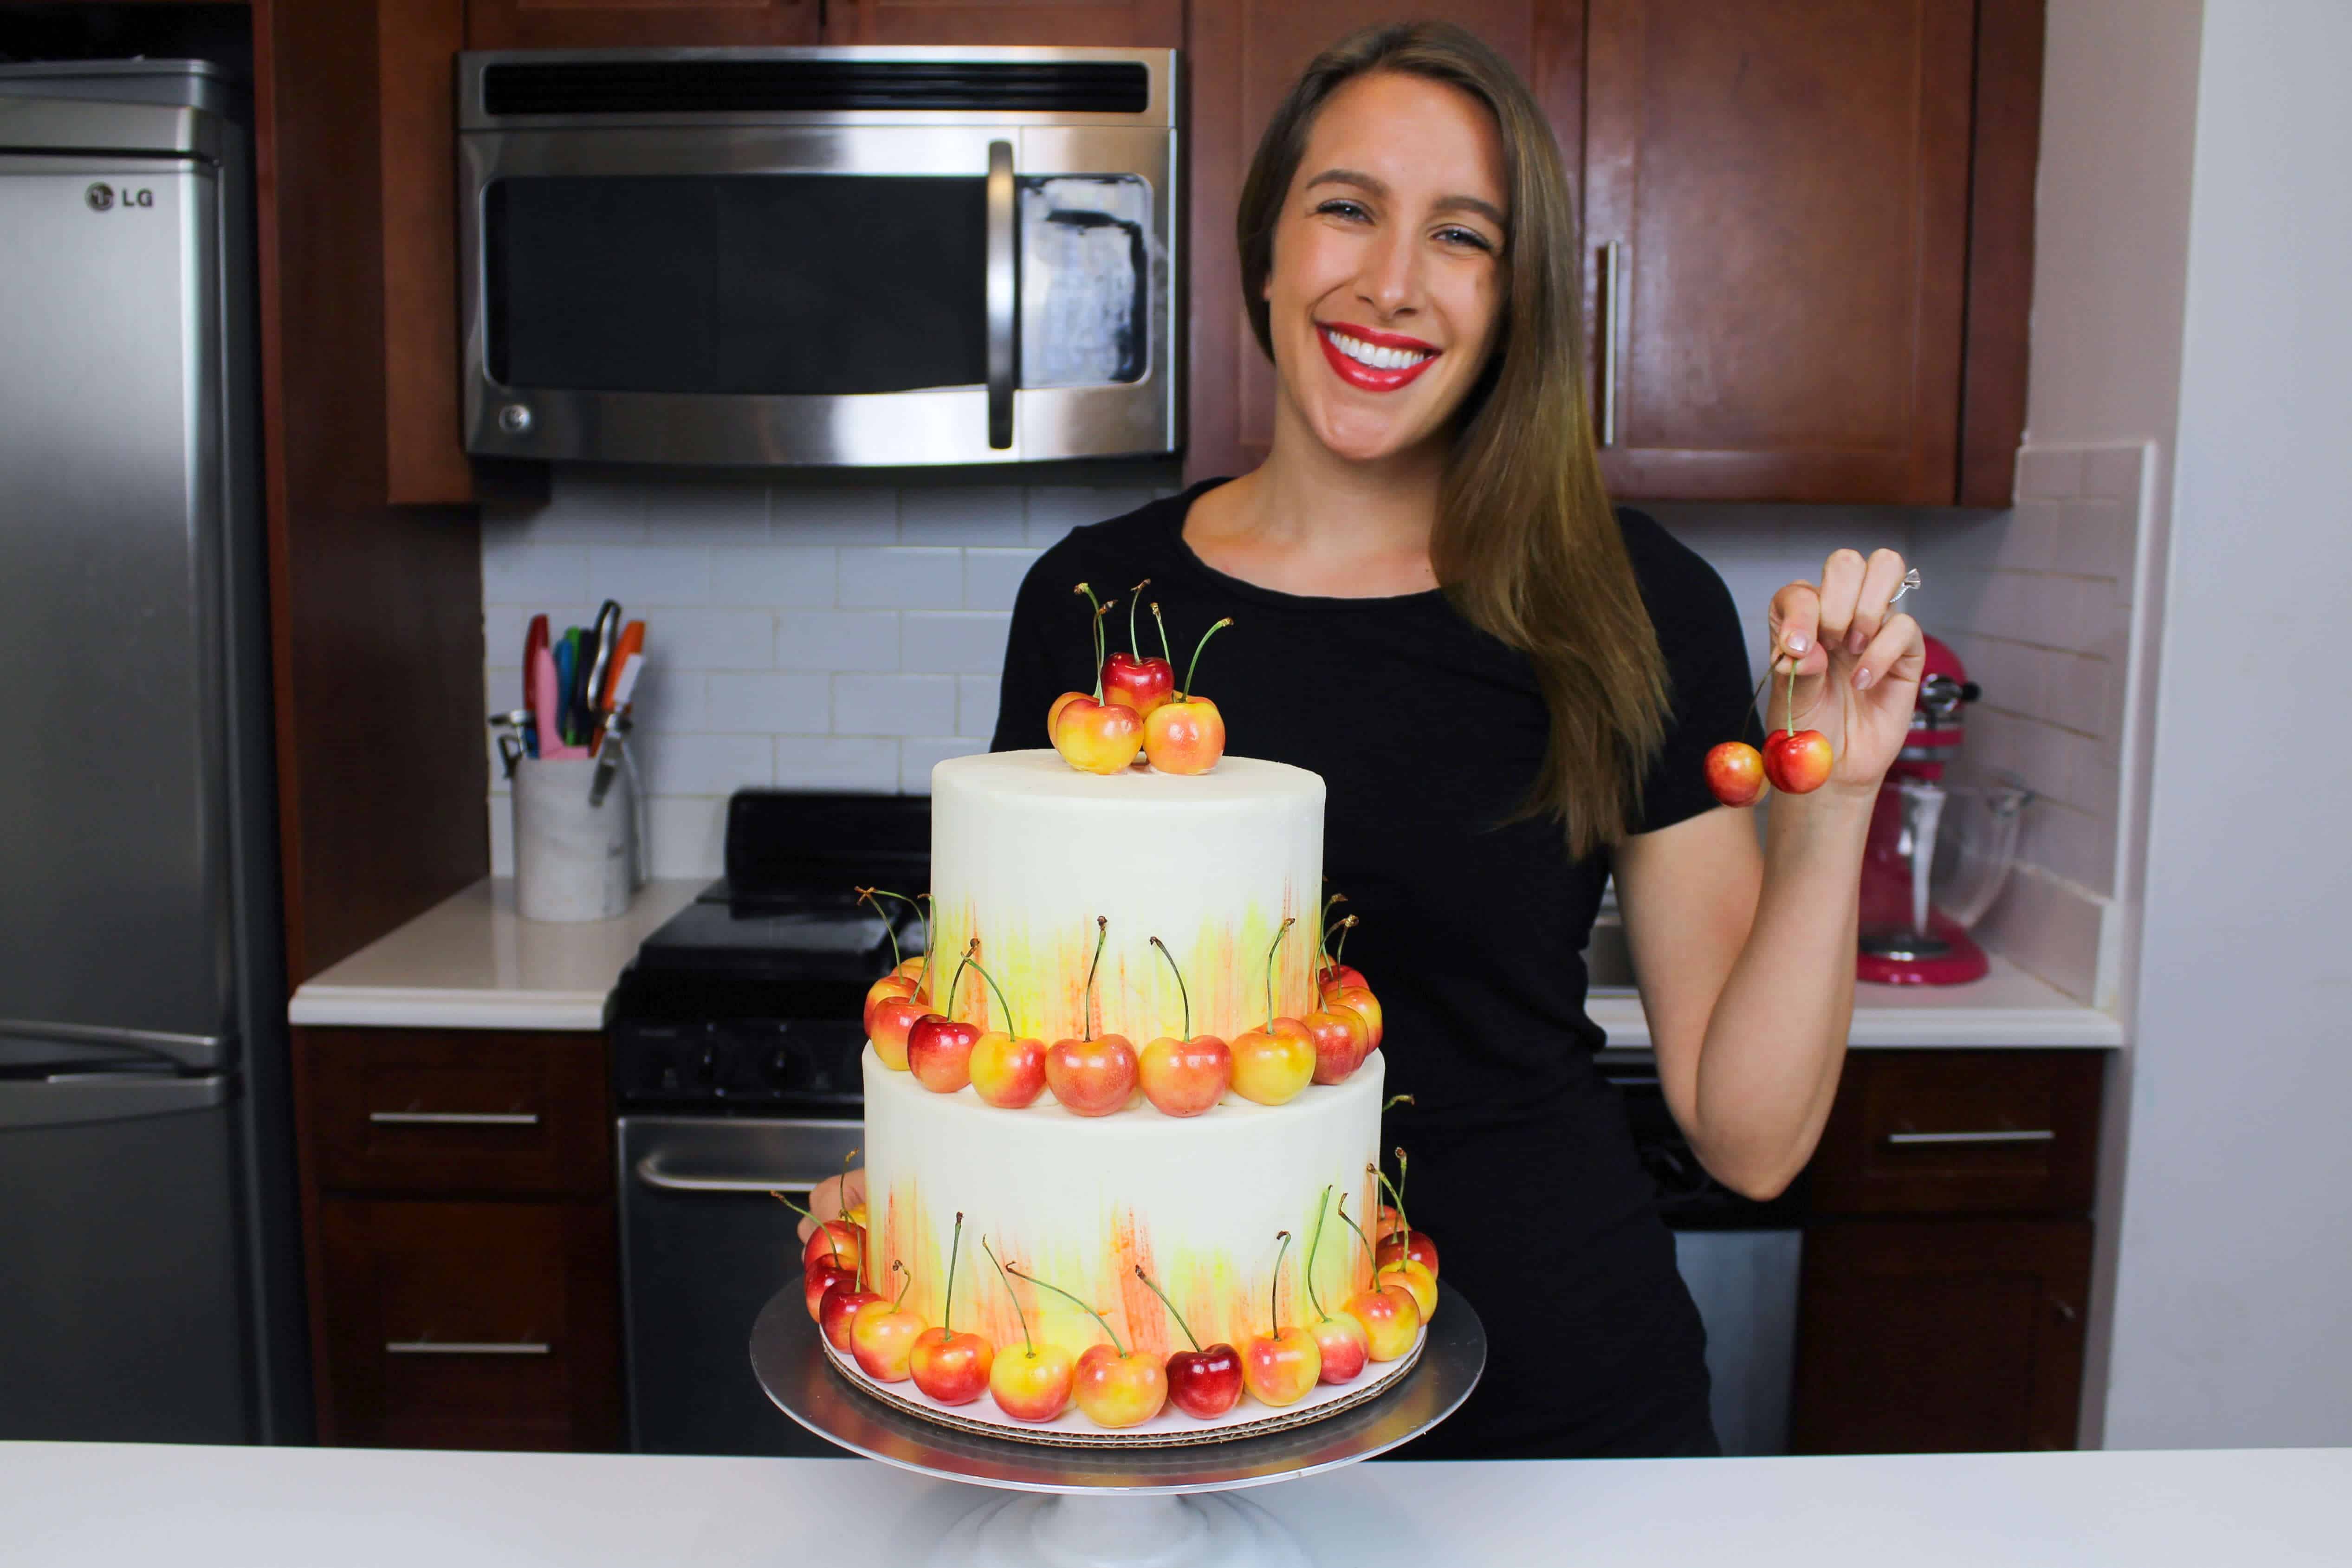
But once I hit my 20’s, I really grew fond of them! Now I have a hard time resisting them at the grocery store, and love to bake with them.
If you also have a thing for cherries, I highly recommend checking out the epic Black Forest cake I made last year!!
I was in Whole Foods last week (my go-to spot for butter), and saw the most stunning Rainier cherries!! AND THEY WERE FROM WASHINGTON!!
Even though I know they’re shipped across the country, and definitely not as fresh as the cherries in Seattle.
Something about seeing fruit from home gets me every time. I couldn’t resist getting a bag…or three.
I don’t know what it is, but the vibrant hues of yellow and red had me feeling some kind of way.
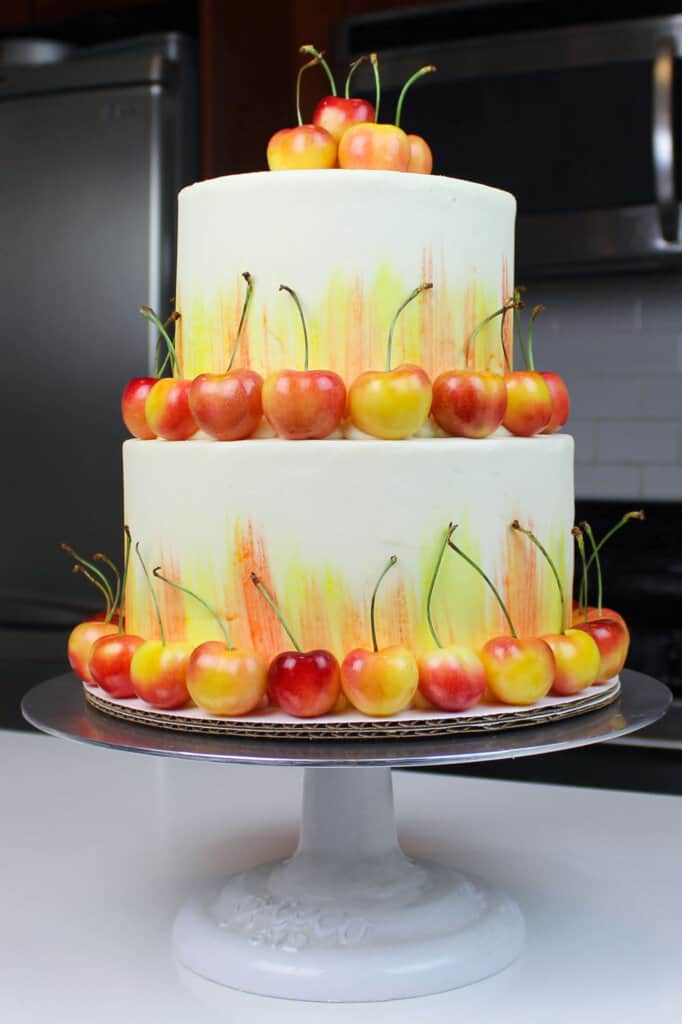
I knew I wanted to make a cake inspired by these cherries, and the streaks of color inspired me to paint some red and yellow brush strokes up the side of my cake.
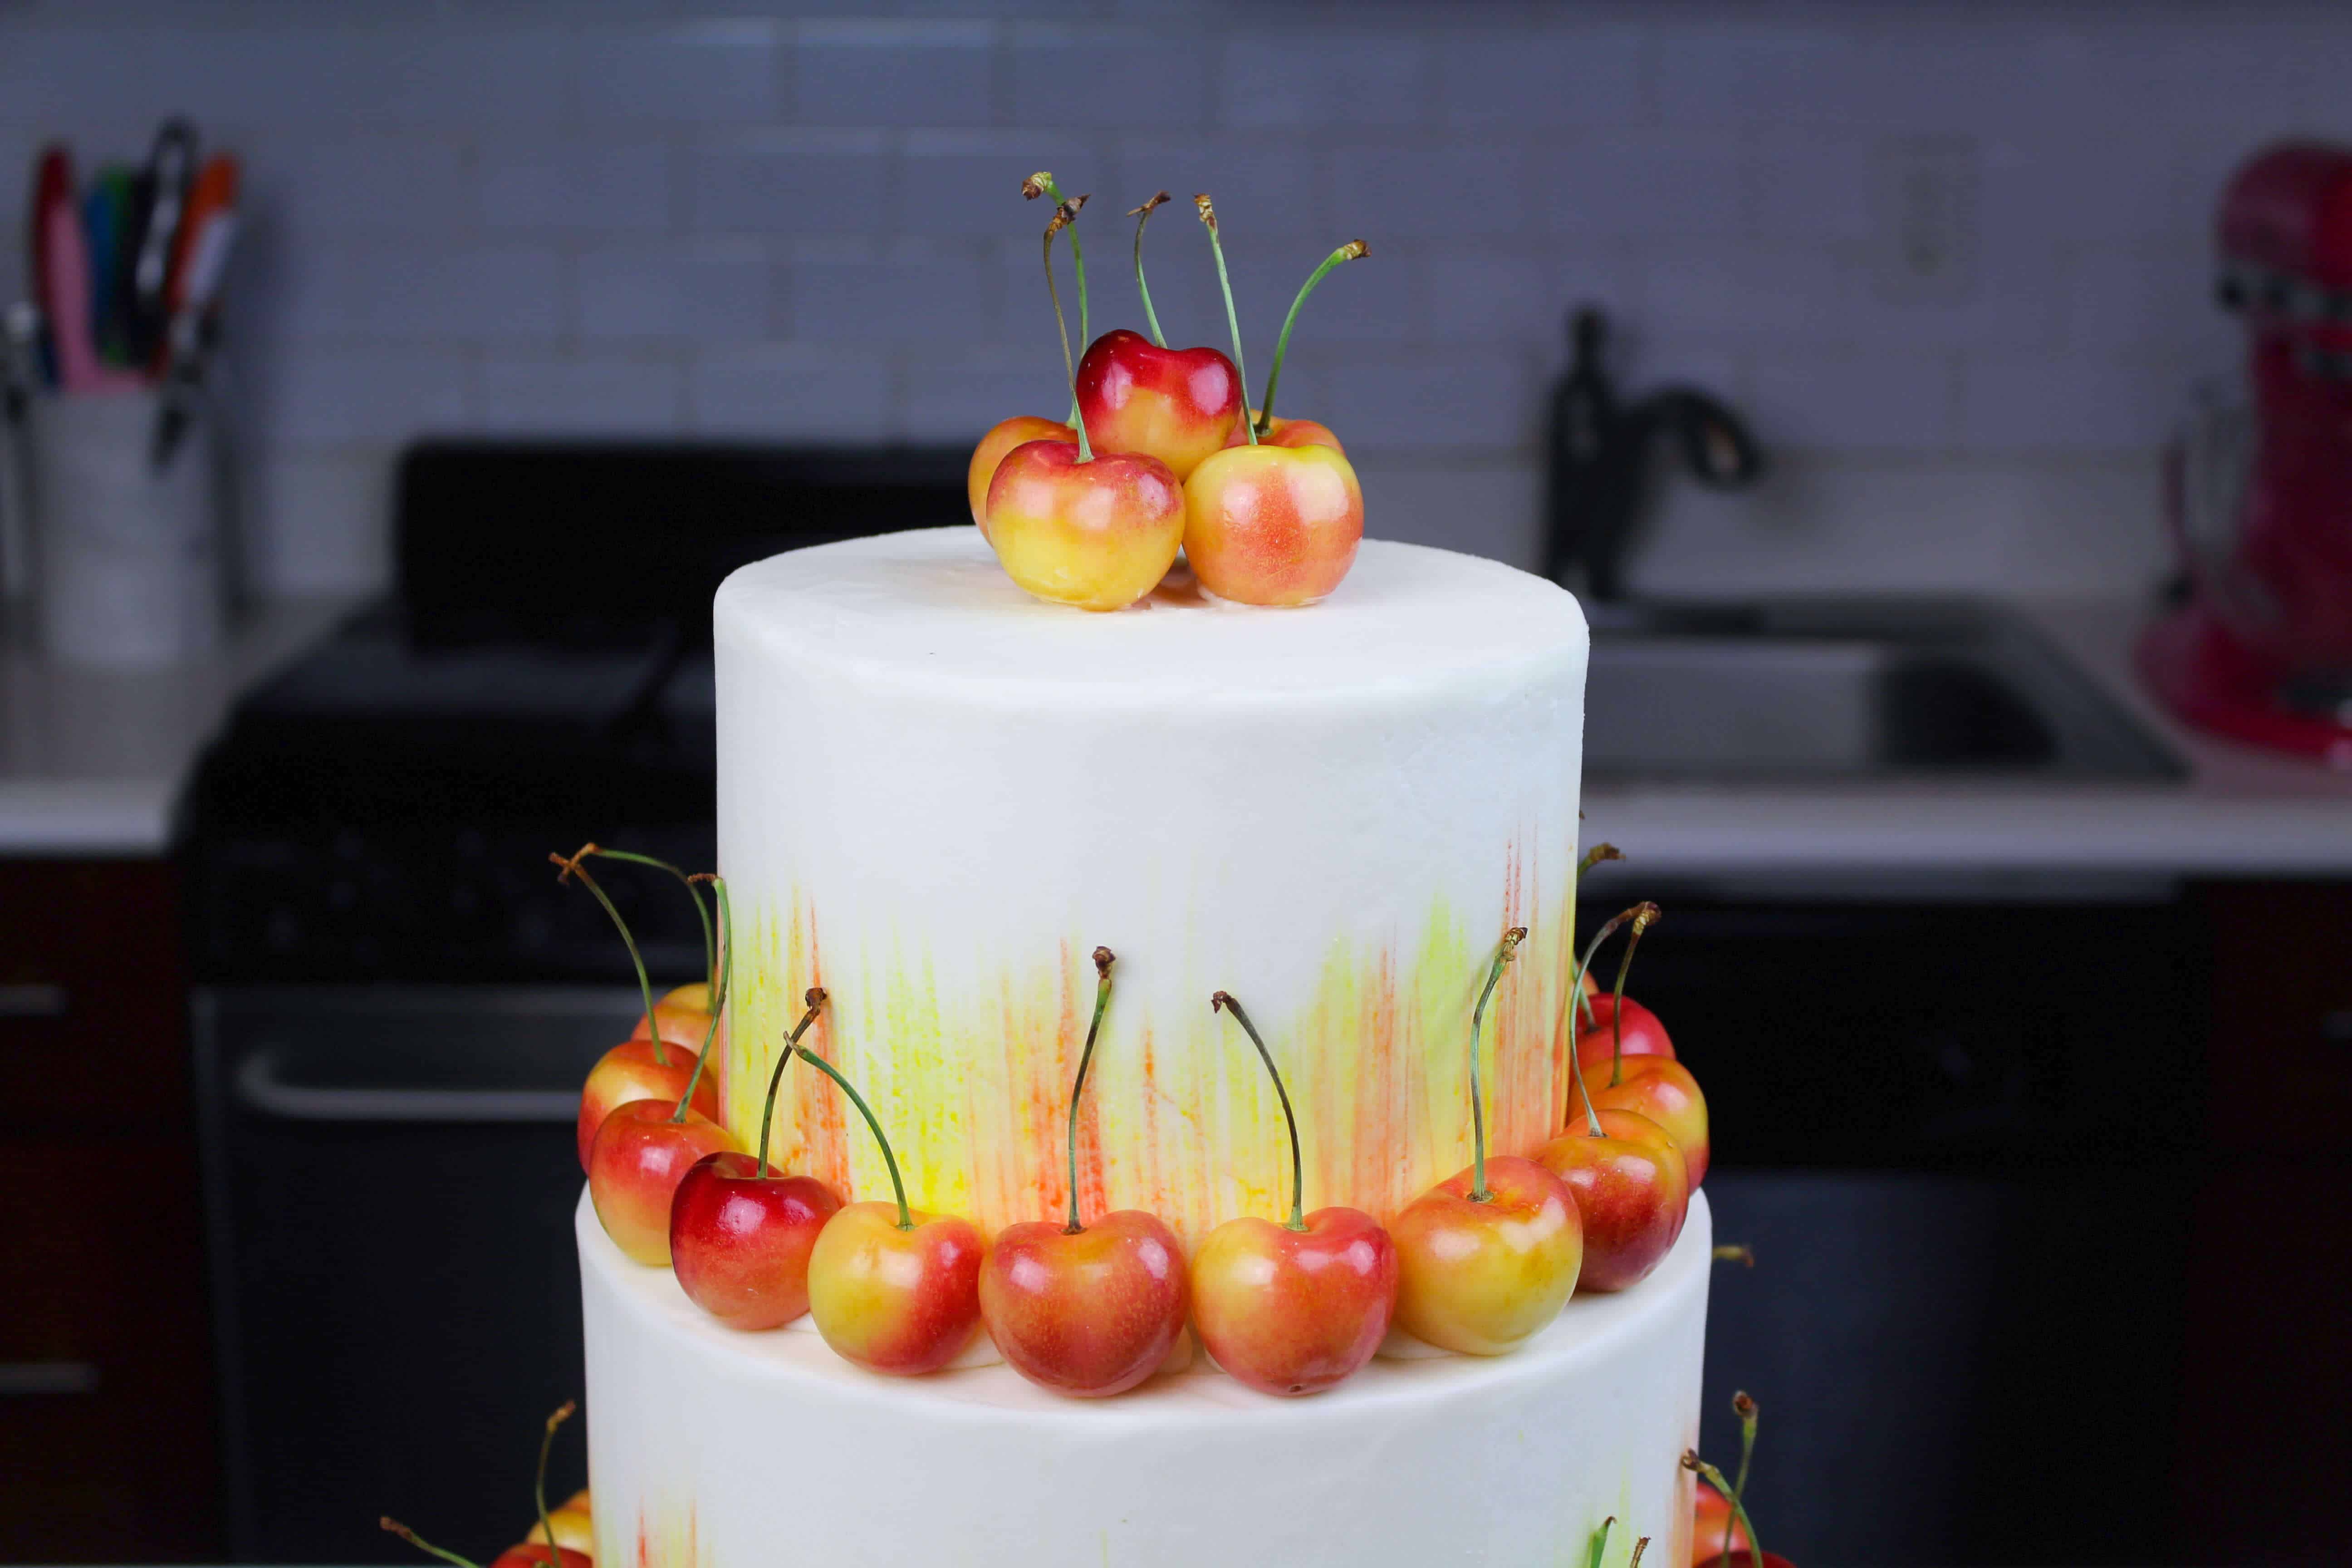
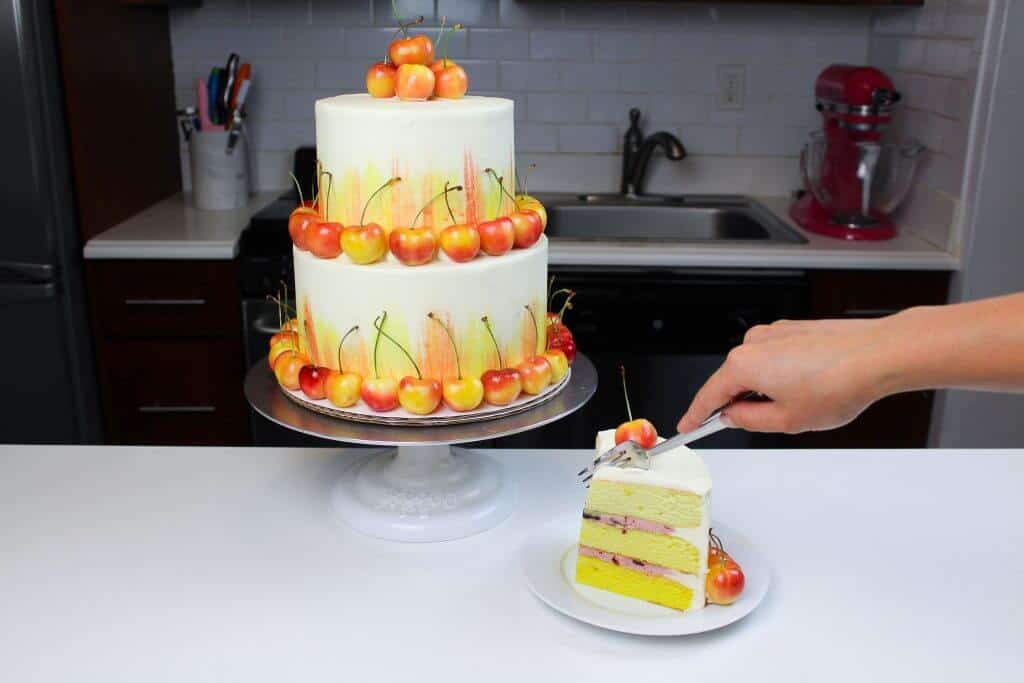
This cake is made with my go-to layer cake recipe, and is filled with a cherry buttercream! To keep things simple, I used my favorite cherry preserve to flavor it.
The cherry buttercream is thinner than my classic American buttercream. With that in mind, it’s important to pipe a dam of frosting around each cake layer. This helps keep that cherry frosting in place!!
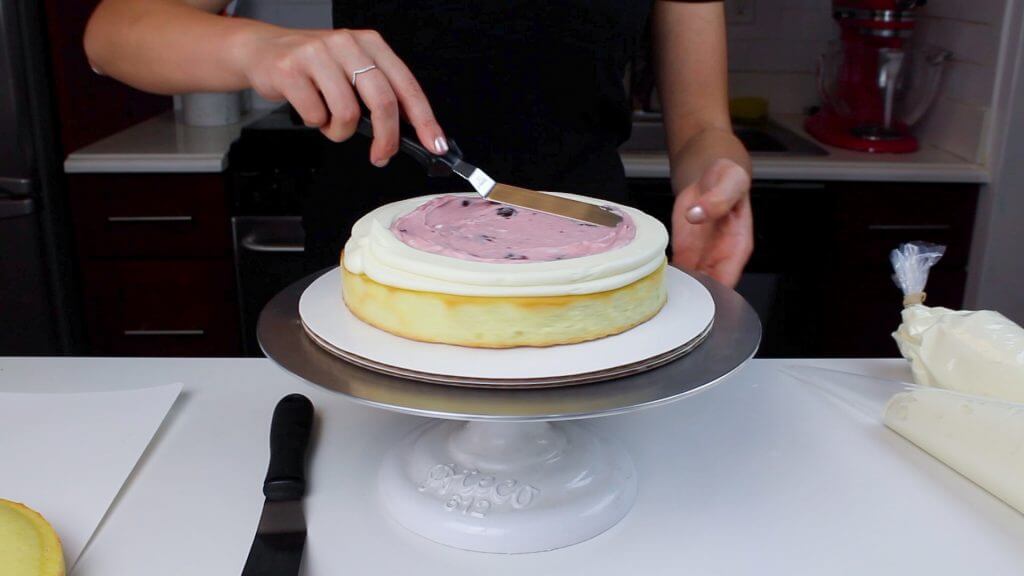
Carefully smooth the cherry buttercream to the edge of the vanilla buttercream ring, using a a small offset spatula.
Once the layers were filled and stacked, crumb-coat each tier of the cake.
This makes the frosting process so much easier. It also prevents crumbs from get into your final layer of frosting.
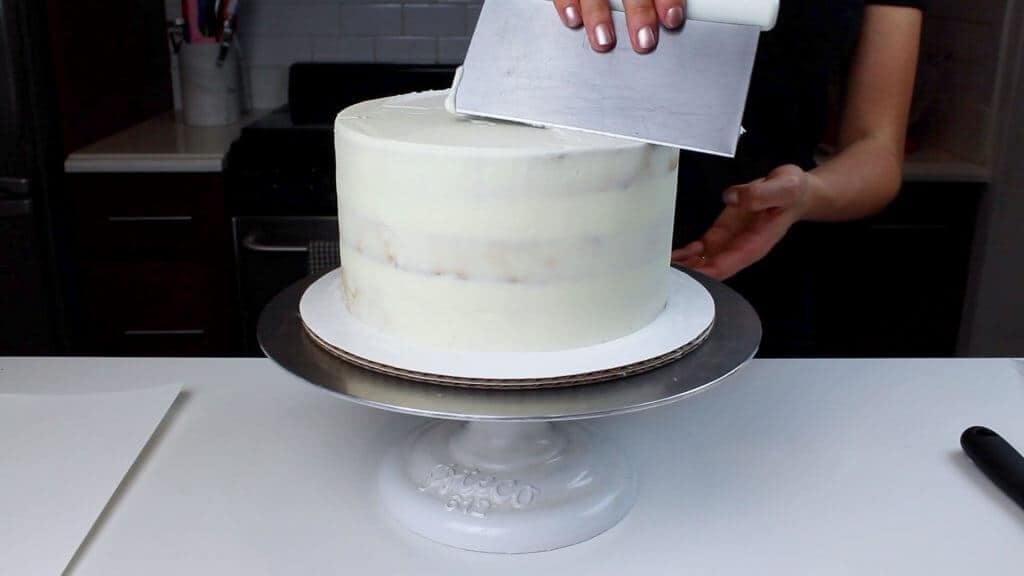
Place the cake in the freezer for 5-10 minutes, until the crumb coat is firm to the touch.
Add a second, thicker layer of frosting, and smooth using a bench scrapper. If you want to see a full tutorial showing how to get smooth sides on a cake, click here.

Once the second layer of frosting on both tiers is smooth, add four supports into the bottom tier. You can use either bubble tea straws or wooden dowels.
I prefer bubble tea straws, because they’re so much easier to cut! I bough a pack of them on amazon, and have been loving using them in my tiered cakes.
However, wooden dowels make great supports too!
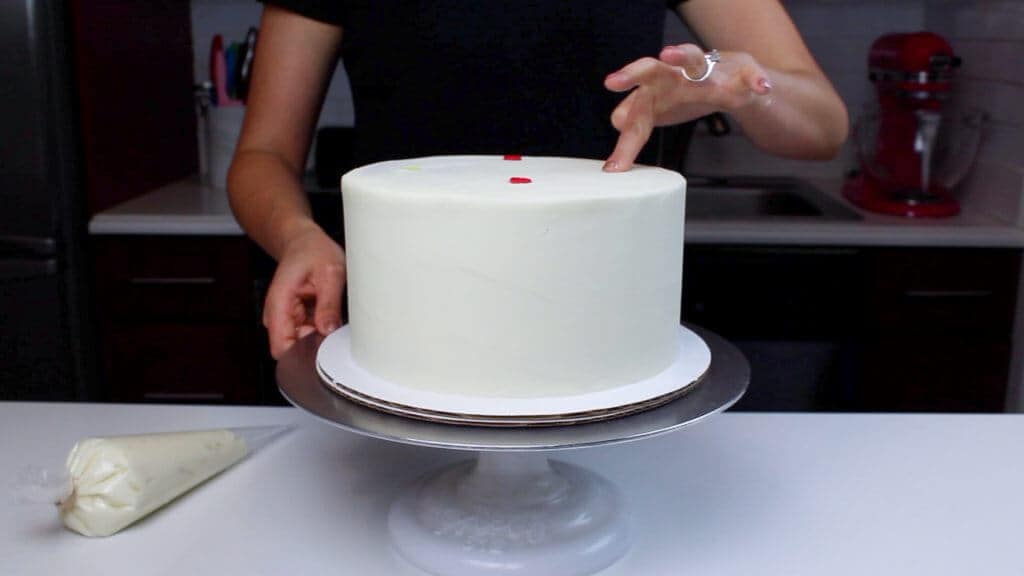
Chill both tiers of the cake in the fridge. Combine yellow gel food coloring with a bit of vodka in as mall container (I like to use egg containers).
In a separate container, repeat this process with red gel food coloring.
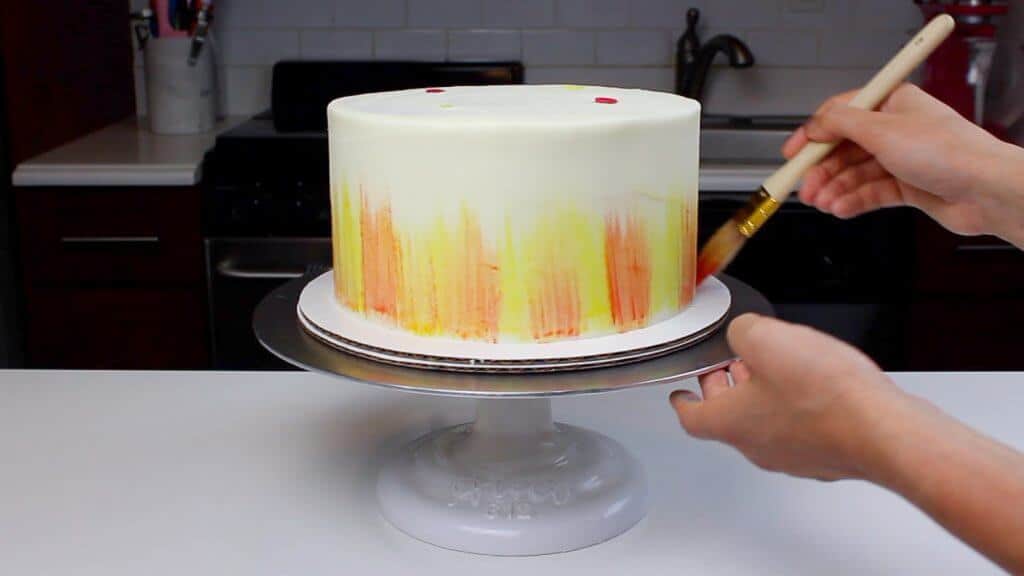
Use a large sterile paint brush to make brush strokes along the sides of each tier.
Start with the yellow mixture, the go over these streaks with the red coloring.
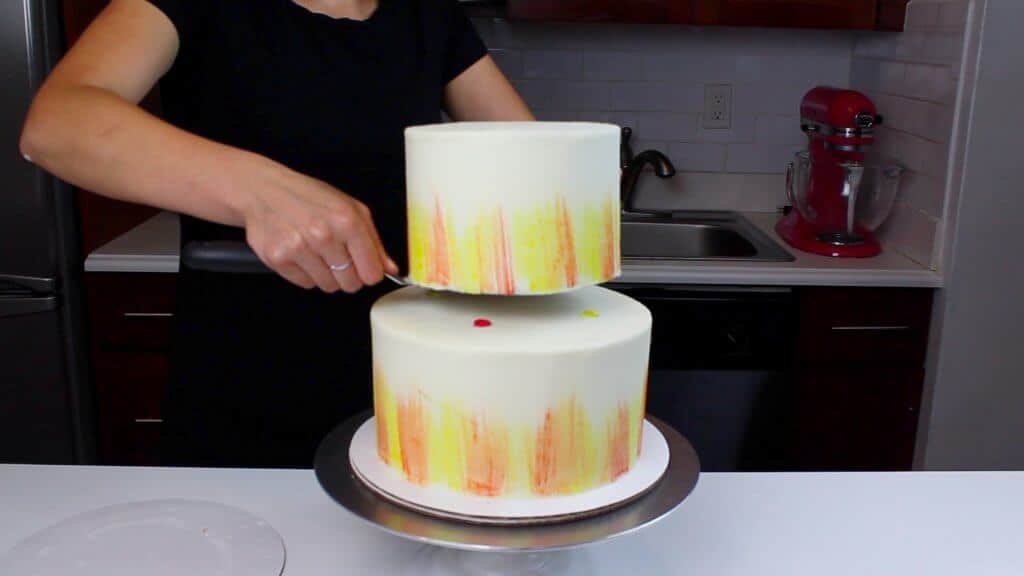
Use two large offset spatulas to carefully lift your small tier on top of your large tier. Be sure the layers are thoroughly chilled before doing this, to make the process easier. Adjust the top tier as needed to ensure it’s centered.
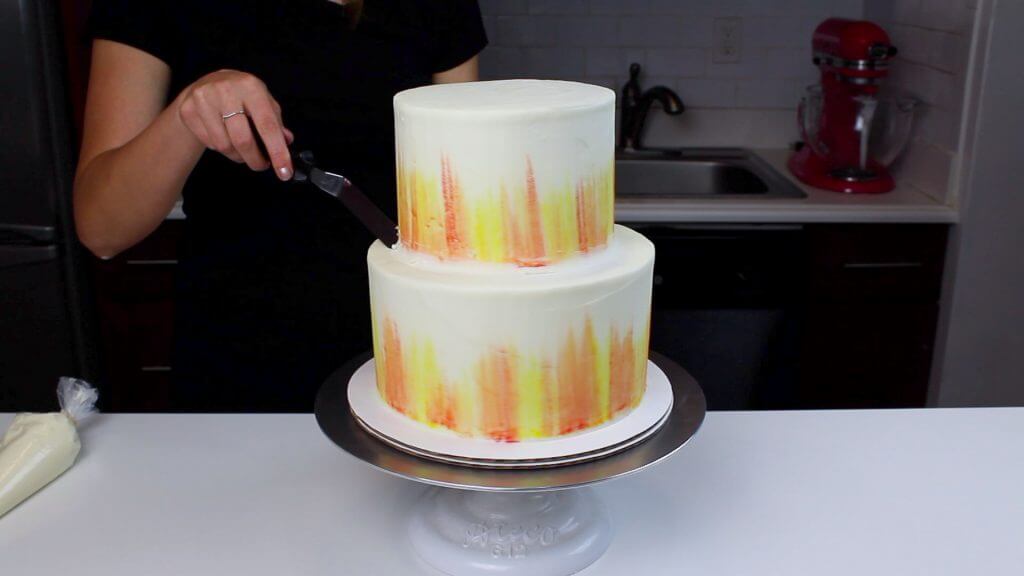
Pipe a thin line of buttercream around the base of the top tier, and smooth using a small offset spatula to make a seamless transition between the two layers.
Pipe small dabs of frosting around the base of each tier as you add each cherry, to secure them.
Add a few cherries to the top of the cake, to complete it!
Let Me Know What You Think!
Nothing makes me happier than when I get emails or DMs with photos of your amazing creations. Please don’t hesitate to reach out to me with your triumphs, or questions <3
If you try this rainier cherry cake recipe, please tag me @chelsweets. Also use the #chelsweets so that I can see what your baking!
Vanilla Layer Cake Recipe
- 4.75 cups all-purpose flour
- 4.5 cups granulated sugar
- 3.75 tsp baking powder
- 1.5 tsp salt
- 1.5 cups unsalted butter, room temp
- 1.5 cups egg whites, room temp (about 11 egg whites)
- 2.25 cups buttermilk, room temp
- 2 tsp vanilla extract
- 0.25 cups vegetable oil
American Buttercream Recipe
- 3 cups unsalted butter, room temp (6 sticks)
- 12 cups powdered sugar
- 0.33 cups heavy cream
- 1 Tbsp vanilla extract
- 0.5 cups cherry preserves (to be added to only 1/5 of the frosting)
Additional Ingredients
- 3 drops red gel food coloring
- 3 drops yellow gel food coloring
- 1 Tbsp vodka
- 1.5 lbs cherries
Instructions
Begin by making the vanilla cake layers.
- Preheat oven to 350°F. Line three 8-inch, and 3 six inch round pans with parchment rounds, and grease with non-stick cooking spray.
- Mix together all dry ingredients (flour, baking powder, sugar, and salt) in a stand mixer with a paddle until fully combined.
- Mix chunks of room-temperature butter slowly into the dry mix, on a low speed. Continue to mix until no large chunks of butter remain, and the mixture becomes crumbly.
- Pour in egg whites, and mix on low until just incorporated. Mix in the buttermilk in two installments, on a low speed. Add in vanilla and oil, and mix at a low speed until fully incorporated. Scrape down the sides of the bowl with a spatula, then beat on medium speed for about 30 seconds. Mix in a couple squirts of yellow gel food coloring, to create a light yellow batter.
- Divide batter evenly between the prepared cake pans. I like to use a digital kitchen scale to weigh my pans, and ensure they all have the same amount of batter. For this cake, you want to make sure the layers in each tier have the same amount of batter. This guarantees your layers will bake to be the same height.
- Bake the 6 inch cake layers of 30-32 minutes, and the 8 inch layers for 35-37 minutes (or until a skewer comes out clean). Allow to cool for 10 minutes, then run an offset spatula around perimeter of the pan to separate the cake from the pan. Place cake layers into the freezer for 45 minutes, to accelerate the cooling process.
While the layers bake and cool, make the frosting.
- Beat the butter on a medium speed for 30 seconds with a paddle attachment, until smooth. Slowly add in the powdered sugar, 1 cup at a time. Alternate with small splashes of cream.
- Once fully mixed, add in the vanilla and salt, and beat on low until the ingredients are fully incorporated, and the desired consistency is reached.
- If the frosting is too thick, add in additional cream (1 teaspoon at a time). If the frosting is too thin, add in more powdered sugar (quarter of a cup at a time).
- Place 2 cups of frosting into a separate bowl, and mix in the cherry preserves.
- Fill one large piping bag (18 inch) with some of the remaining white buttercream. This will be used to pipe a dam around the cherry frosting.
Once the layers are fully cooled, assemble the cake.
- Begin by building the bottom, 8-inch tier. Secure one 8 inch cake layer to a 10 inch, grease proof cake board using a dab of buttercream.
- Pipe a dam of vanilla buttercream around the edge of the 8 inch cake layer, and add a large scoop of cherry buttercream inside this. Smooth the cherry frosting to the edge of the vanilla buttercream.
- Repeat with the next 8-inch cake layer, then top with the last 8 inch cake layer. Flip the layer upside down to make it easier to frost.
- Cover in a thin crumb coat, then chill in the freezer for 5 minutes, until the frosting is firm to the touch.
- Repeat this process with the 6-inch cake layers, building the tier on a 6 inch cake board.
- Add a second, thicker layer of frosting to both tiers, and smooth using a bench scrapper.
- Insert 4 supports into the bottom tier (I use thick bubble tea straws)
- Chill layers in the fridge for 20 minutes.
- In two separate, small containers, mix together the gel food coloring with a splash of vodka. If you don’t want to use alcohol, you can also use lemon extract or water! The alcohol just helps the paint dry faster.
- Once the frosting is thoroughly chilled, paint red and yellow streaks on the side of the cake. Start at the base, and gently pull up, to create fading brush strokes.
- Carefully stack the tiers, then add cherries around the base of both tiers, and a few to the very top of the cake.
Recipe Notes
If you don’t want to make a tiered cake, you can definitely half the recipe, and make three 7 or 8 inch cake layers.
If you want to, you can cook down fresh cherries with a bit of sugar, but it’s quite a bit of work to pit them all, and cook them down enough to be able to add them to the buttercream! If you try to add fresh cherries or cherry juice, the excess liquid from the fruit can cause the buttercream to break.
You could also add halved cherries between the layers, on top of the buttercream, but it can make it more difficult to slice though! I avoided doing this for that reason, and was really pleased with how my slices turned out 🙂

Jessica Williams
Wednesday 19th of June 2019
I'm making this for my Seattle born kiddo's 9th birthday!
Chelsweets
Thursday 4th of July 2019
I love that Jessica! It's such a yummy cake, I'm sure he'll love it!! :) Let me know how it goes!